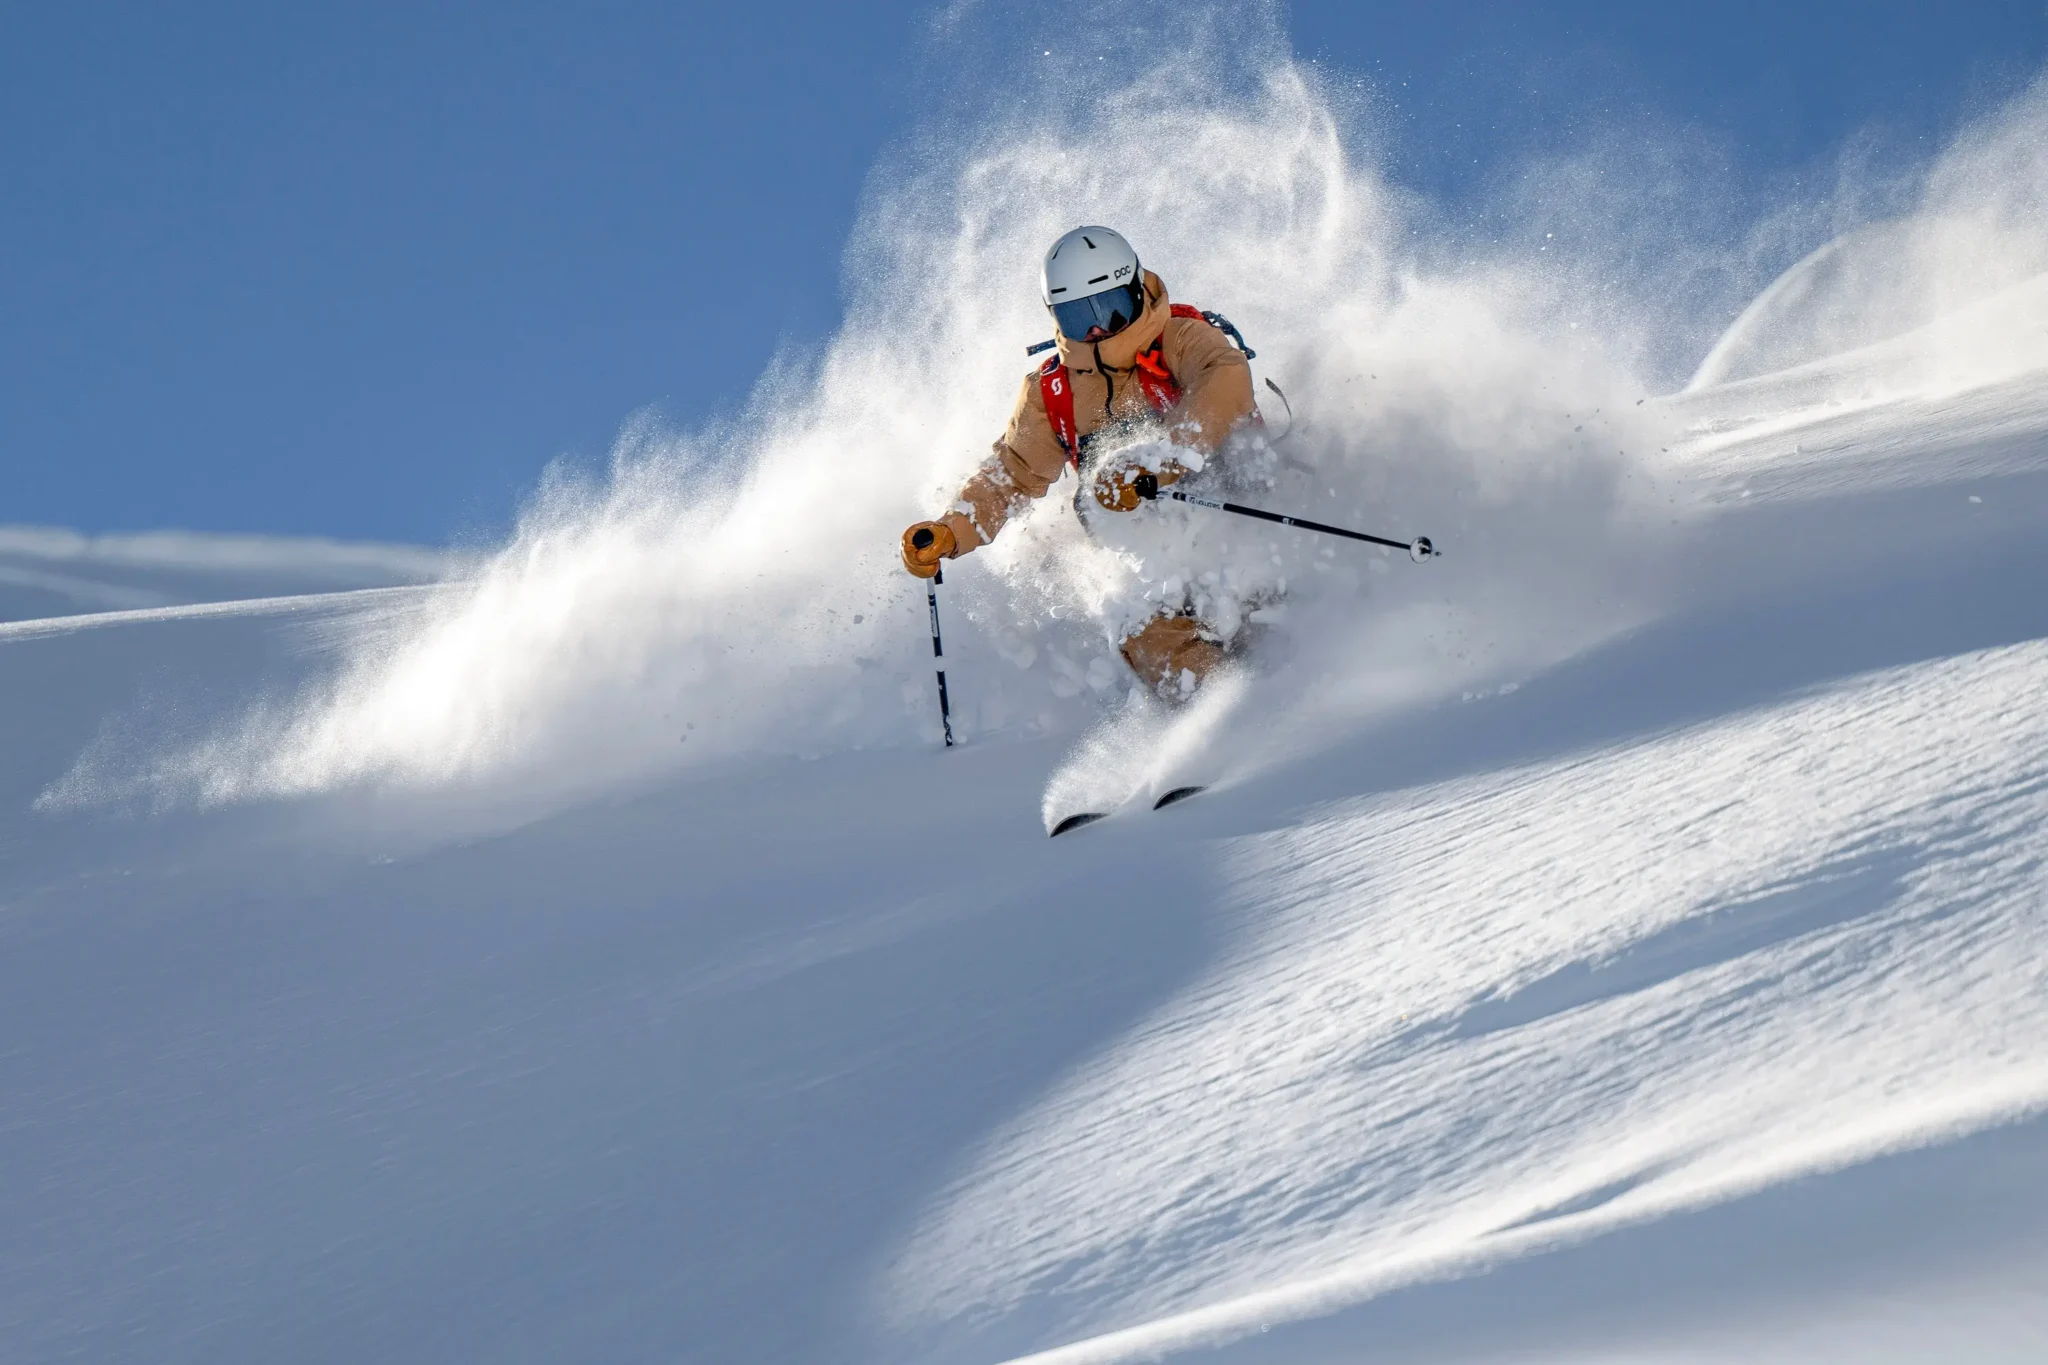
Here’s a list of essential equipment needed for a successful ski touring experience.
Off-Piste Safety Equipment
If you need any of the following essential items, please let us know in advance. We can provide transceivers, shovels and probes free of charge when requested at the time of booking.
Avalanche transceiver – With batteries charged to atleast 85% and set to transmit mode.
Shovel – Lightweight metal shovels with removable handles are ideal.
Probe- At least 2m long Backpack – Around 20 litres of capacity with chest and waist straps.
Personal Equipment
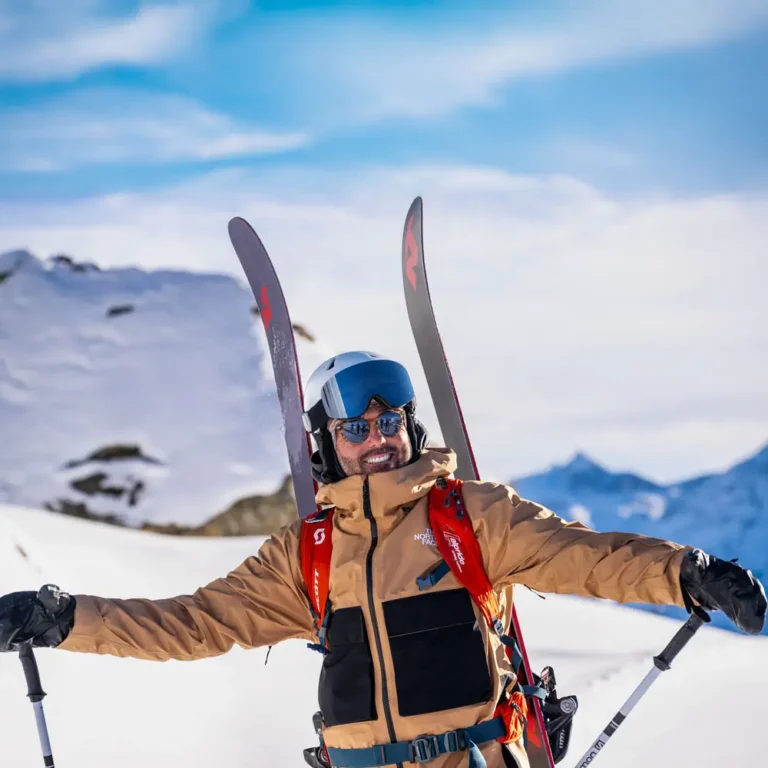
Skis – 85-115mm underfoot with either Frame, Pin or Shift bindings.
Skins – Either synthetic or Mohair. Ensure they’re cut to fit with the appropriate attachments for your skis.
Boots – Boots appropriate for the bindings, preferably lightweight with a walkmode.
Poles Helmet Goggles – With appropriate lens for varying light conditions.
Gloves – Liner gloves that can be worn during a climb and warmer gloves for the descent.
Spare Gloves
Jacket and Salopettes – See our guide on how to layer for skiing for more details.
Insulating layers – Several lightweight layers that can be put on or removed.
Socks – Long enough to ensure that the entirety of the shin is covered but as thin as possible.
Mobile Phone – Fully charged with important contact numbers, including the New Generation Office (+44 1462 674 000) and local emergency services (112).
Compass and Map – One per group (New Generation Guide will have this).
Lift Pass – Lift pass for planned touring area.
Recommended Extras
First Aid Kit – Bandages, antiseptic wipes, and any personal medication you may need.
Repair Kit – Duct tape, Zip ties, and a Multi-tool with a screwdriver.
Hydration – Thermos or water bottles instead of hydration systems prone to freezing.
Snacks – Ski touring burns lots of calories and snacks can help to keep your tour fueled.
Sun Cream – Touring in clear weather can mean large amounts of sun exposure.
Sun Glasses
Hat
Optional Extras
Avalanche Airbag
Touring Apps – Great for looking at the tour data, useful for navigation but never as the only tool.
Ski and Boot crampons – Useful in firm conditions depending on the terrain.
Lip Balm
Headlamp – Important for when winter days are short and emergencies make tours run long.
Key Considerations
When touring, it is necessary to bring all the essential items above. However, each item has many different variations. These key considerations will help those who haven’t yet found their preferred set-up choose the best one.
Choosing Skis and Bindings
Touring Skis
Your choice of skis is dependent on personal preference. However, considerations should be made when choosing which skis to ski tour with.
Width – Many believe wider is better for off-piste skis, but this isn’t always true with touring skis. Ski width affects energy exertion on ascents. In fresh snow, wider skis create more resistance as they clear more snow. Following a leader with wide skis can negate energy savings since they’ll be too wide for set tracks, cutting through additional snow and increasing effort. However, wider skis enhance downhill performance in deep snow.
Weight – Lighter skis are preferred for touring as they aid the ascent. Light skis might require adjustments to technique on hardpack snow if you’re used to heavier piste-oriented skis. Bindings Two main types for touring are Frame and Pin bindings.
Touring Bindings
Frame bindings – These work similarly to alpine bindings, with both toe and heel attached. For uphill, the heel lifts while the toe remains fixed. Pros – Frame bindings share characteristics with Alpine bindings, easing the transition for those familiar with them and boosting downhill confidence. They work with any ski boot type. Cons – Frame bindings are heavier, requiring more energy as the entire binding mechanism lifts with each step.
Pin bindings—These have fixed toe and heel sections with pins connecting to ski boot lugs. The toe pins lock for ascents and are set to DIN settings for descents. However, the safety performance isn’t the same as an alpine binding. Pros – Pin bindings are lighter, reducing effort during ascents. Cons – If not properly set up, pin bindings can present a great risk of early or late release. Pin bindings require compatible touring boots.
The Salomon Shift – The Shift Binding represents a modern approach to ski touring bindings, blending the best features of traditional styles acting as a near hybrid between pin and frame bindings. A solid choice for those who plan to equally divide their time between lift-accessed and tour accessed skiing.
Choosing bindings depends on factors like your preference, fitness, snow conditions, and available gear. Consider whether your focus is a longer ascent or a technical descent.
Choosing Boots
Comfort is king when choosing the best touring boot. Poor-fitting and uncomfortable boots make for unpleasant tours. As with other items, several factors must be considered when choosing what’s best for you.
Fit – Exact fit is a personal preference in touring boots.
Weight – As with many touring-related pieces of kit, the weight of the boot is a key area of consideration. Lighter boots will greatly reduce energy exertion during the ascent phase of a tour. However this can impact your experience on the descent.
Walk mode – Many touring-specific boots have a walk mode and a rockered sole. These features enable a more extensive range of motion in the ankle area, making walking uphill more comfortable and efficient while providing more grip when not on skis.
Binding compatibility – Pin bindings require boots with integrated toe lug fittings and a slotted heel plate. If you using Pin bindings, ensure your boots have the appropriate fittings. Frame bindings are, however, compatible with both touring boots and alpine ski boots.
Choosing Climbing Skins
Synthetic skins – Renowned for excellent durability and grip, synthetic skins are ideal for those exploring challenging terrain with icy patches or less familiar with ski touring. However, they can be heavier and glide less efficiently.
Mohair skins – Crafted from natural fibres, mohair provides superior glide and flexibility, suiting ski tourers looking for speed and efficiency on longer treks. Although mohair may wear out faster than synthetic skins and don’t offer the same steep incline grip. The lightweight nature of mohair makes it perfect for covering more ground with more ease. The choice will be personal preference. Both must be as wide as the ski at the widest point, dry before use, and suitable for attachment to the ski. Both types of skins must be dry to work properly, wet skins will suffer from snow sticking to them.
Precut Skins or Cut to Fit? You can get skins perfectly sized and designed for your skis, but it’s not necessary. Cut-to-fit skins might be a better option. Pre-cut skins are pricier, with fewer choices. Cut-to-fit skins come in various widths and are trimmed to fit your skis, offering more options based on preferences and budget. It is straightforward to trim skins. When doing so or purchasing precut skins, ensure they’re at least as wide as the widest part of your ski, ideally a few millimetres wider.
Clothing Tips and Tricks
Layering is the secret to keeping warm and dry while working hard during the ascent, changing at the top, and then skiing back down. Here are fundamental tips for layering during ski touring.
Be bold, start cold – You will heat up as soon as you start the ascent. It can be tough to stop soon enough to drop a layer before you break a sweat. Avoiding sweating as much as possible will help you to keep a dry and comfortable temperature. A great indicator is feeling chilly as you start the ascent.
Make Micro-adjustments – Hats, a neck gaiter, and gloves can all greatly impact your comfort without much faffing. Add or subtract these items to adjust your temperature without stopping.
Avoid Cotton Clothing – Cotton traps moisture, pulling heat away from your skin. Wool and synthetic base layers, on the other hand, retain warmth even when wet.
Master Venting – Jackets with full zippers, like the North Face Summit Series Verbier Jacket, and ski-touring pants with full-side zips are recommended for ski touring. Opening and closing vents is another excellent way to make micro-adjustments on the go.
Keep it Breathable – Airflow keeps you from sweating. Softshell fabrics and breathable layers, like a Primaloft vest, insulate without getting clammy or damp.
Keep Dry – Getting wet makes clothing far colder and can be severely uncomfortable. Damp items are heavier. Wet goggles will not only make you cold but be prone to fogging up, impeding your vision.
Bring a Puffy Layer – Layering for backcountry skiing and split boarding means being prepared for sunny tours to quickly get cold. When stopping to remove skins and prepare for the descent. A big puffy jacket is great for keeping warm. Down insulation is warmer and more packable than synthetic insulation, but it doesn’t stay warm when wet.
Our kit layering recommendation overview
Base Layer – Merino Wool or Synthetic thermals and socks to wick moisture from your body.
Mid Layer – A midweight Fleece or synthetic puffy Jacket. Look for a high neck and no hood.
For Extra-Cold Days – Thick puffy jackets and puffy shorts. Synthetic or down are both fine
Outer Layer – Hard Shell, Goretex Jacket or Pants with large vents.
On your hands – Lightweight gloves for touring up, warm, waterproof gloves for the way down.
On your head – Sunglasses and sunhat for touring, helmet and goggles for skiing. Remember, adjusting your layers as your activity level and the weather change throughout the day is key.
