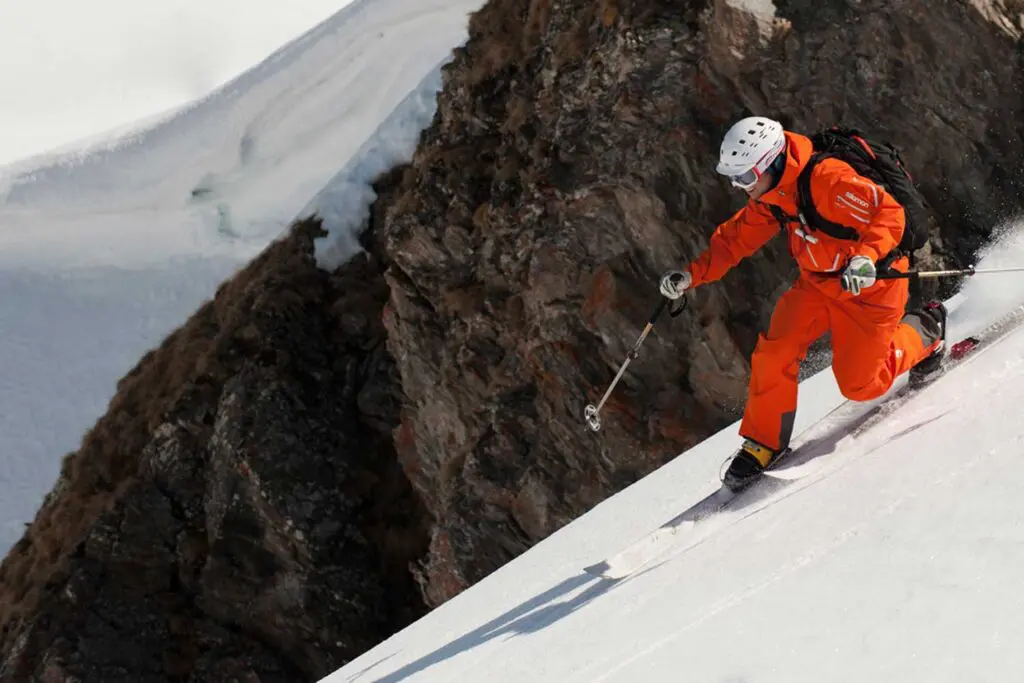
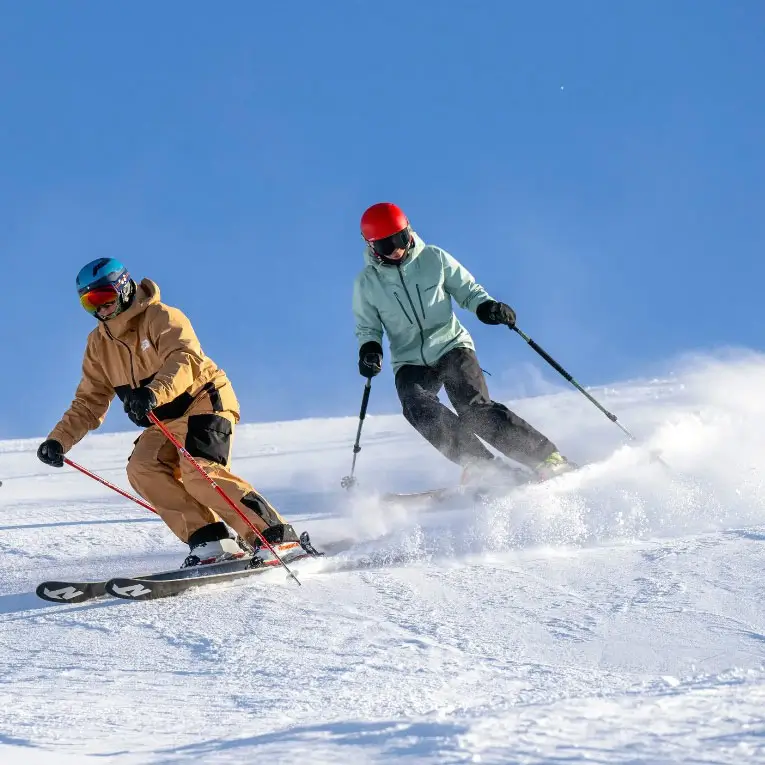
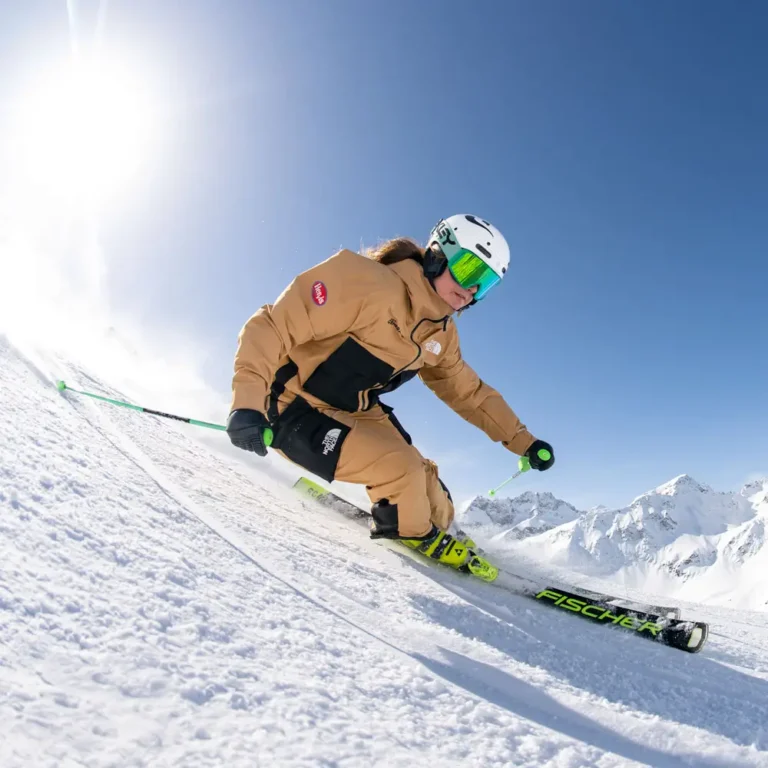
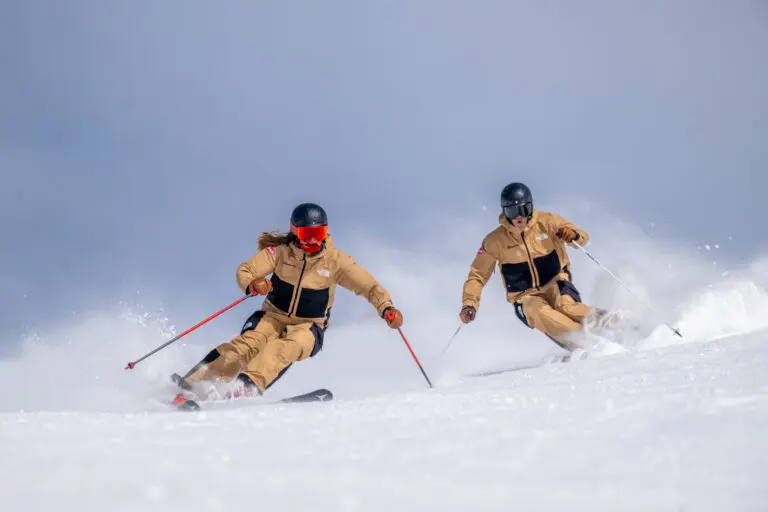
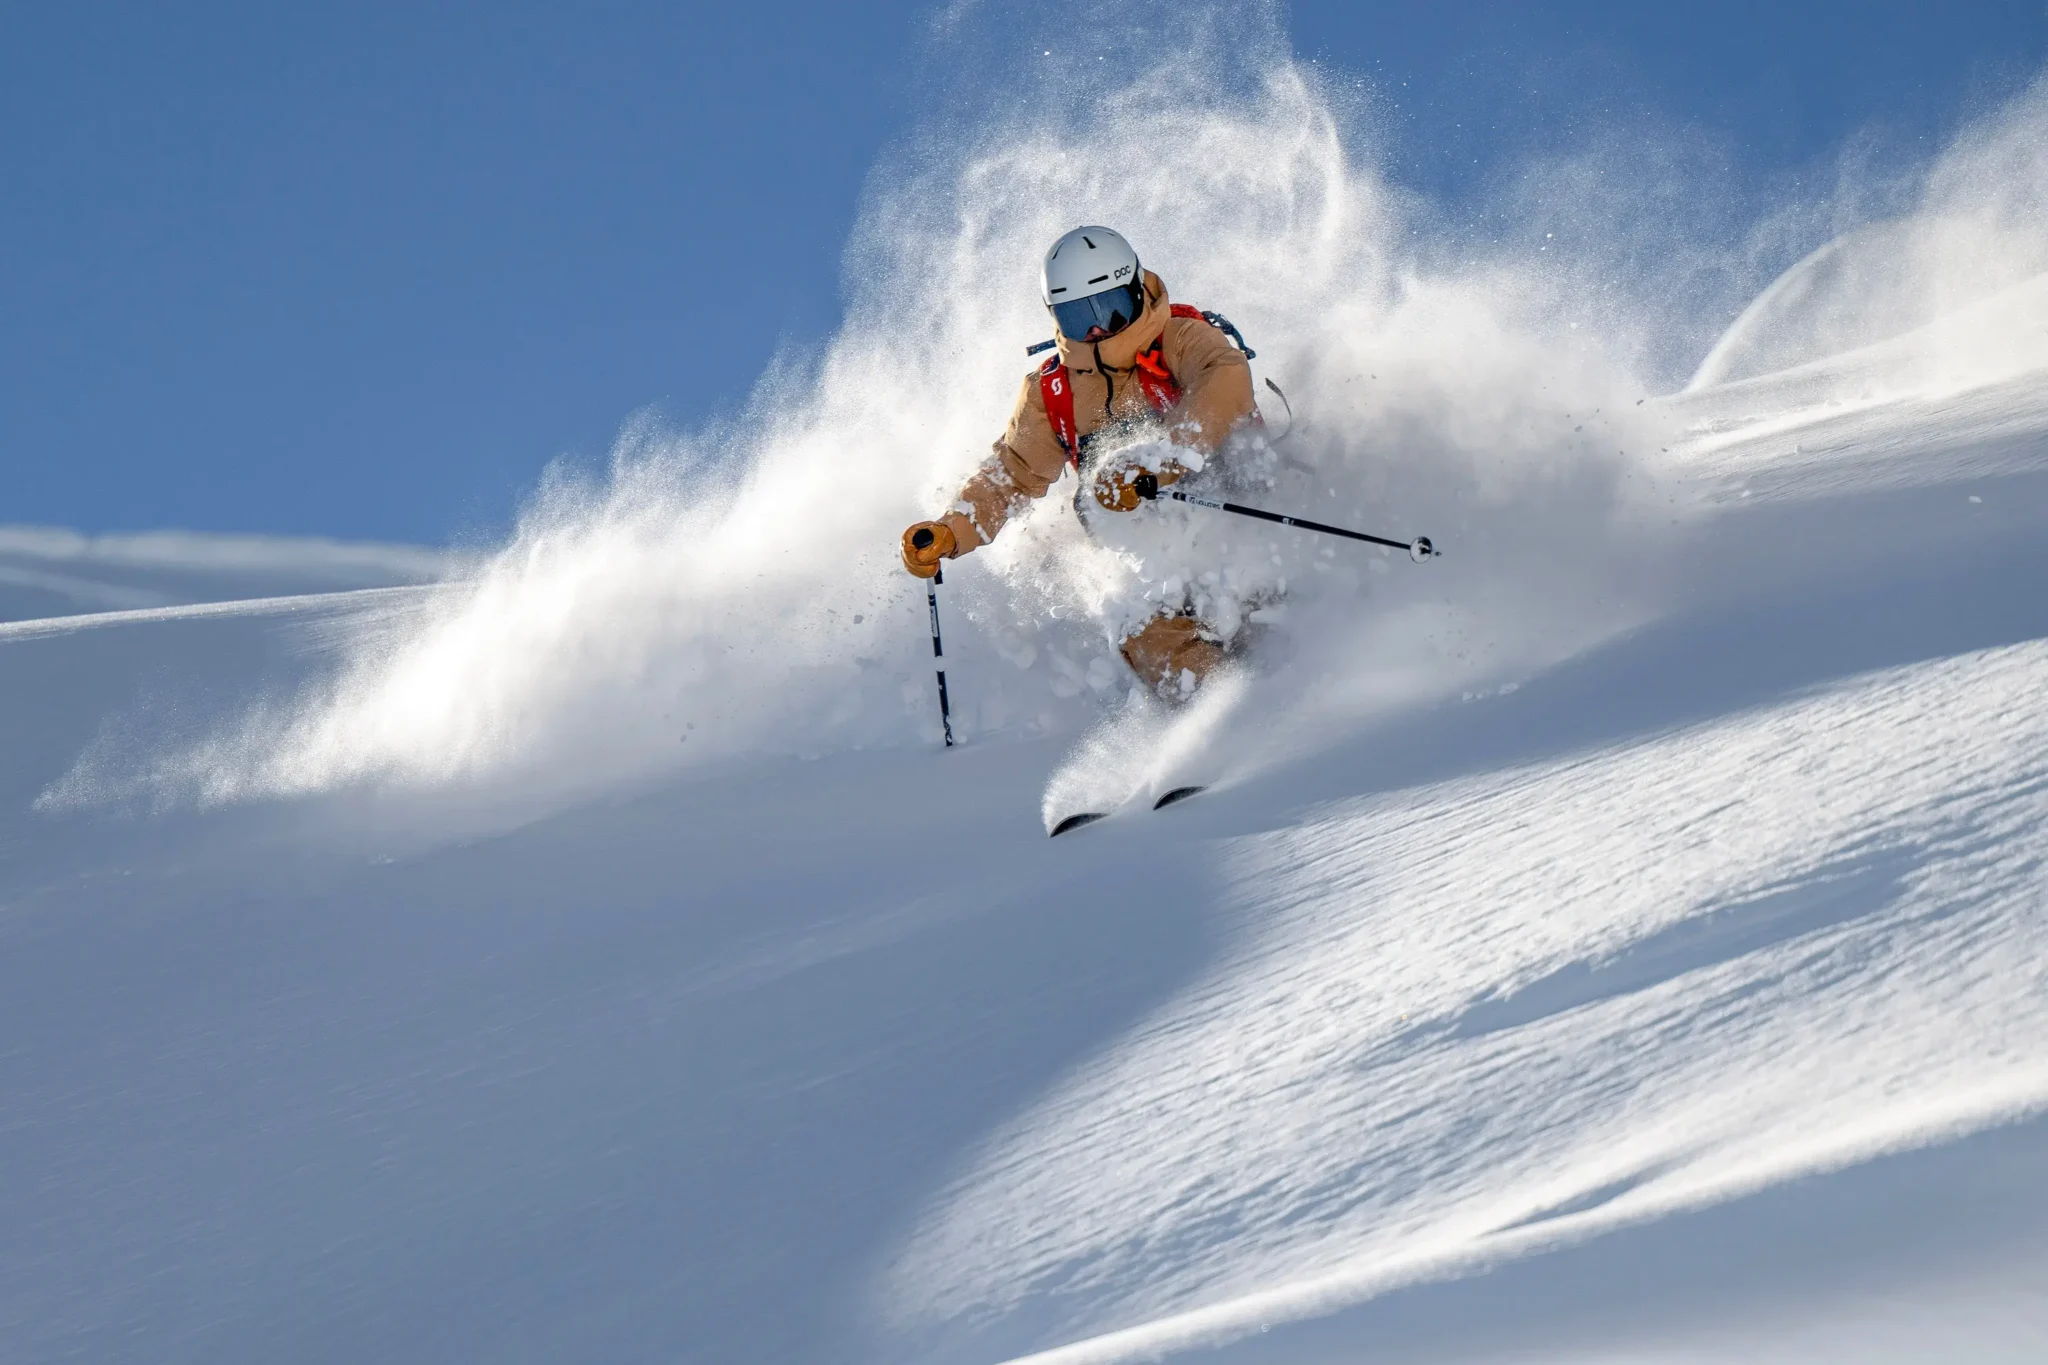
Although telemarking it is not the number one sport on the slopes, it is becoming trendy these days. Many people come into it looking for a new challenge and a way to push themselves on the mountain. Telemarking is a tough technique to master but when it works, it feels amazing! Yes those thighs will burn, but if it were easy, everyone would do it.
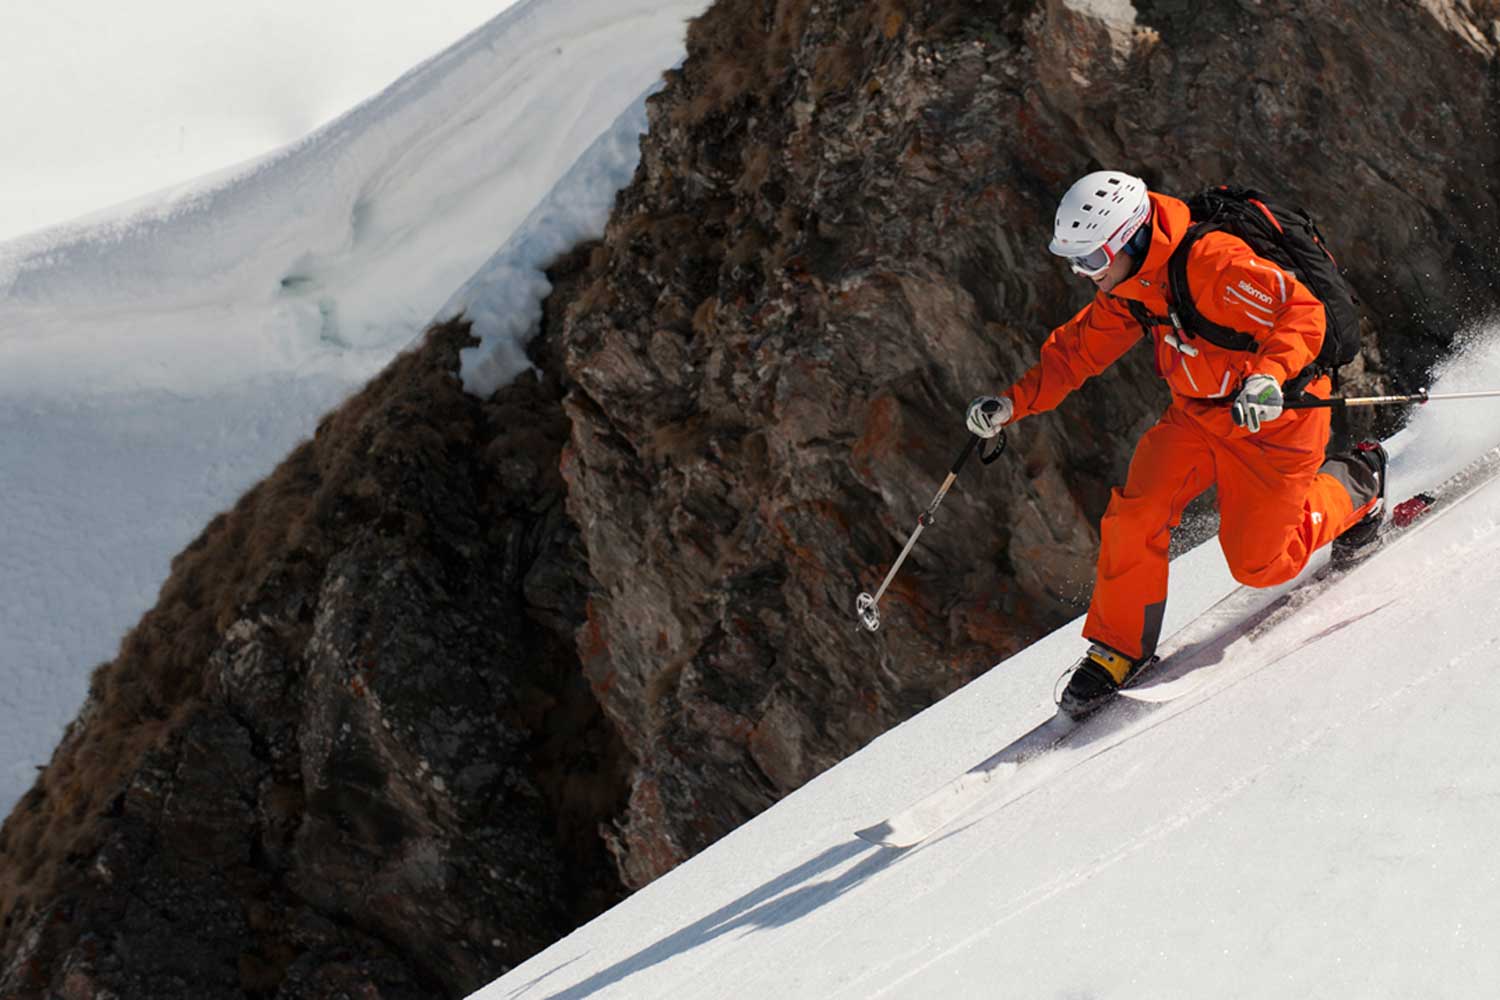
Image from Tele Tracks, the Telemark Skiing Specialists
Telemarking 101
What exactly is it?
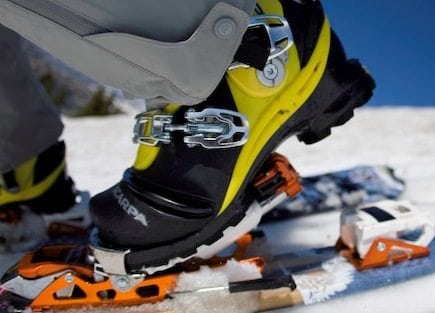
Telemarking is a combination of alpine and Nordic skiing. Generally, telemark skiers use alpine skis with specially designed Nordic bindings that fix only the toe of the ski boot to the ski, creating the “free heel”. Telemark turns use a bent knee in a lunging motion to engage the ski in a powerful arc.
A Bit of History
Telemarking is named after the place it originated – Telemark, Norway. Sondre Norheim is given credit for the first telemark skier in the 1860’s. While messing around he realized he could lift his heel, bend his knee, and thus turn! Turns meant more fun, rather than just traveling cross country, and it was used as a means to get out into the backcountry.
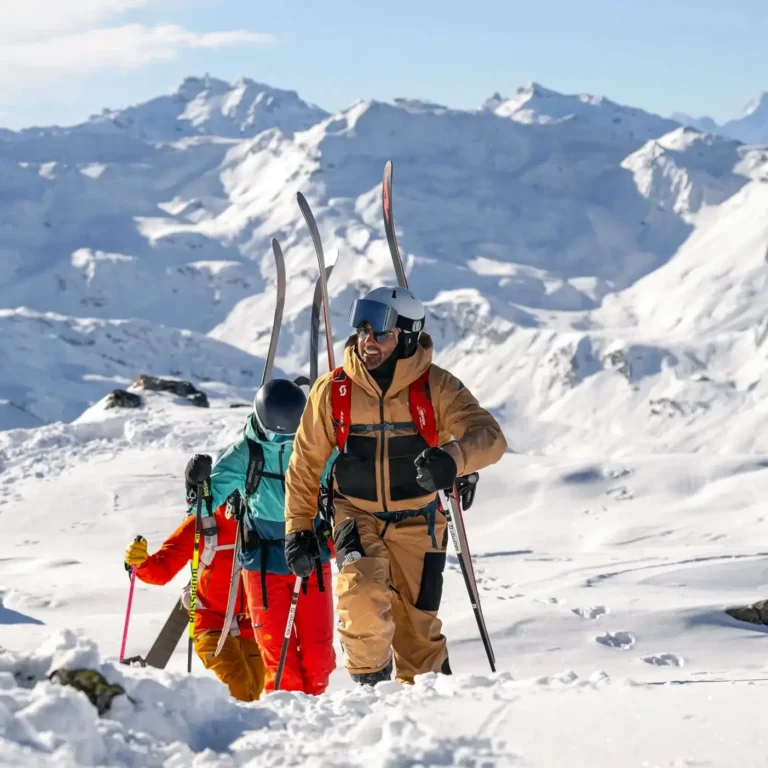
Telemarking then had a revival in the 1970’s as alpine gear became heavier and sturdier, making it more difficult to get into the backcountry. The “free-heel” system of the telemark allowed skiers to access the backcountry by walking uphill on skis. Today, alpine gear has evolved to allow backcountry access and telemarking is rarely used for that anymore.
The Basics
The sport can be a challenge at first – everyone needs lessons. But most telemarkers will agree that although it has a steep learning curve, it adds a new dynamic rhythm to the sport of skiing. If you have a solid alpine skiing background, you can probably be laying down some nice turns in just a few days. If you’re starting from scratch it may take a bit longer – but reasonably athletic people usually do quite well.
Technical Tips:
- Ride with weight and pressure over your whole foot, including the ball of the foot. If you can’t see any gap (from side angle) through the legs then you are cheating – it’s called tele-lelling!! However if you go too long in a lunge then you risk losing the pressure on the back/inside leg.
- Get into the telemark stance: go deep like doing a lunge, keeping your weight equally distributed on your skis, with one boot length distance between front foot and back foot.
- While traversing, keep the downhill ski always in front, not changing your lead foot.
- To lead change you can slide the rear ski forward and transition by rolling over forefoot under pressure. You can also pulling the new inside ski back – sliding the new outside ski forward or a combination of both.
Our best advice: keep moving. It’s not telemark if you just hold a lunge! You need to continue moving deeper into a lunge and then lead change to next turn…
The Kit
The only real pieces of equipment you need are a pair of skis mounted with telemark bindings and a pair of telemark boots. Keep in mind that skis, boots & binding should match in performance. For example, the newer style big stiff ski will need an equally stiff boot to give it enough power. No need to invest when you first are starting out, as this gear can be rented at your local ski hire shop.
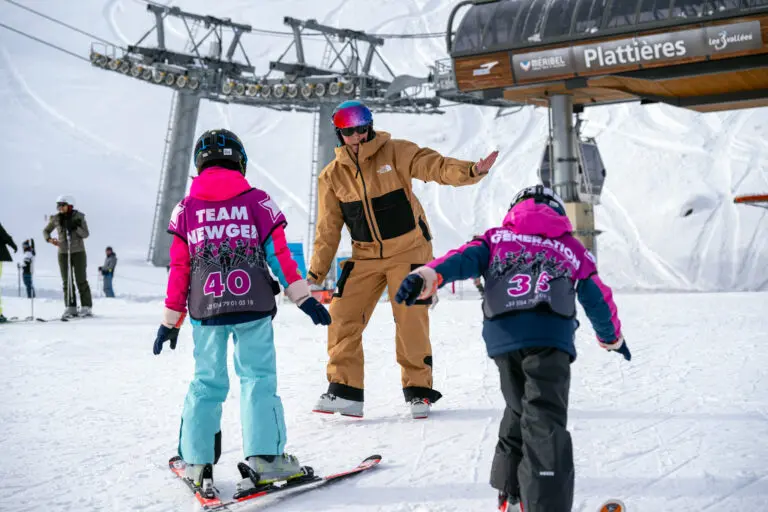
Interested in trying out telemarking? We offer lessons in Courchevel 1650, Courchevel 1850, St Martin, Val d’Isere & Val Thorens.
