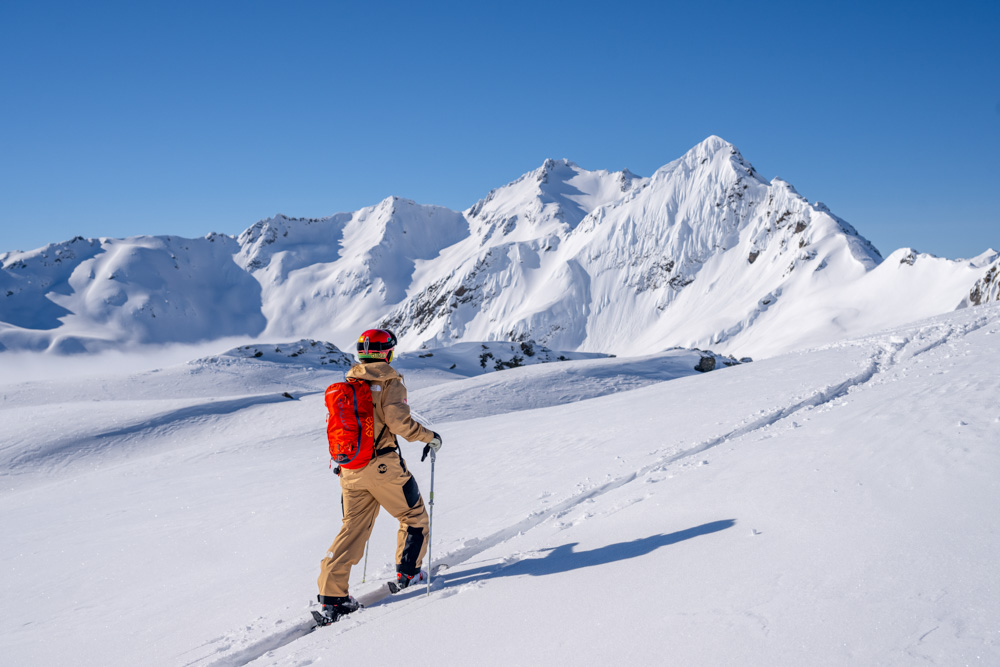
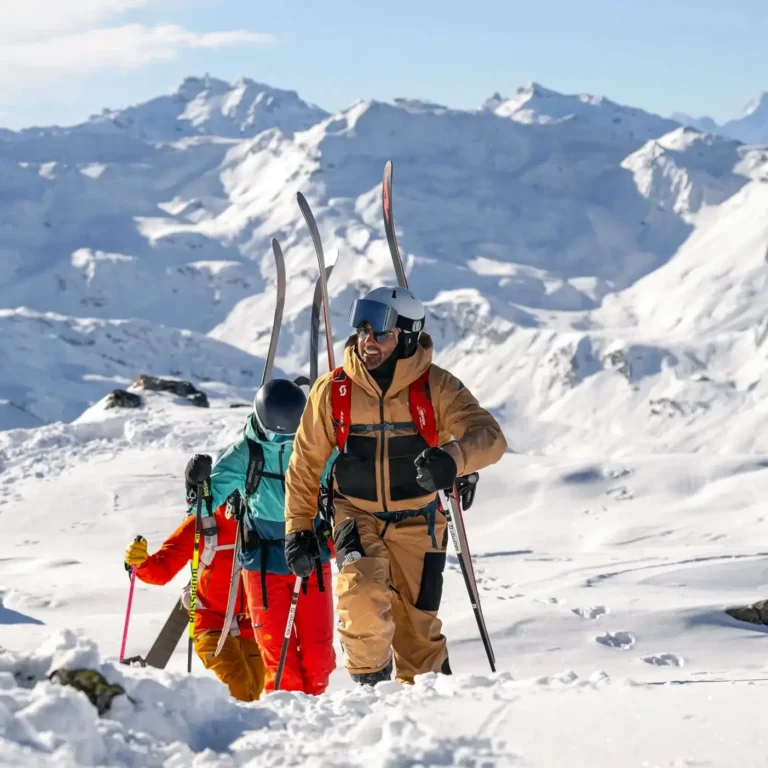
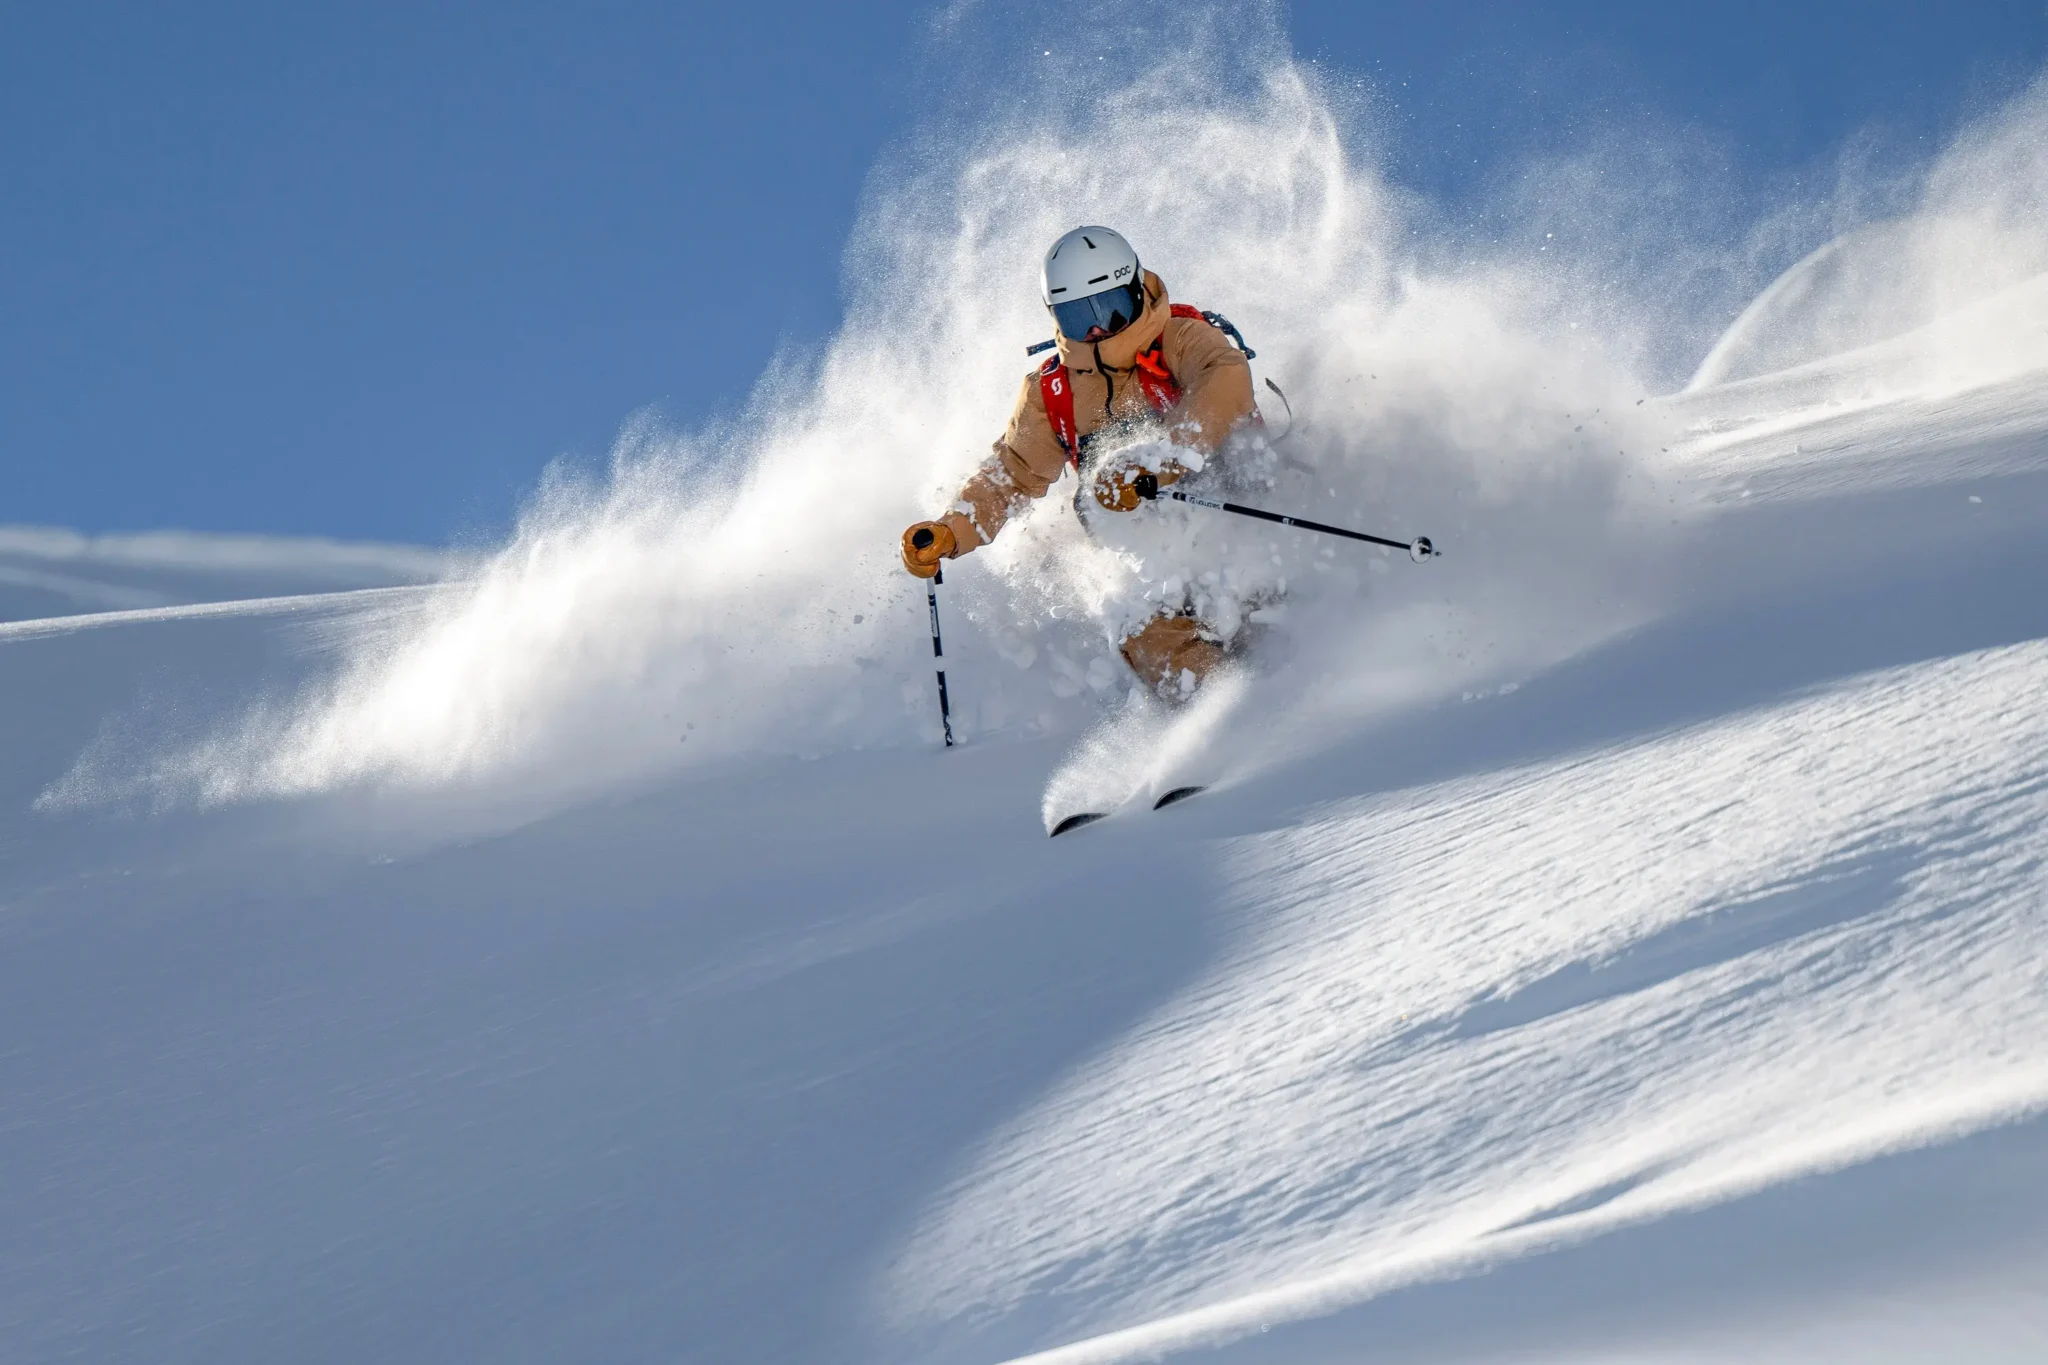
This beginner’s guide to ski touring will provide the essential knowledge and equipment recommendations to help you get started.
What’s Ski Touring?
It would be easy to start this blog by saying something like Ski Touring is the Ultimate escape or it’s your Gateway to Adventure, but those answers aren’t helpful.
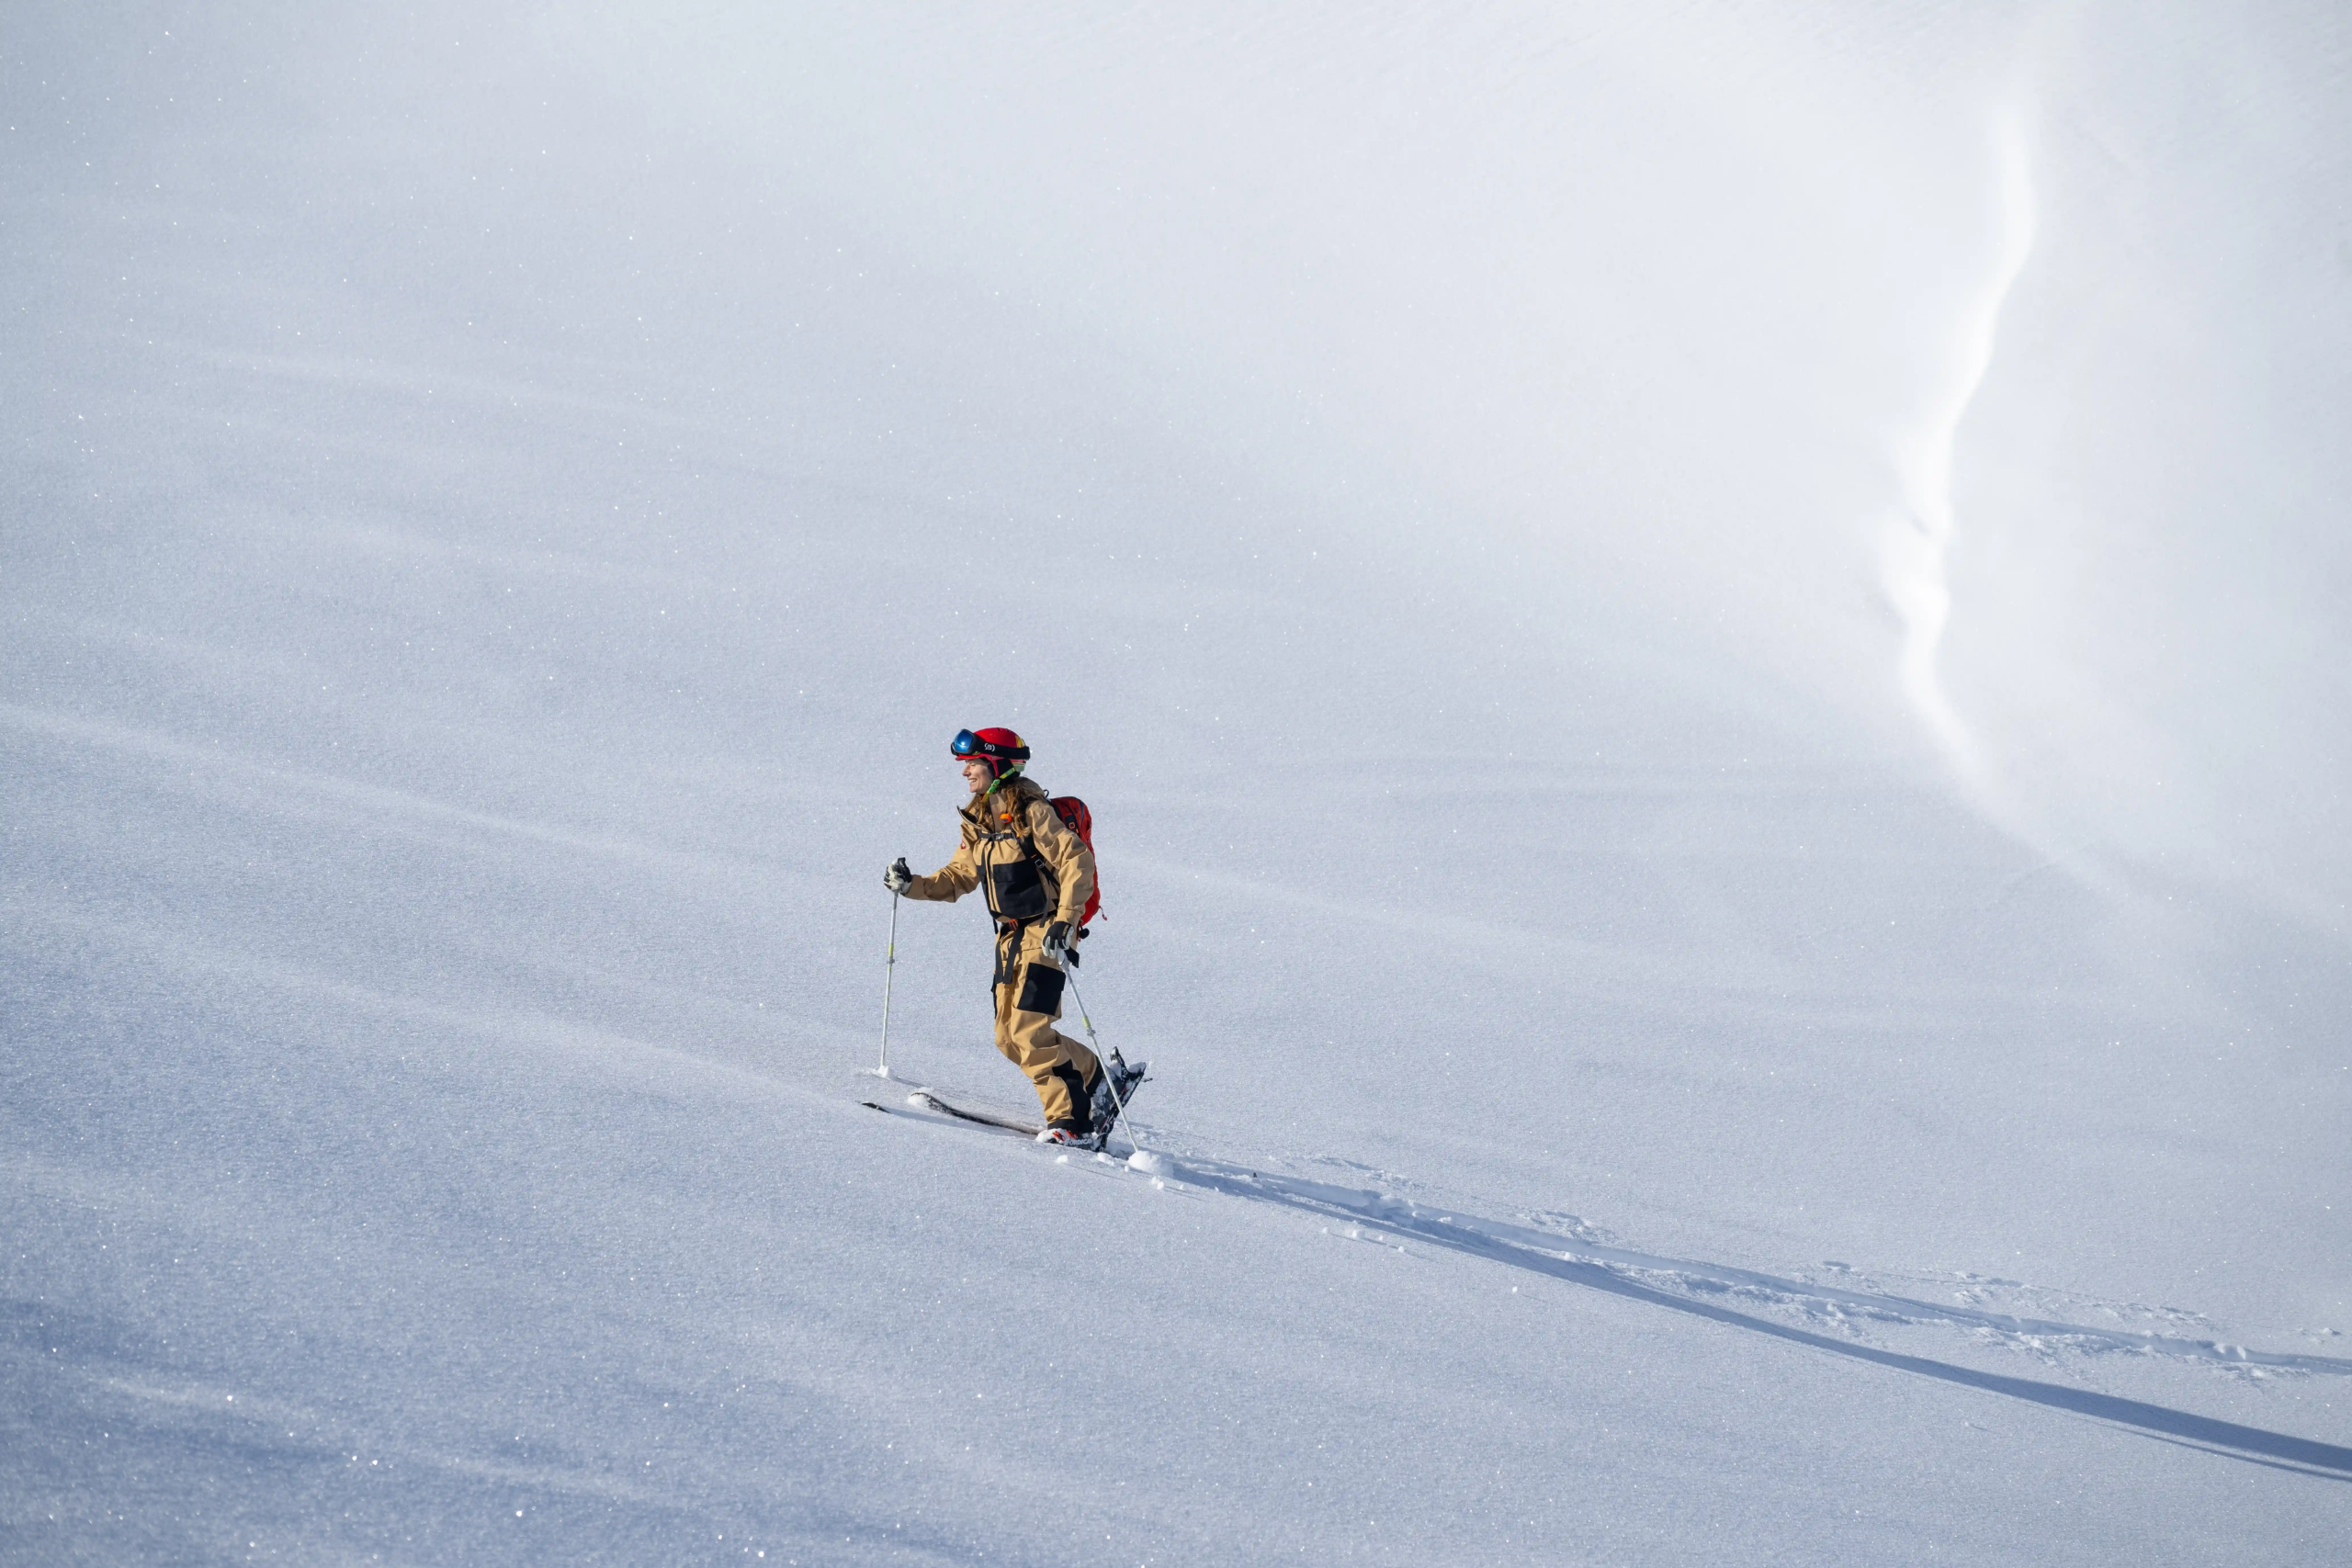
Put simply. Ski Touring is walking up the mountain, using human-powered ascent to reach your desired descent. But please stay with us. It’s way better than it sounds.
We know that might sound mad. Why walk when multimillion-dollar lift systems are capable of whisking you to the highest peaks in moments? That takes us back to our first comment, and yes, it really can be the ultimate escape from this noisy, modern world.
Why go Ski Touring?
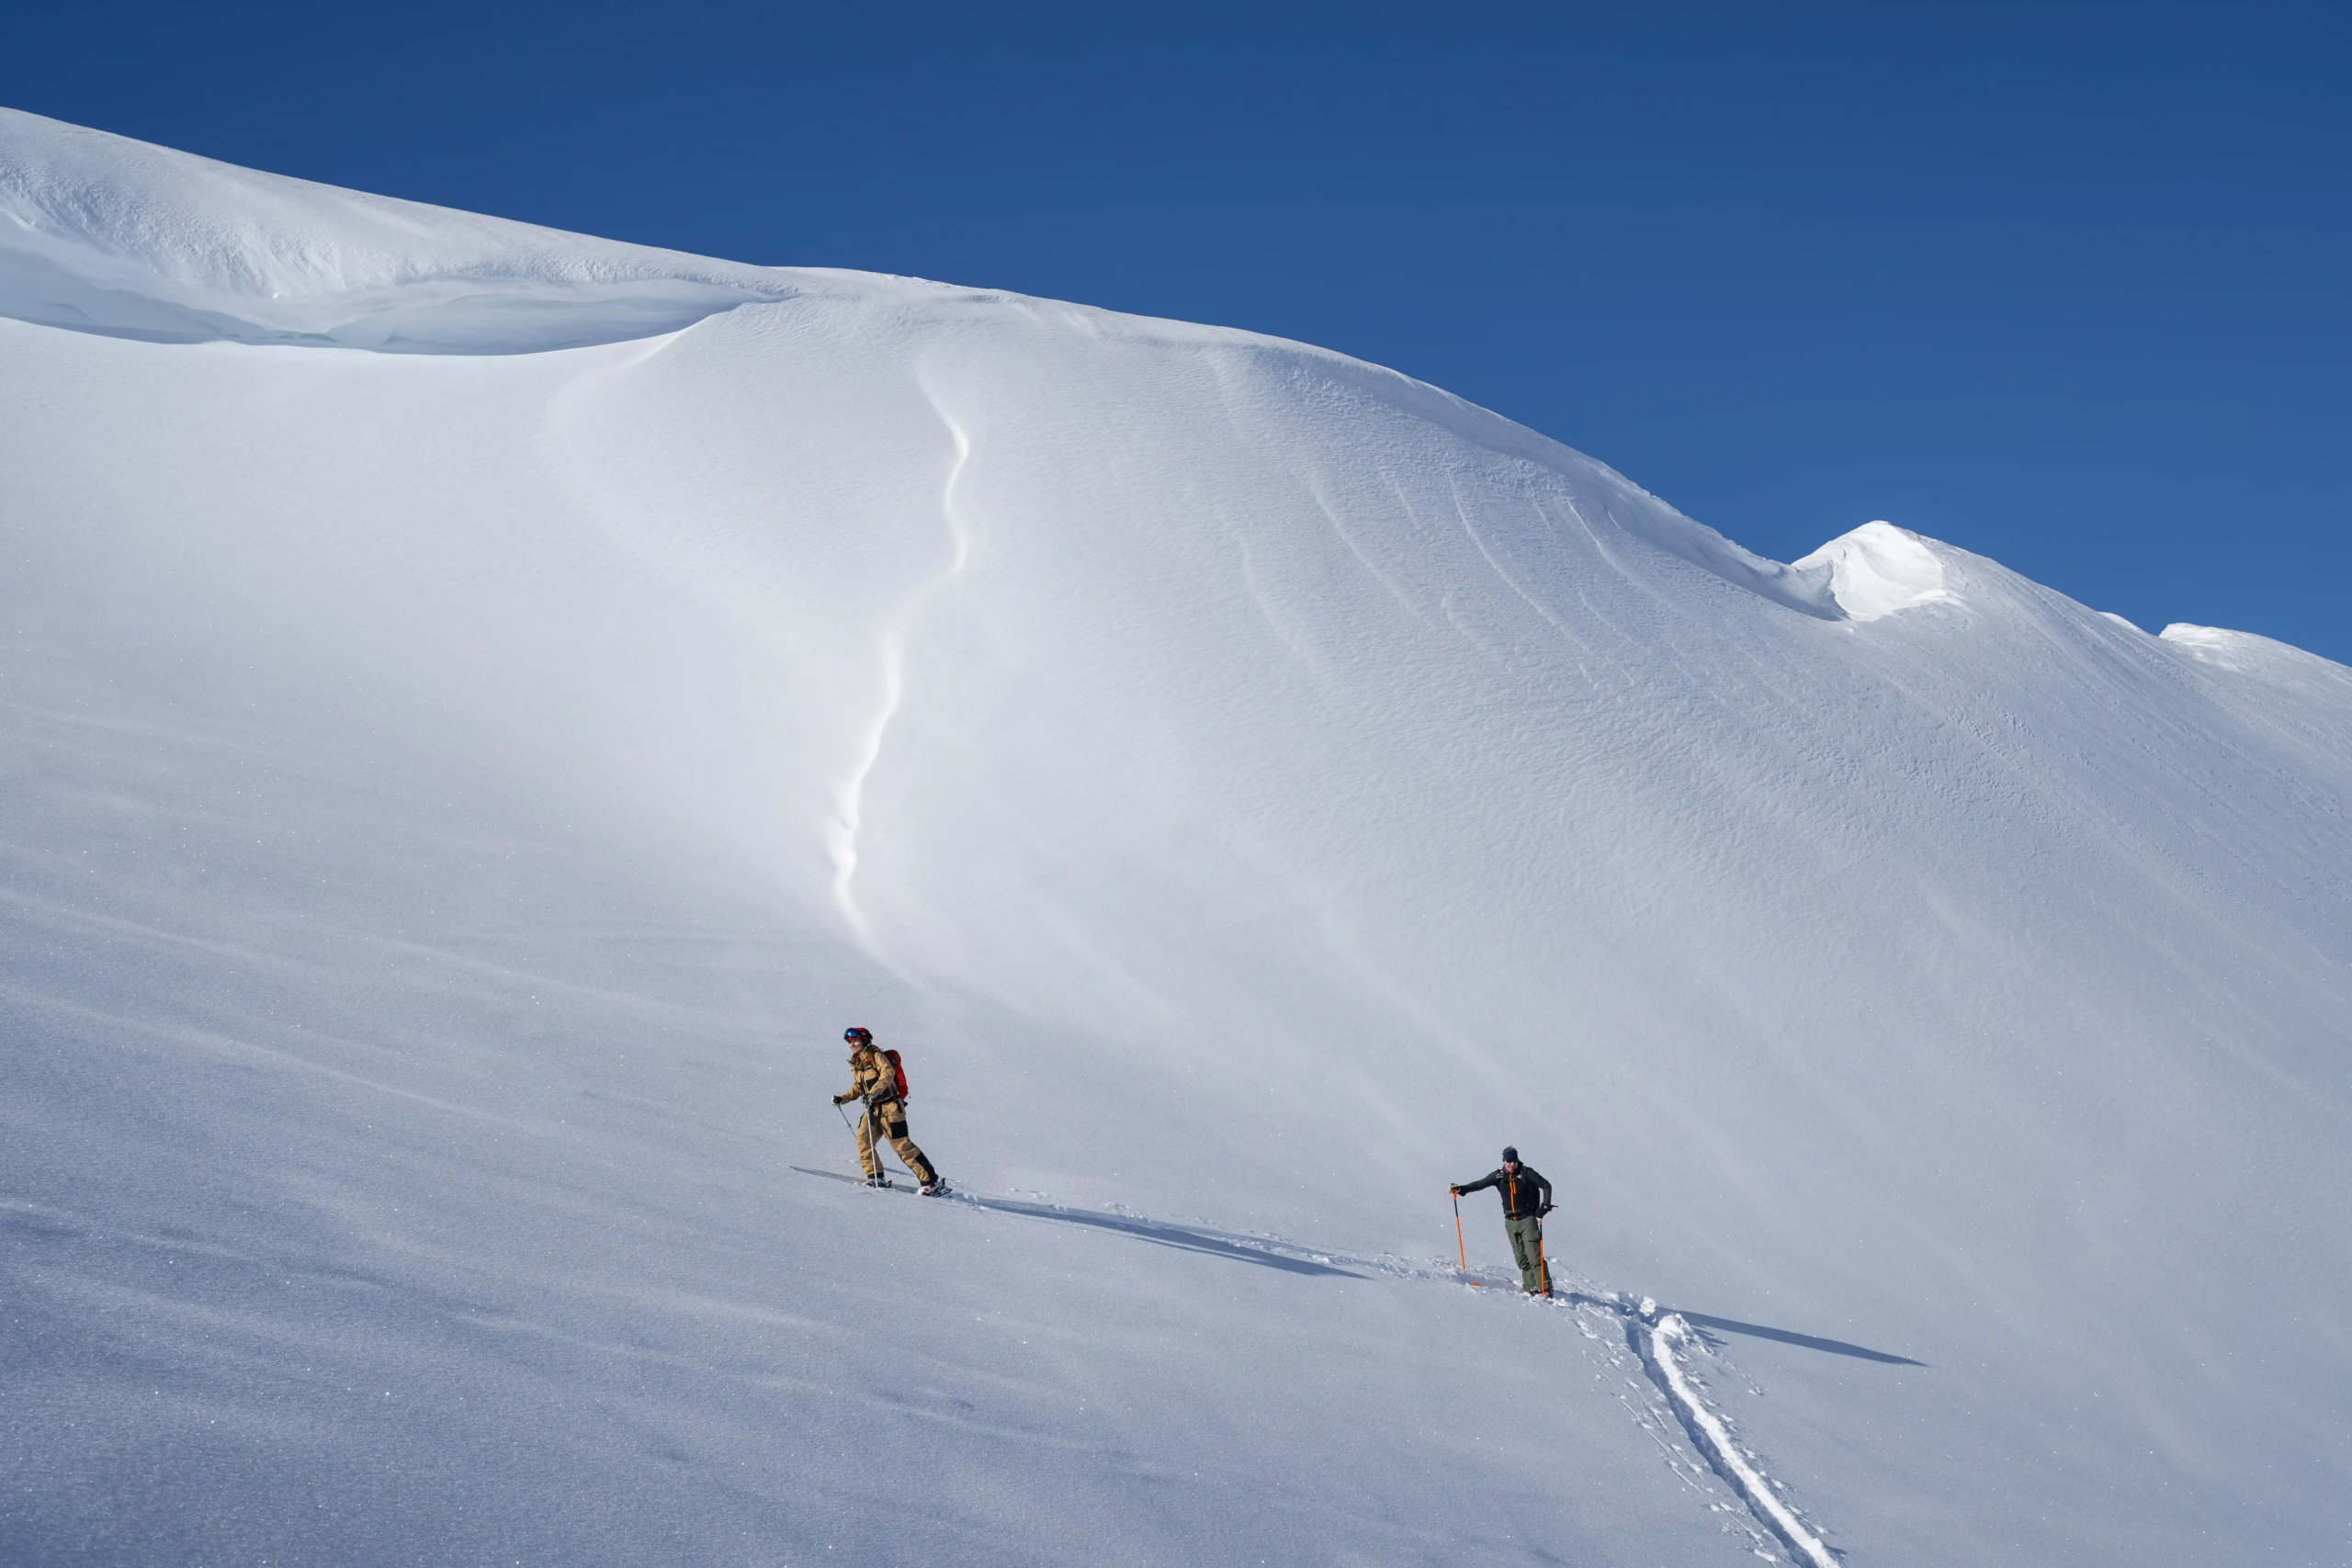
The lifts in most resorts offer incredible access to on and off-piste terrain. But they only give you access to about 10% of the available terrain in Europe. In the US, Canada and elsewhere, that number is significantly lower.
Ski touring allows you to escape the crowds, search for the best snow, get fitter and experience an entirely new scale of adventure. How far you take the adventure is entirely up to you.
You can ski tour to access terrain outside the resort boundary or go on multi-day trips using Mountain huts.
Ski touring has evolved dramatically in recent years, and there are now many more specific disciplines within the sport, so there is something for everyone.
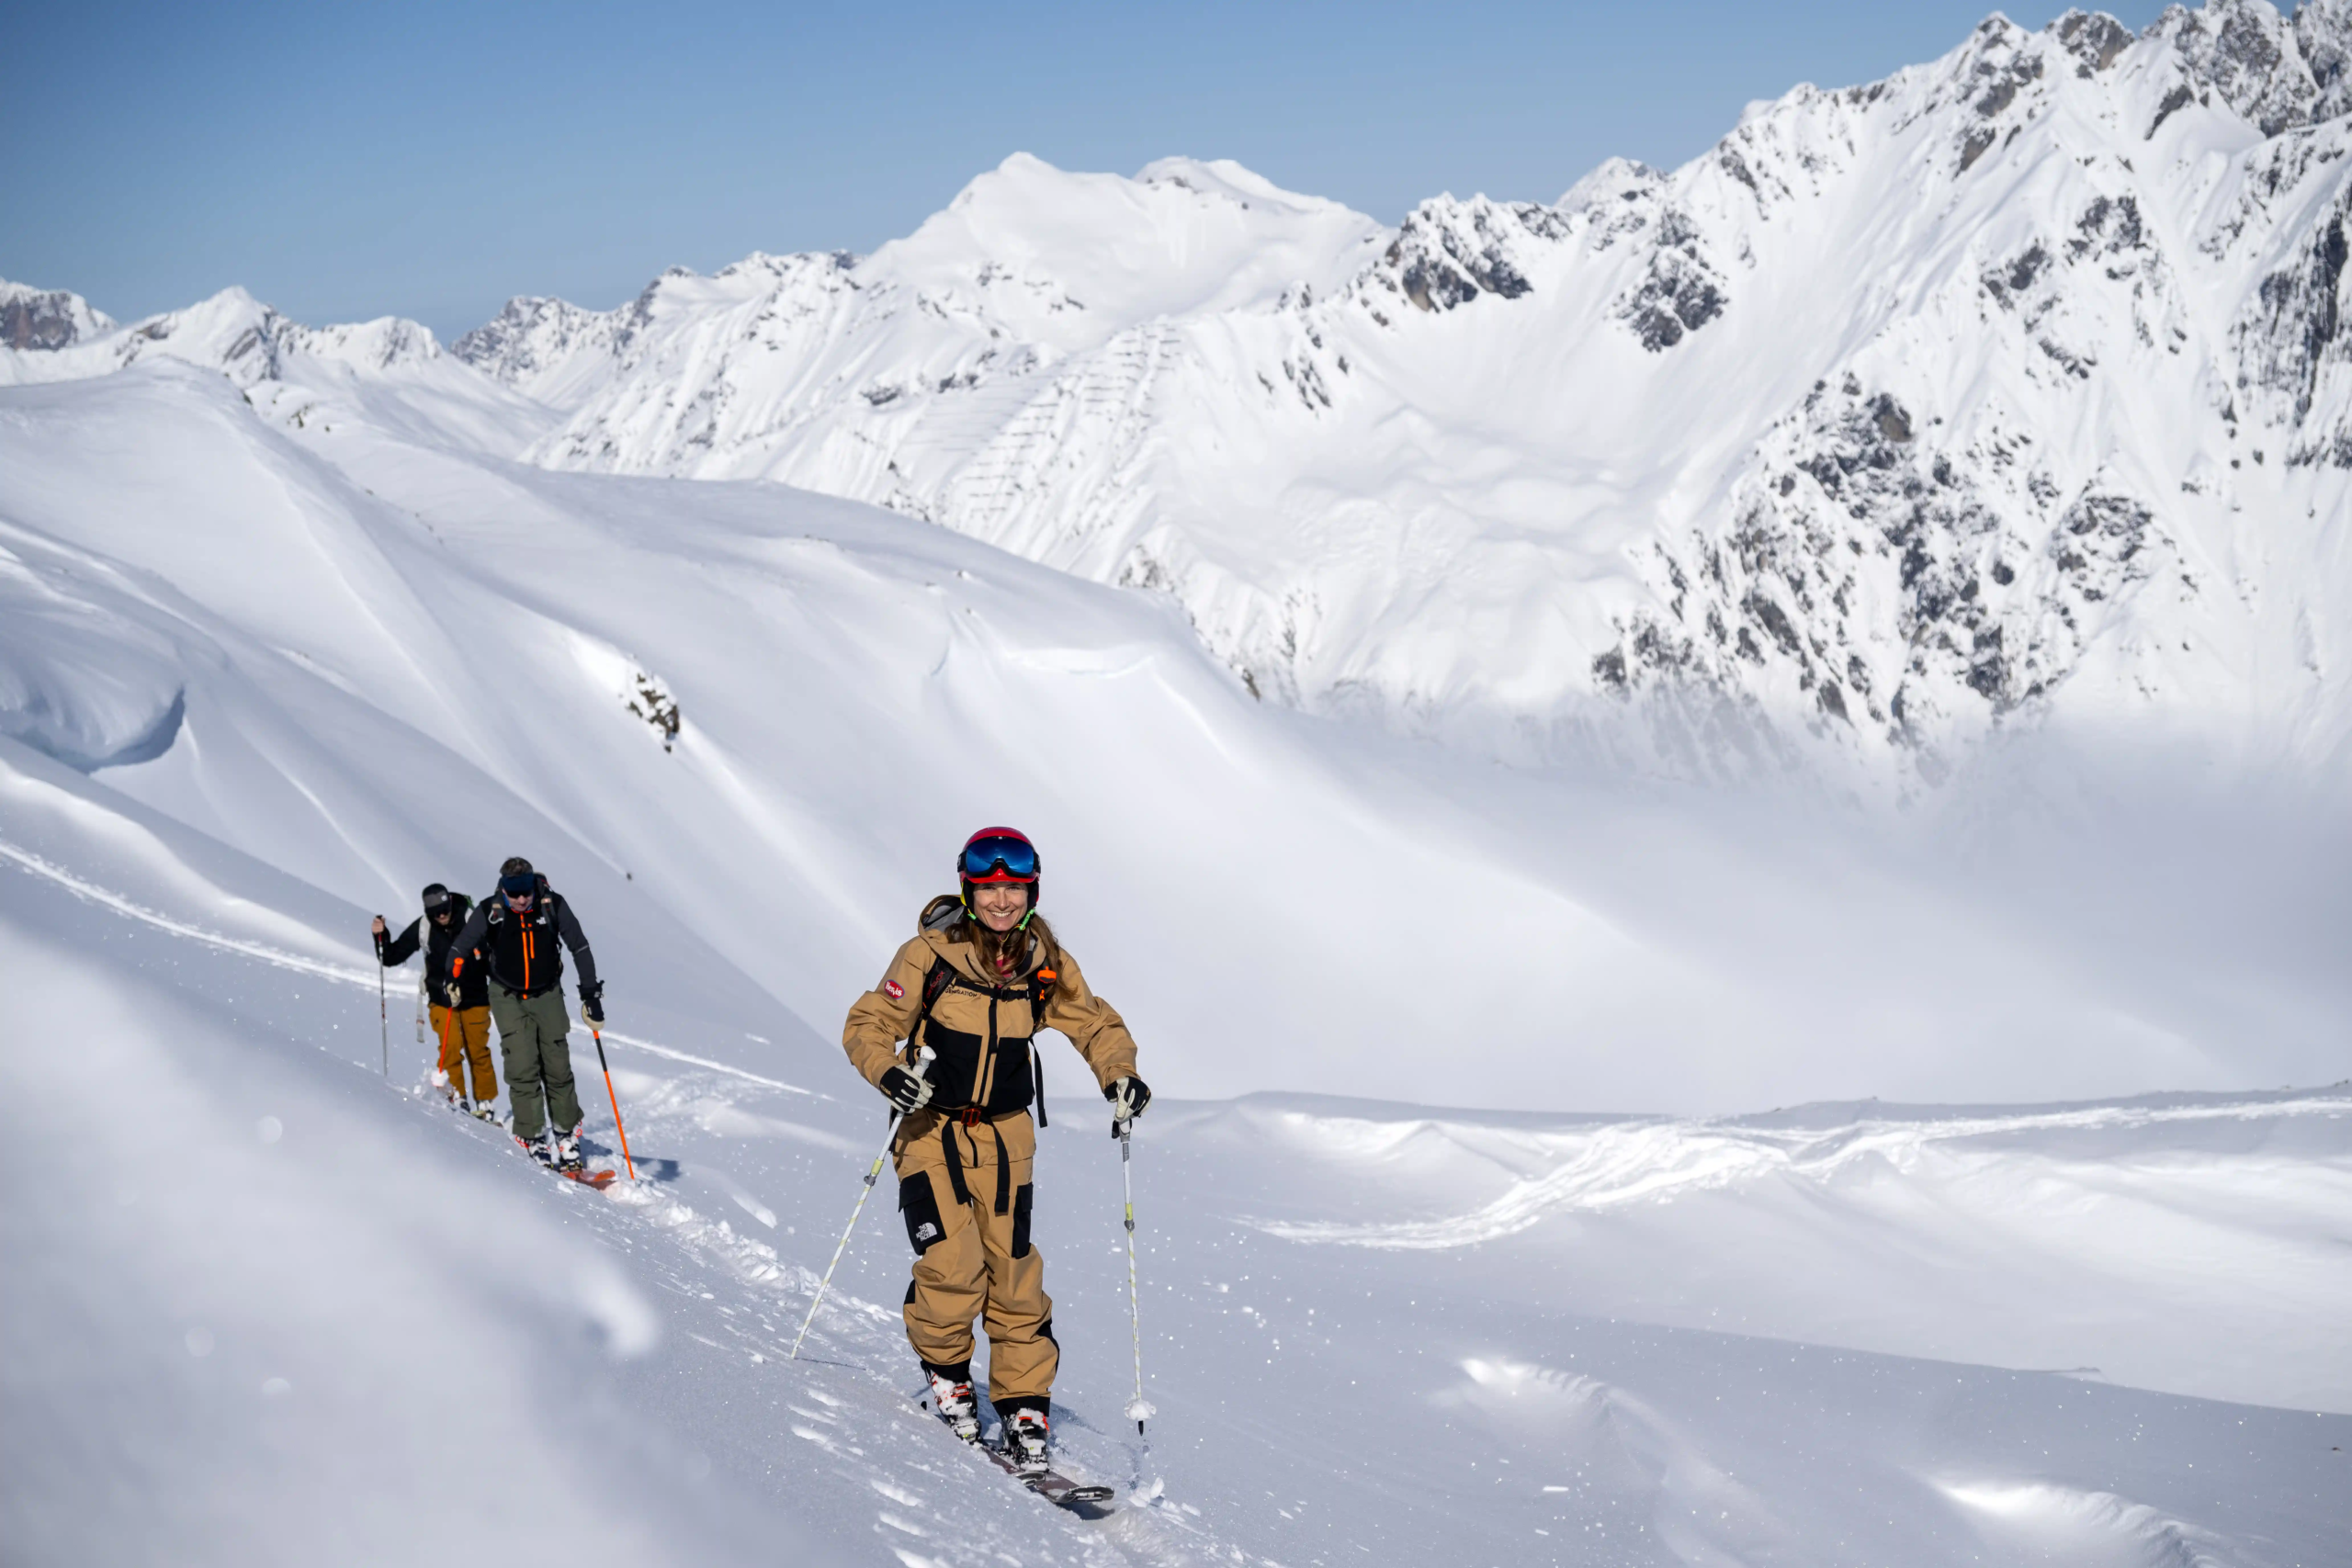
Skimo – This is the road cycling of the Ski Touring World. Every gram you can save can make the difference between winning and losing a race. Going up is as, if not more important than going down. You’ll see lots of lycra, super skinny skis and ski boots that look utterly alien to the ones you use on a typical holiday.
Classic Touring – is the sport’s version of Gravel Biking or Mountain Biking. How quickly you ascend may be important depending on the individual, but it is mainly about the experience, exploring the terrain and having fun.
Free Touring – With Free Touring, the Touring is often primarily a means of access, allowing you to travel large distances quickly to find unique and challenging terrain with better snow that is less likely to have been skied if it has been skied at all.
Essential Equipment for Beginners
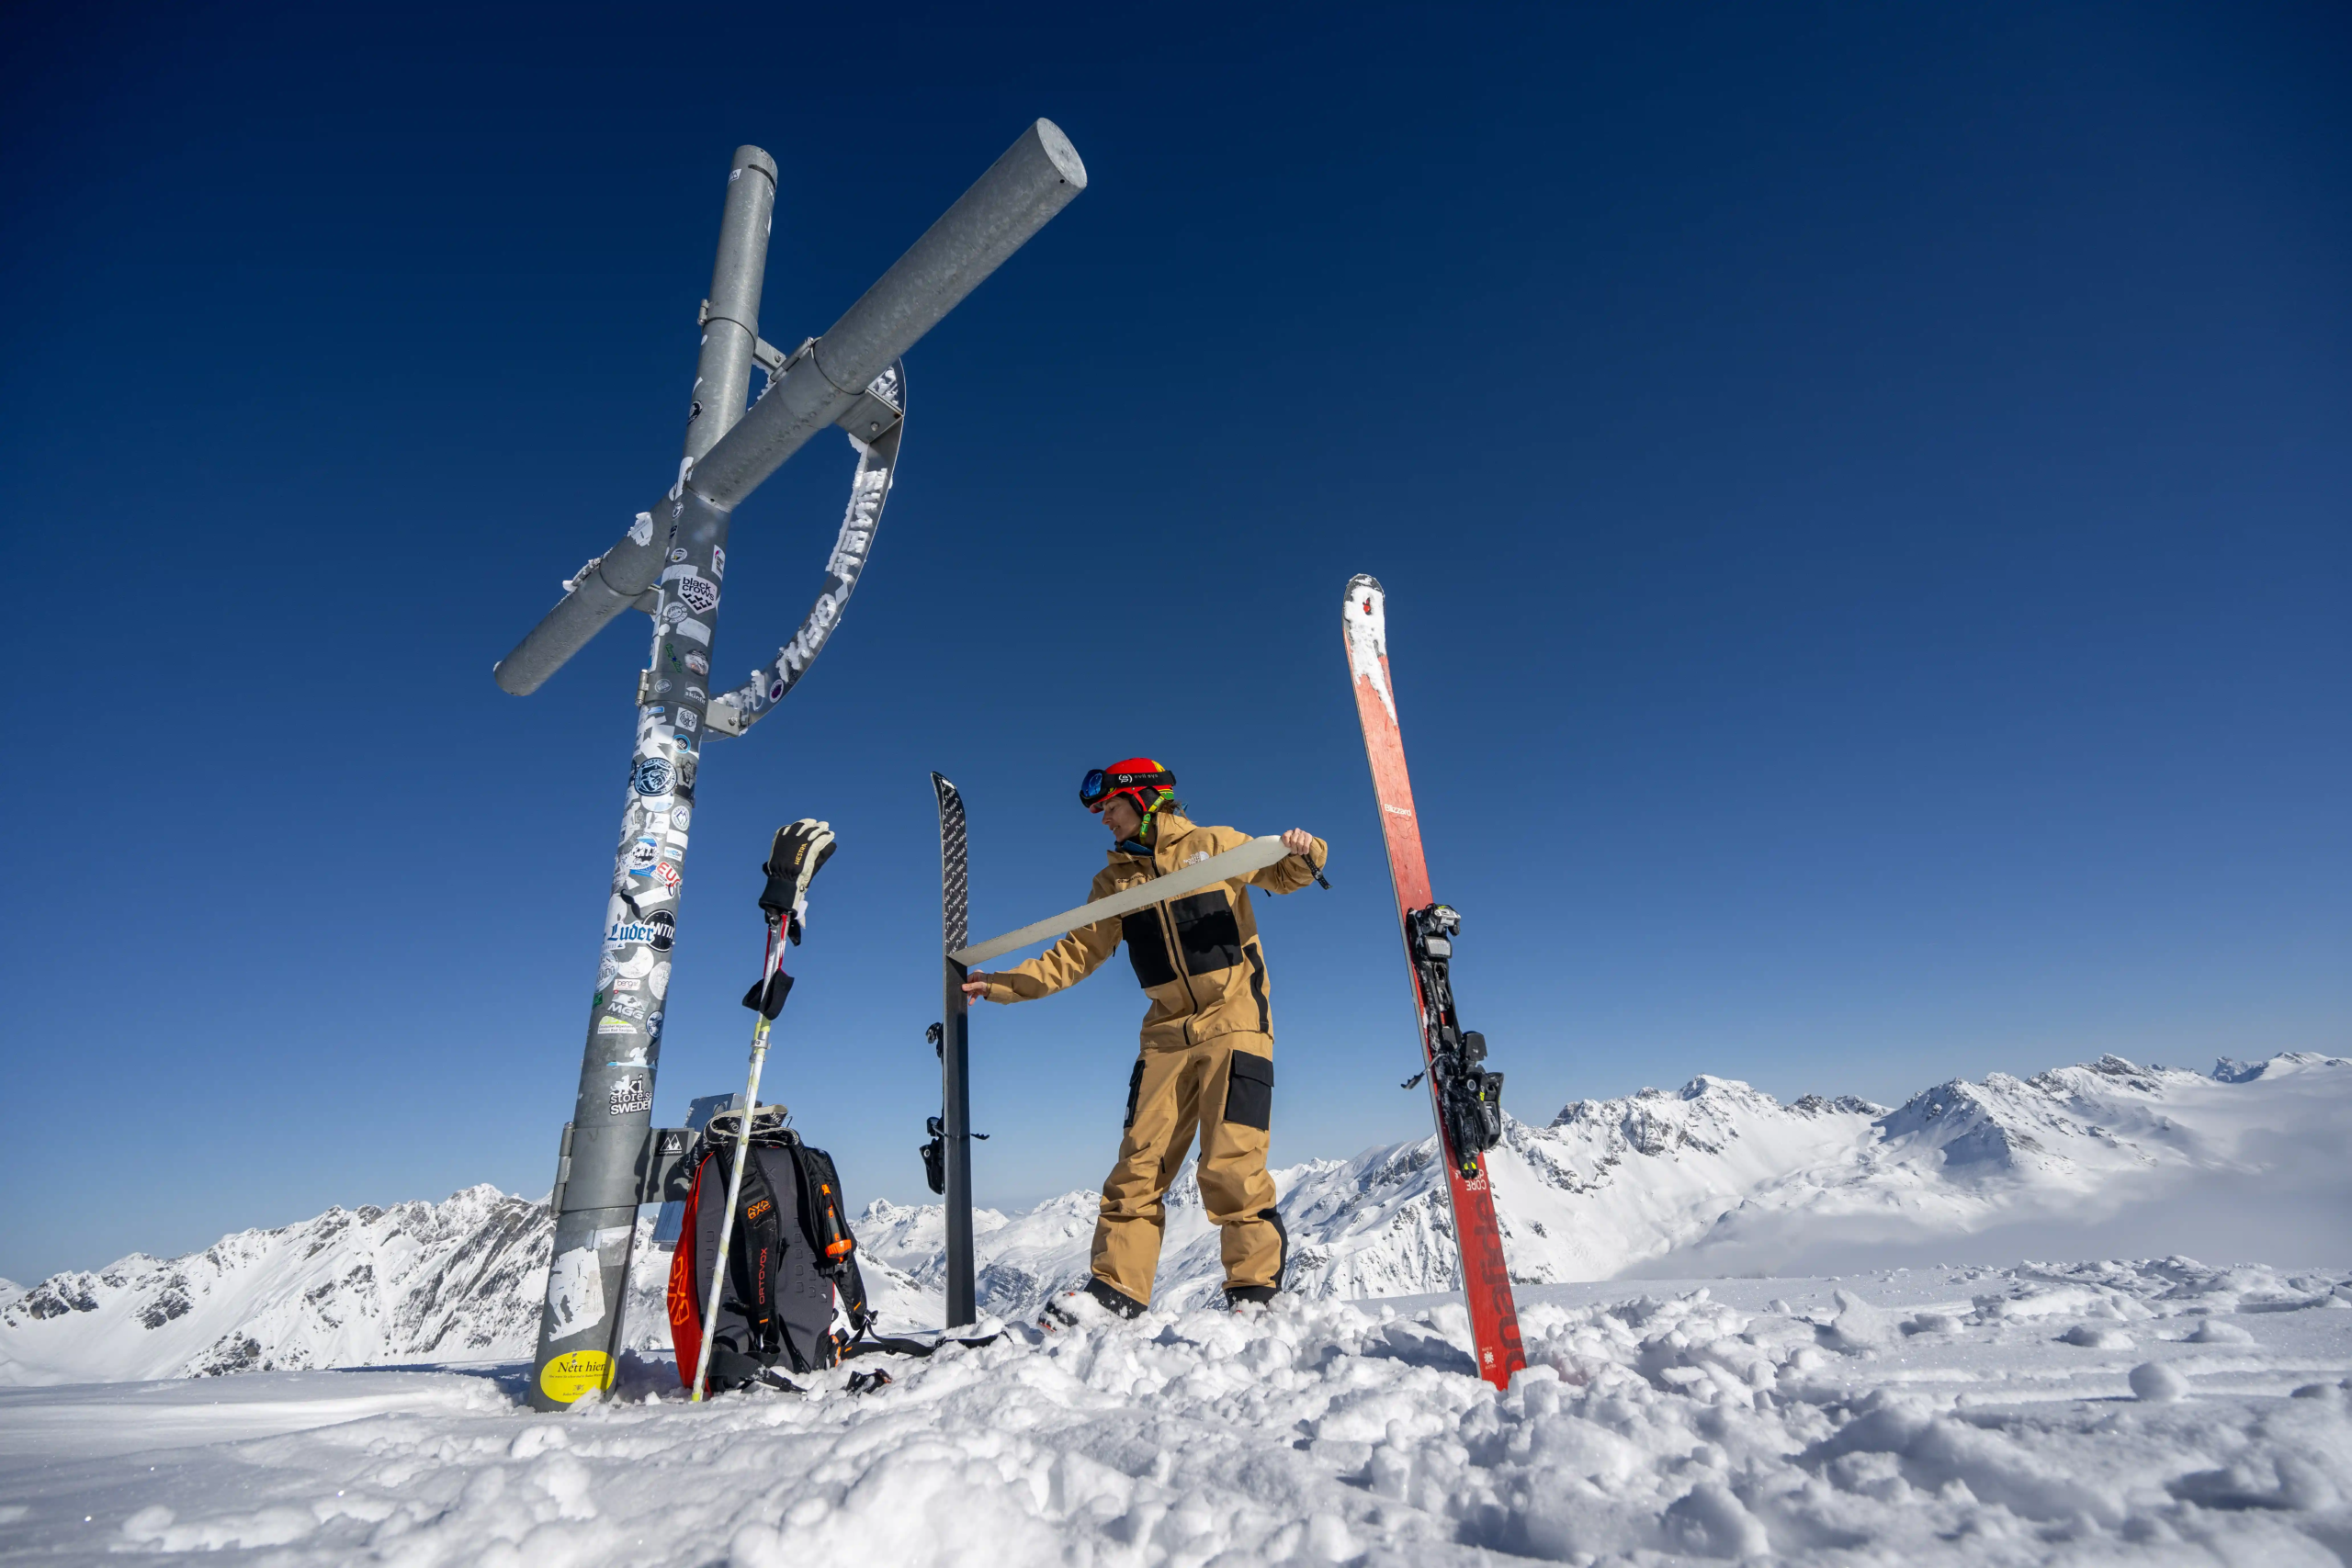
To move uphill on Skis, you need a few specialist bits of kit. We go into these in more detail later, but at the very least, you’ll need:
- Touring Bindings – These let your heel lift while walking uphill, allowing for a more natural stride.
- Skins – These attach to the bottom of your skis and prevent the skis from sliding backwards towards the bottom of the hill.
If you’re heading off-piste, you’ll also need avalanche safety equipment.
As with any sport, getting hung up on having the latest and greatest gear is easy. But while you find your feet, there is no need.
Once you’ve got the essentials, you’re ready to go. If you want to learn alone without a Ski Instructor, we recommend starting on gentle terrain close to a piste.
Top Tip – Put your skins on before putting your bindings into walk mode.
On most bindings, when you switch into walk mode, you also disable the brake on the binding. Not a problem, on the flat or at the bottom of the mountain. But you’ll have a bad day if you drop your ski while fitting your skin on a slope or at the summit, and it vanishes off down the hill.
Check out this video on how to fit your skins.
Time to clip in. You’re ready to go.
How to take your first Ski Touring Steps
Get the Gear: Hire or buy the essential gear needed to start ski touring. The more specialist gear you can afford, the more comfortable your day will be. Much of the clothing will also be great for piste skiing, hiking, and other outdoor sports.
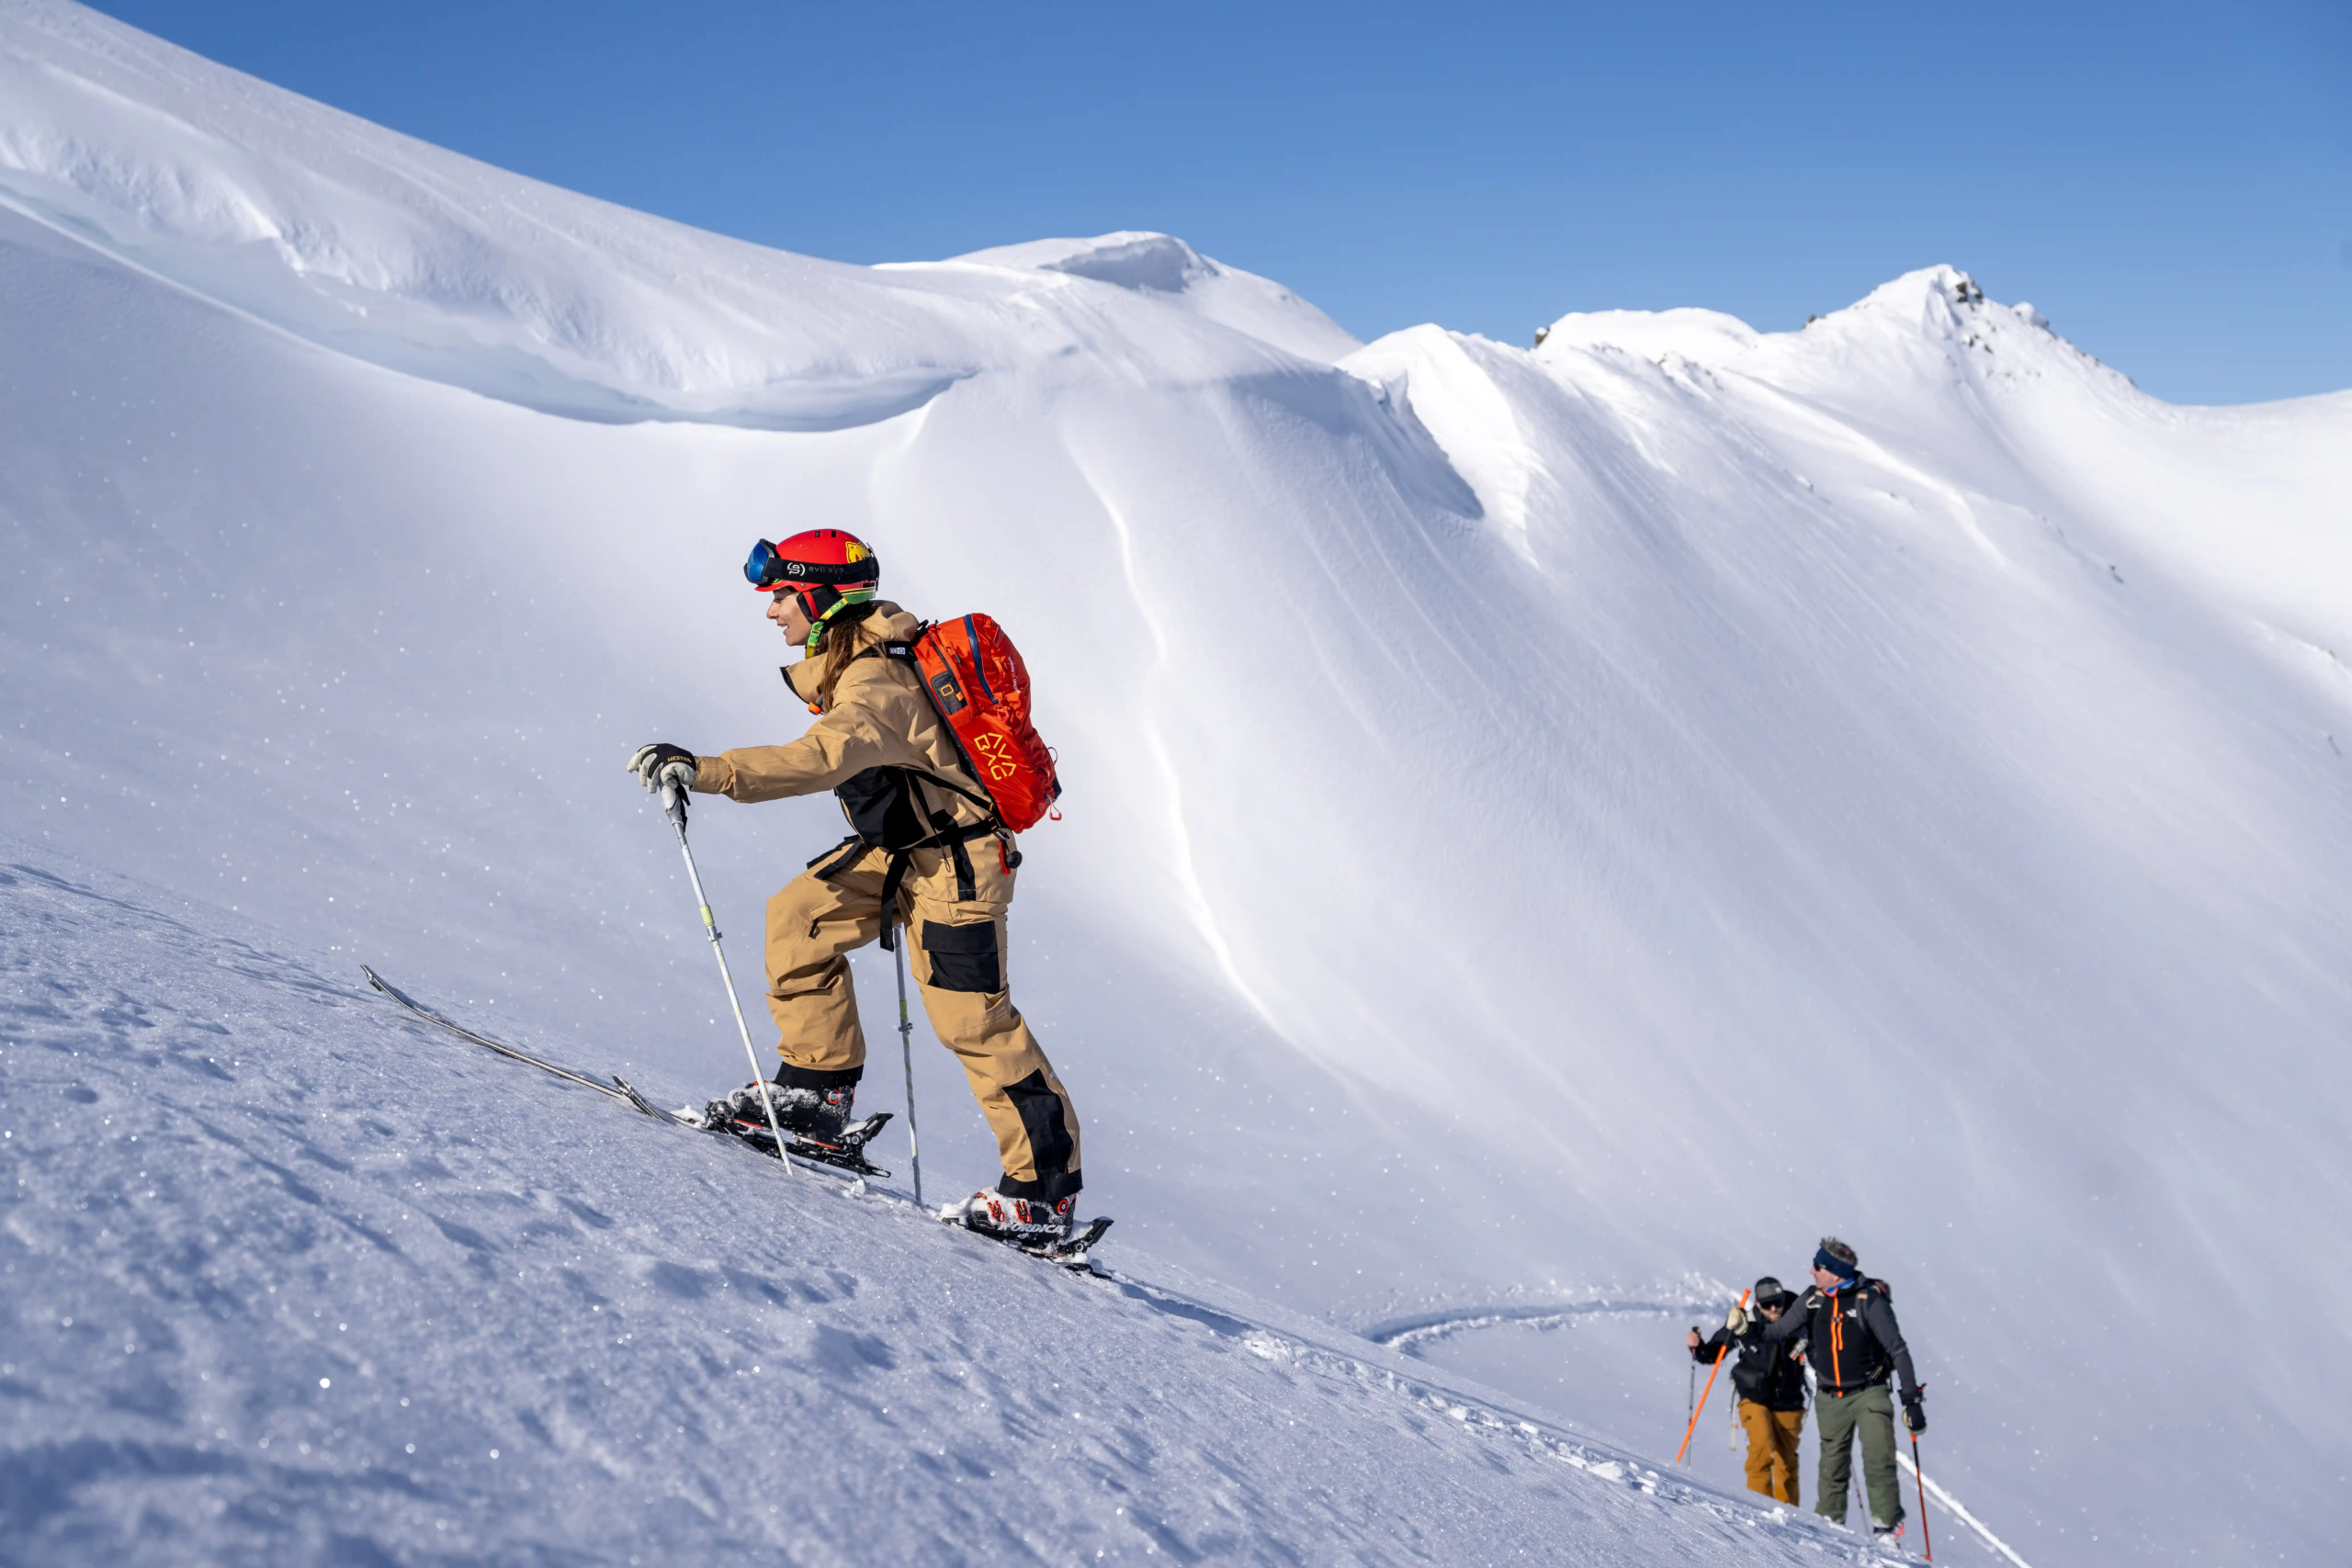
Take those first steps: Walking on skis will feel alien at first. The most common mistake people make when taking their first steps is to pick each ski up off the snow as they step forward. Instead, you want to slide each ski forward along the snow. Try to keep your skis in contact with the snow to reduce fatigue while still being able to move forward in a nice gliding motion.
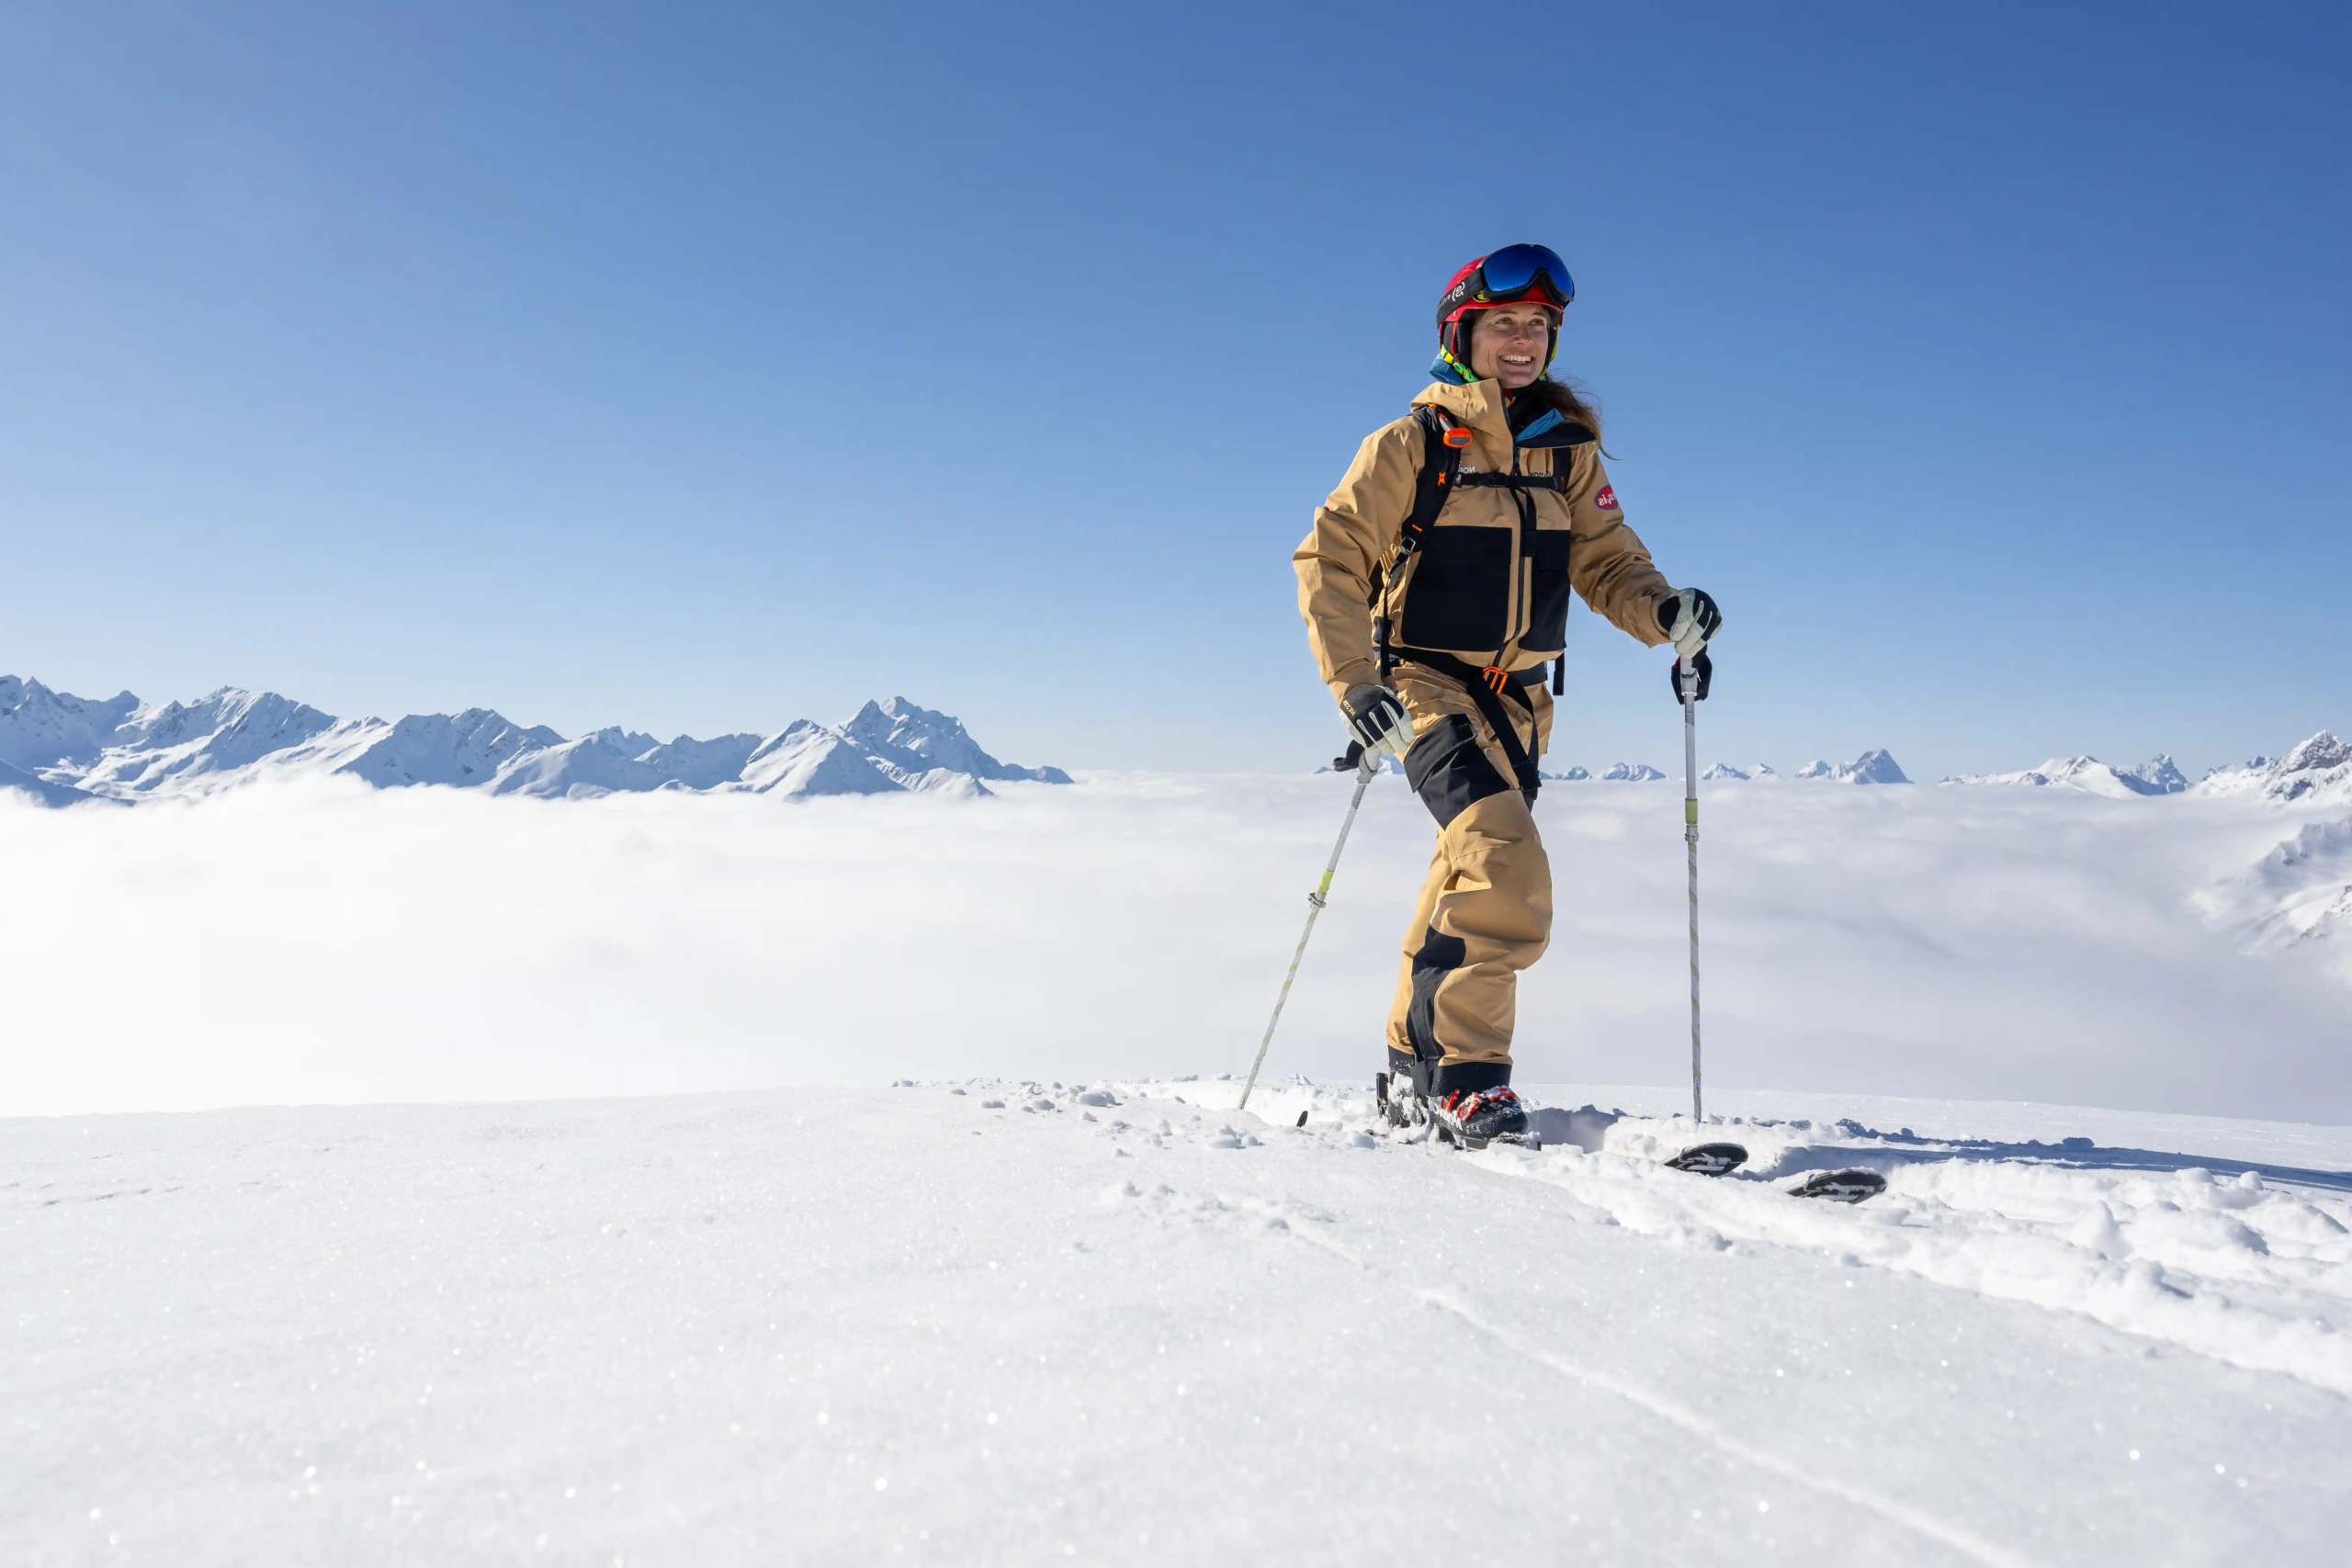
It’s like scuffing your feet as a child, something your parents probably told you off for.
Get some Training: While you can learn independently, we recommend getting some professional coaching. While the basics may seem easy, as soon as you hit steeper or icy terrain, things can quickly go sideways. Sometimes literally. With the correct technique, you can travel further and faster.
Our Ski Instructors and guides can help plan routes perfect for your ability level and experience. Keeping you safe and letting you focus on the day.
Ski Touring Courses: We offer a variety of Group Ski Touring courses for all levels.
Private Coaching: We offer private coaching if you fancy learning at your own pace.
Start Small
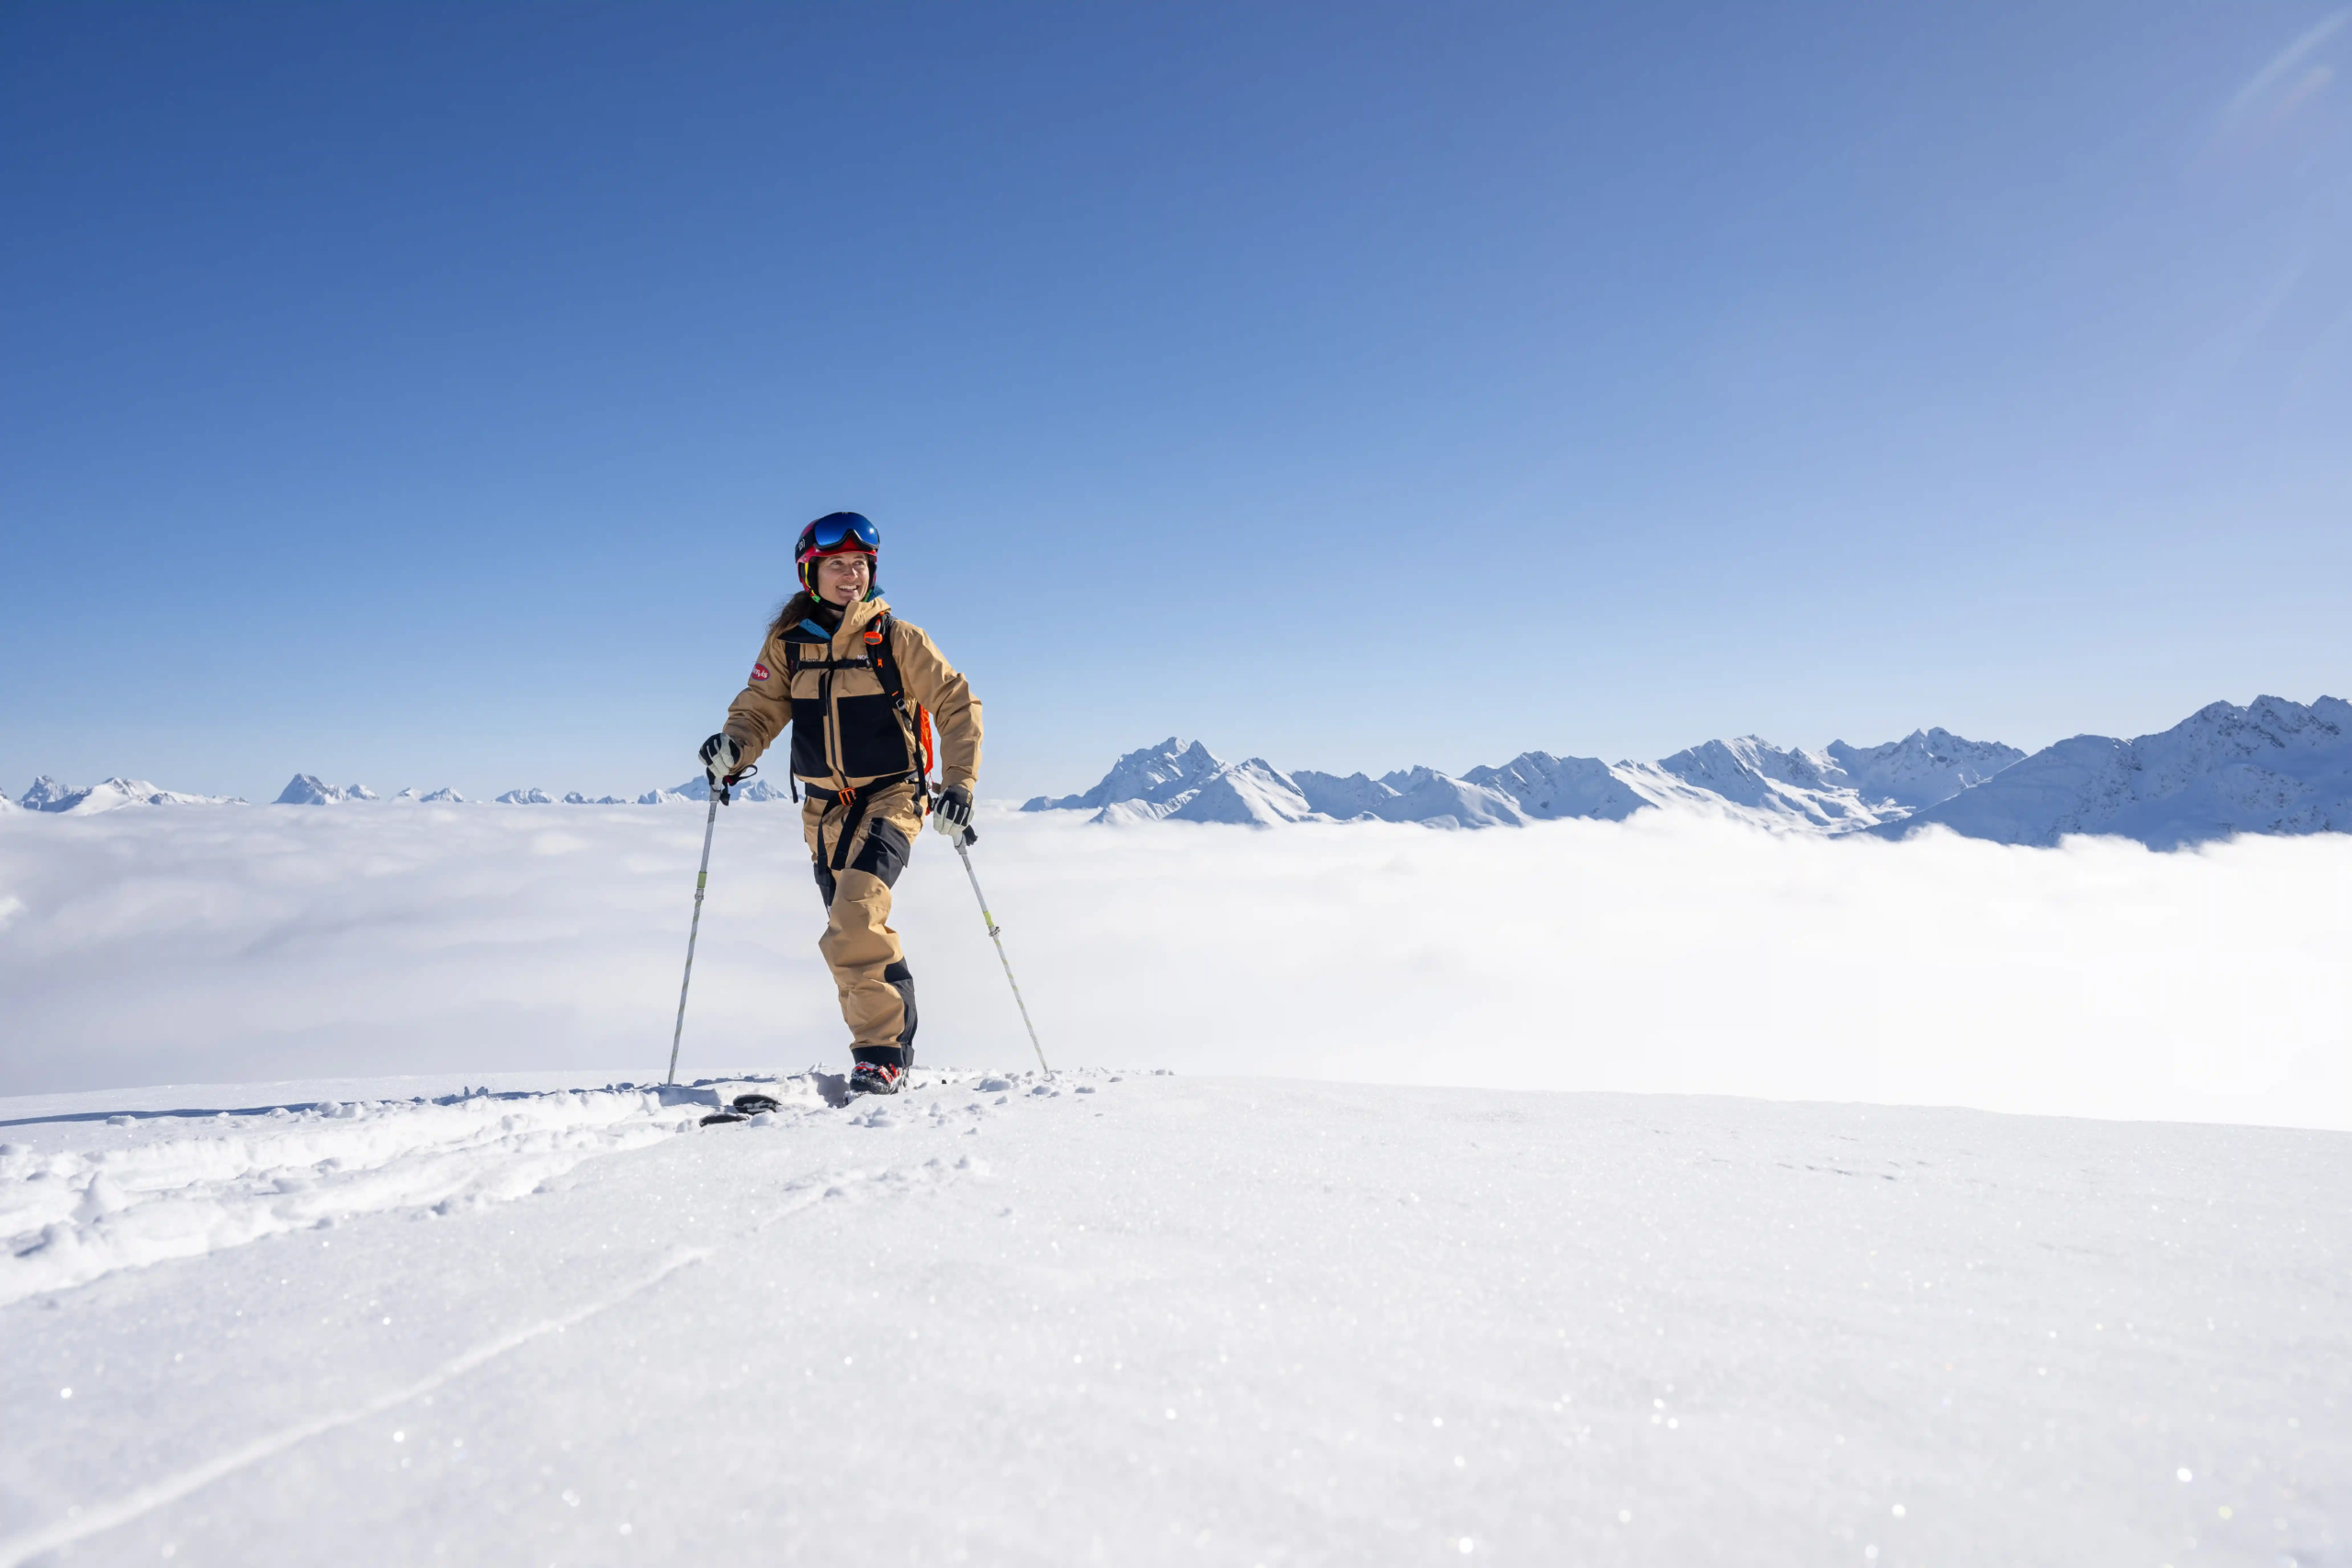
Begin with shorter, less challenging tours to build your confidence and skills. Familiarise yourself with your equipment, learn to read the weather, and practice transitioning from uphill to downhill mode.
Choose gentle, easy terrain in the sunshine. Use a map or an online version like FATMAP to view terrain, find safe routes, and plan accordingly. Regarding pace, you want a leisurely conversational pace. Slow and steady will get you to your destination.
Most resorts have specific ski touring tracks within their area, which are a fantastic place to start. Often, they’re marked with a dashed yellow or purple line on the piste map, but it depends on the resort. You can tour up the side of any piste, but resorts prefer you stick to the marked ski touring pistes as they’re safer (you’re not going against the direction of all other skiers).
Join a Group
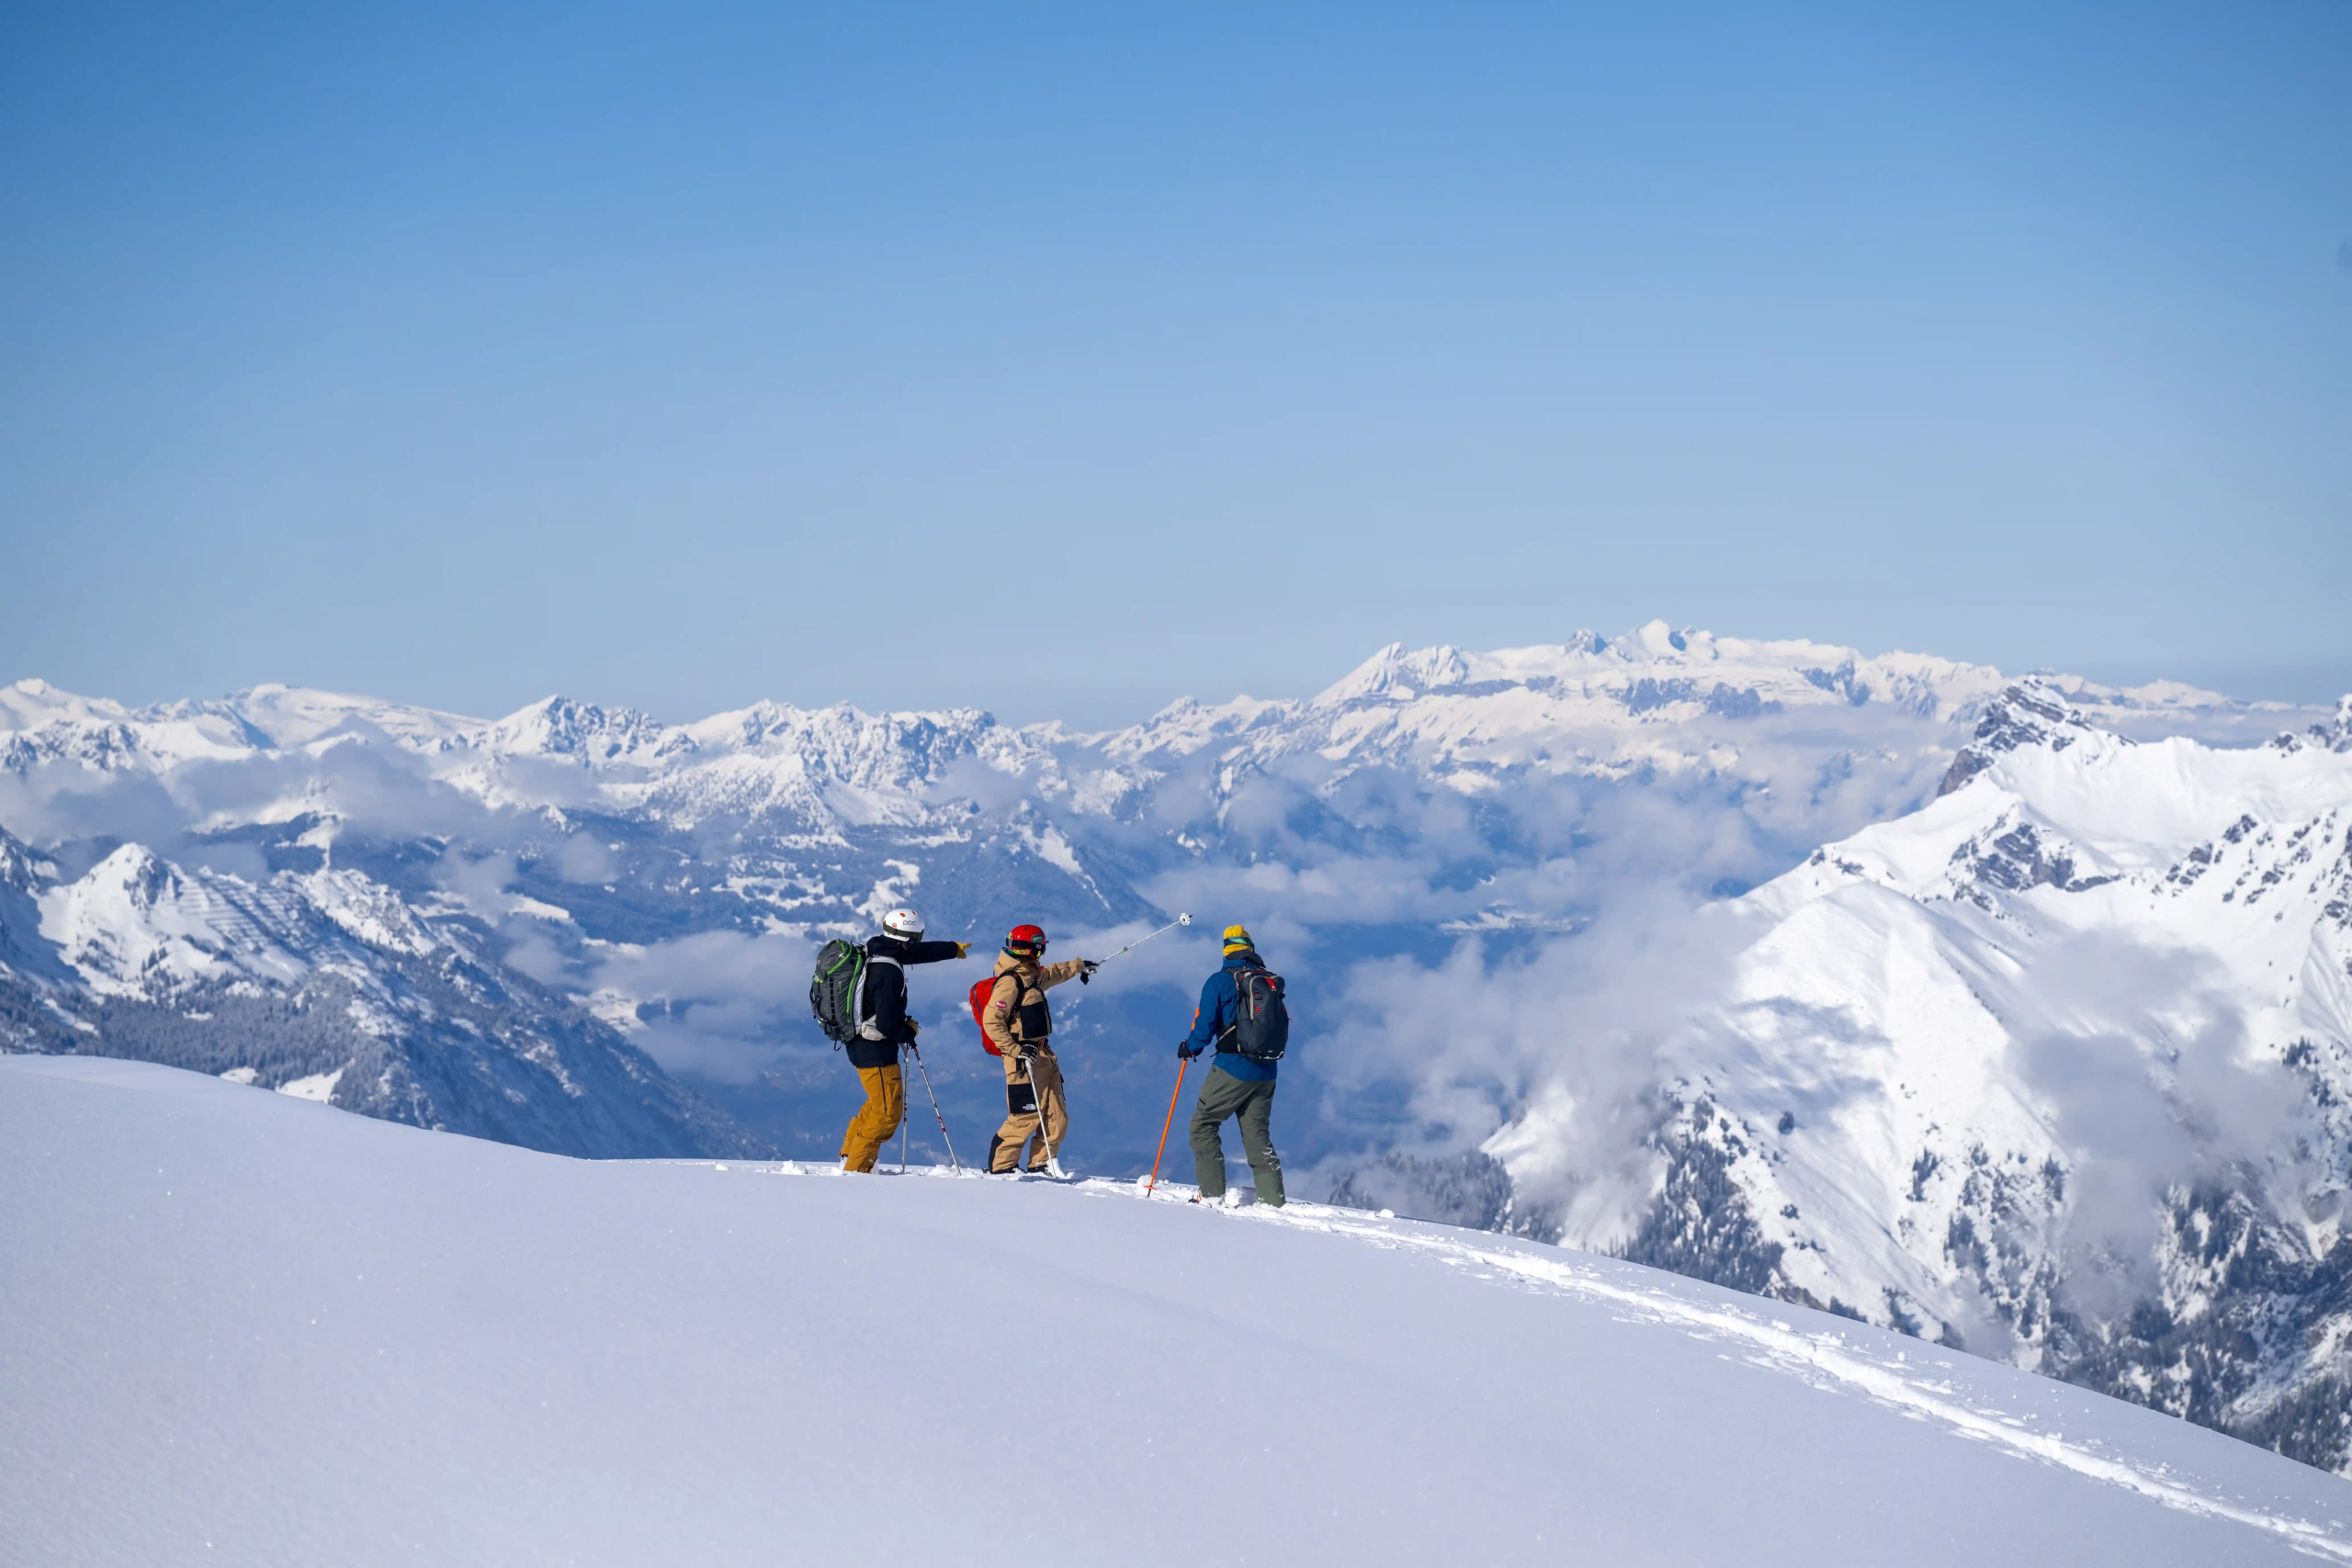
Ski touring is more enjoyable and safer when done with others. Join a local club, or find a group of experienced skiers who can offer guidance and support.
We regularly run group ski touring courses and teach private ski touring sessions. If you’re looking for others to ski tour with or want to boost your confidence, we can help. Our experienced guides are here to help you refine your skills and choose the perfect route for your ski-touring adventures. Take the first step towards becoming a confident and capable ski tourer with our group off-piste courses.
Check out this helpful YouTube video on planning your next ski tour, packing for ski touring, putting climbing skins on, using pin bindings, kicking turns, choosing a safe line to walk up, and much more.
Nutrition
Proper nutrition and hydration are paramount for any ski touring adventure. They ensure you maintain energy levels and perform at your best throughout the day.
- Begin your day with a hearty breakfast rich in complex carbohydrates and proteins. Think porridge with nuts and fruits or eggs on whole-grain toast. These foods provide a slow release of energy, keeping you fuller for longer.
- On the mountain, carry a selection of high-energy snacks that are easy to eat while on the move. Trail mix, energy bars, dried fruits, and nuts are excellent choices as they balance carbohydrates, proteins, and fats to stabilise your energy levels. Hydration is equally crucial. Drink regularly, even if you aren’t thirsty, as the cold can mask dehydration.
- For lunch, choose a balanced meal with a good source of lean protein, vegetables, and some whole grains to sustain you for the rest of the day. Wraps with lean meat (or vegan alternative), hummus, and a piece of fruit are practical options. Avoid heavy, greasy foods that weigh you down and make you sluggish.
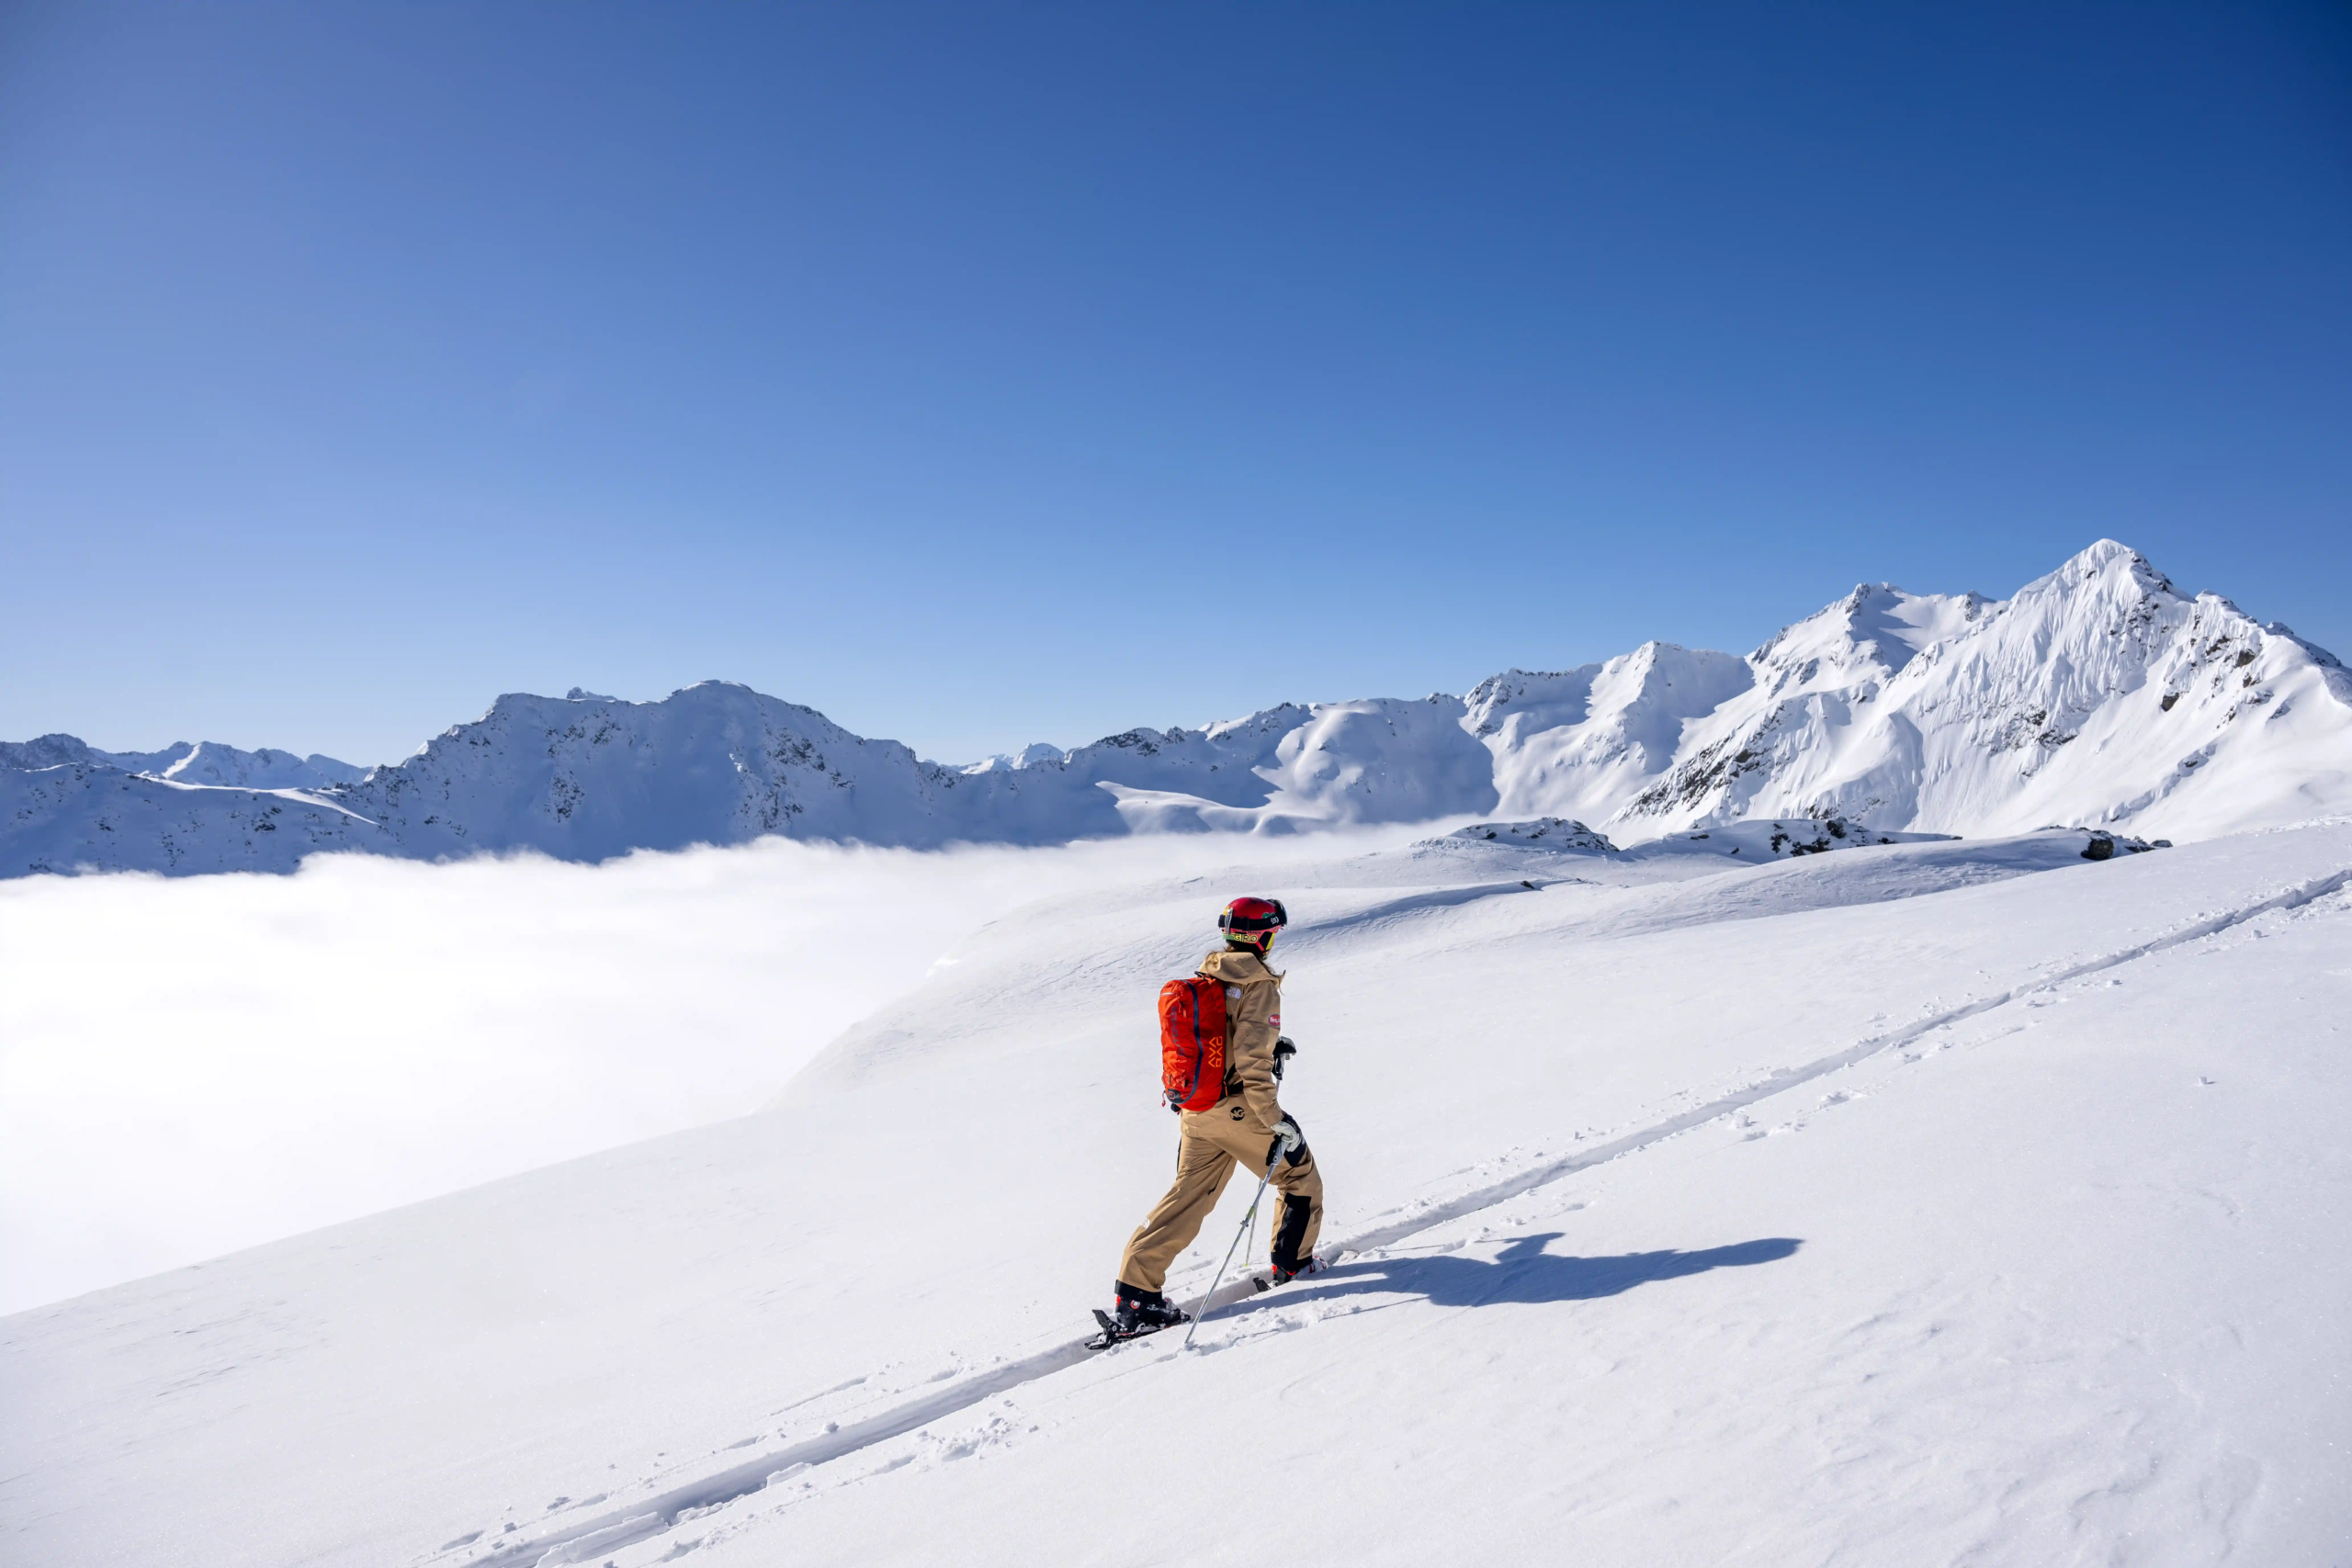
Lastly, always pack more food and water than you think you’ll need—conditions can change, and emergencies can arise. Being well-prepared will ensure you have a safe and enjoyable time ski touring.
Environmental considerations
You’ll unlikely find a toilet when ski touring in the backcountry. Yes, there are mountain refuges where you can stop, have lunch and shelter from the weather. But you can’t rely on them being there when you need to go.
Leave No Trace Principles for Ski Touring in the Mountains
Adhering to Leave No Trace principles is essential for preserving the natural beauty and integrity of the mountainous environments. Following these guidelines minimises your environmental impact and ensures that the backcountry remains pristine for future generations.
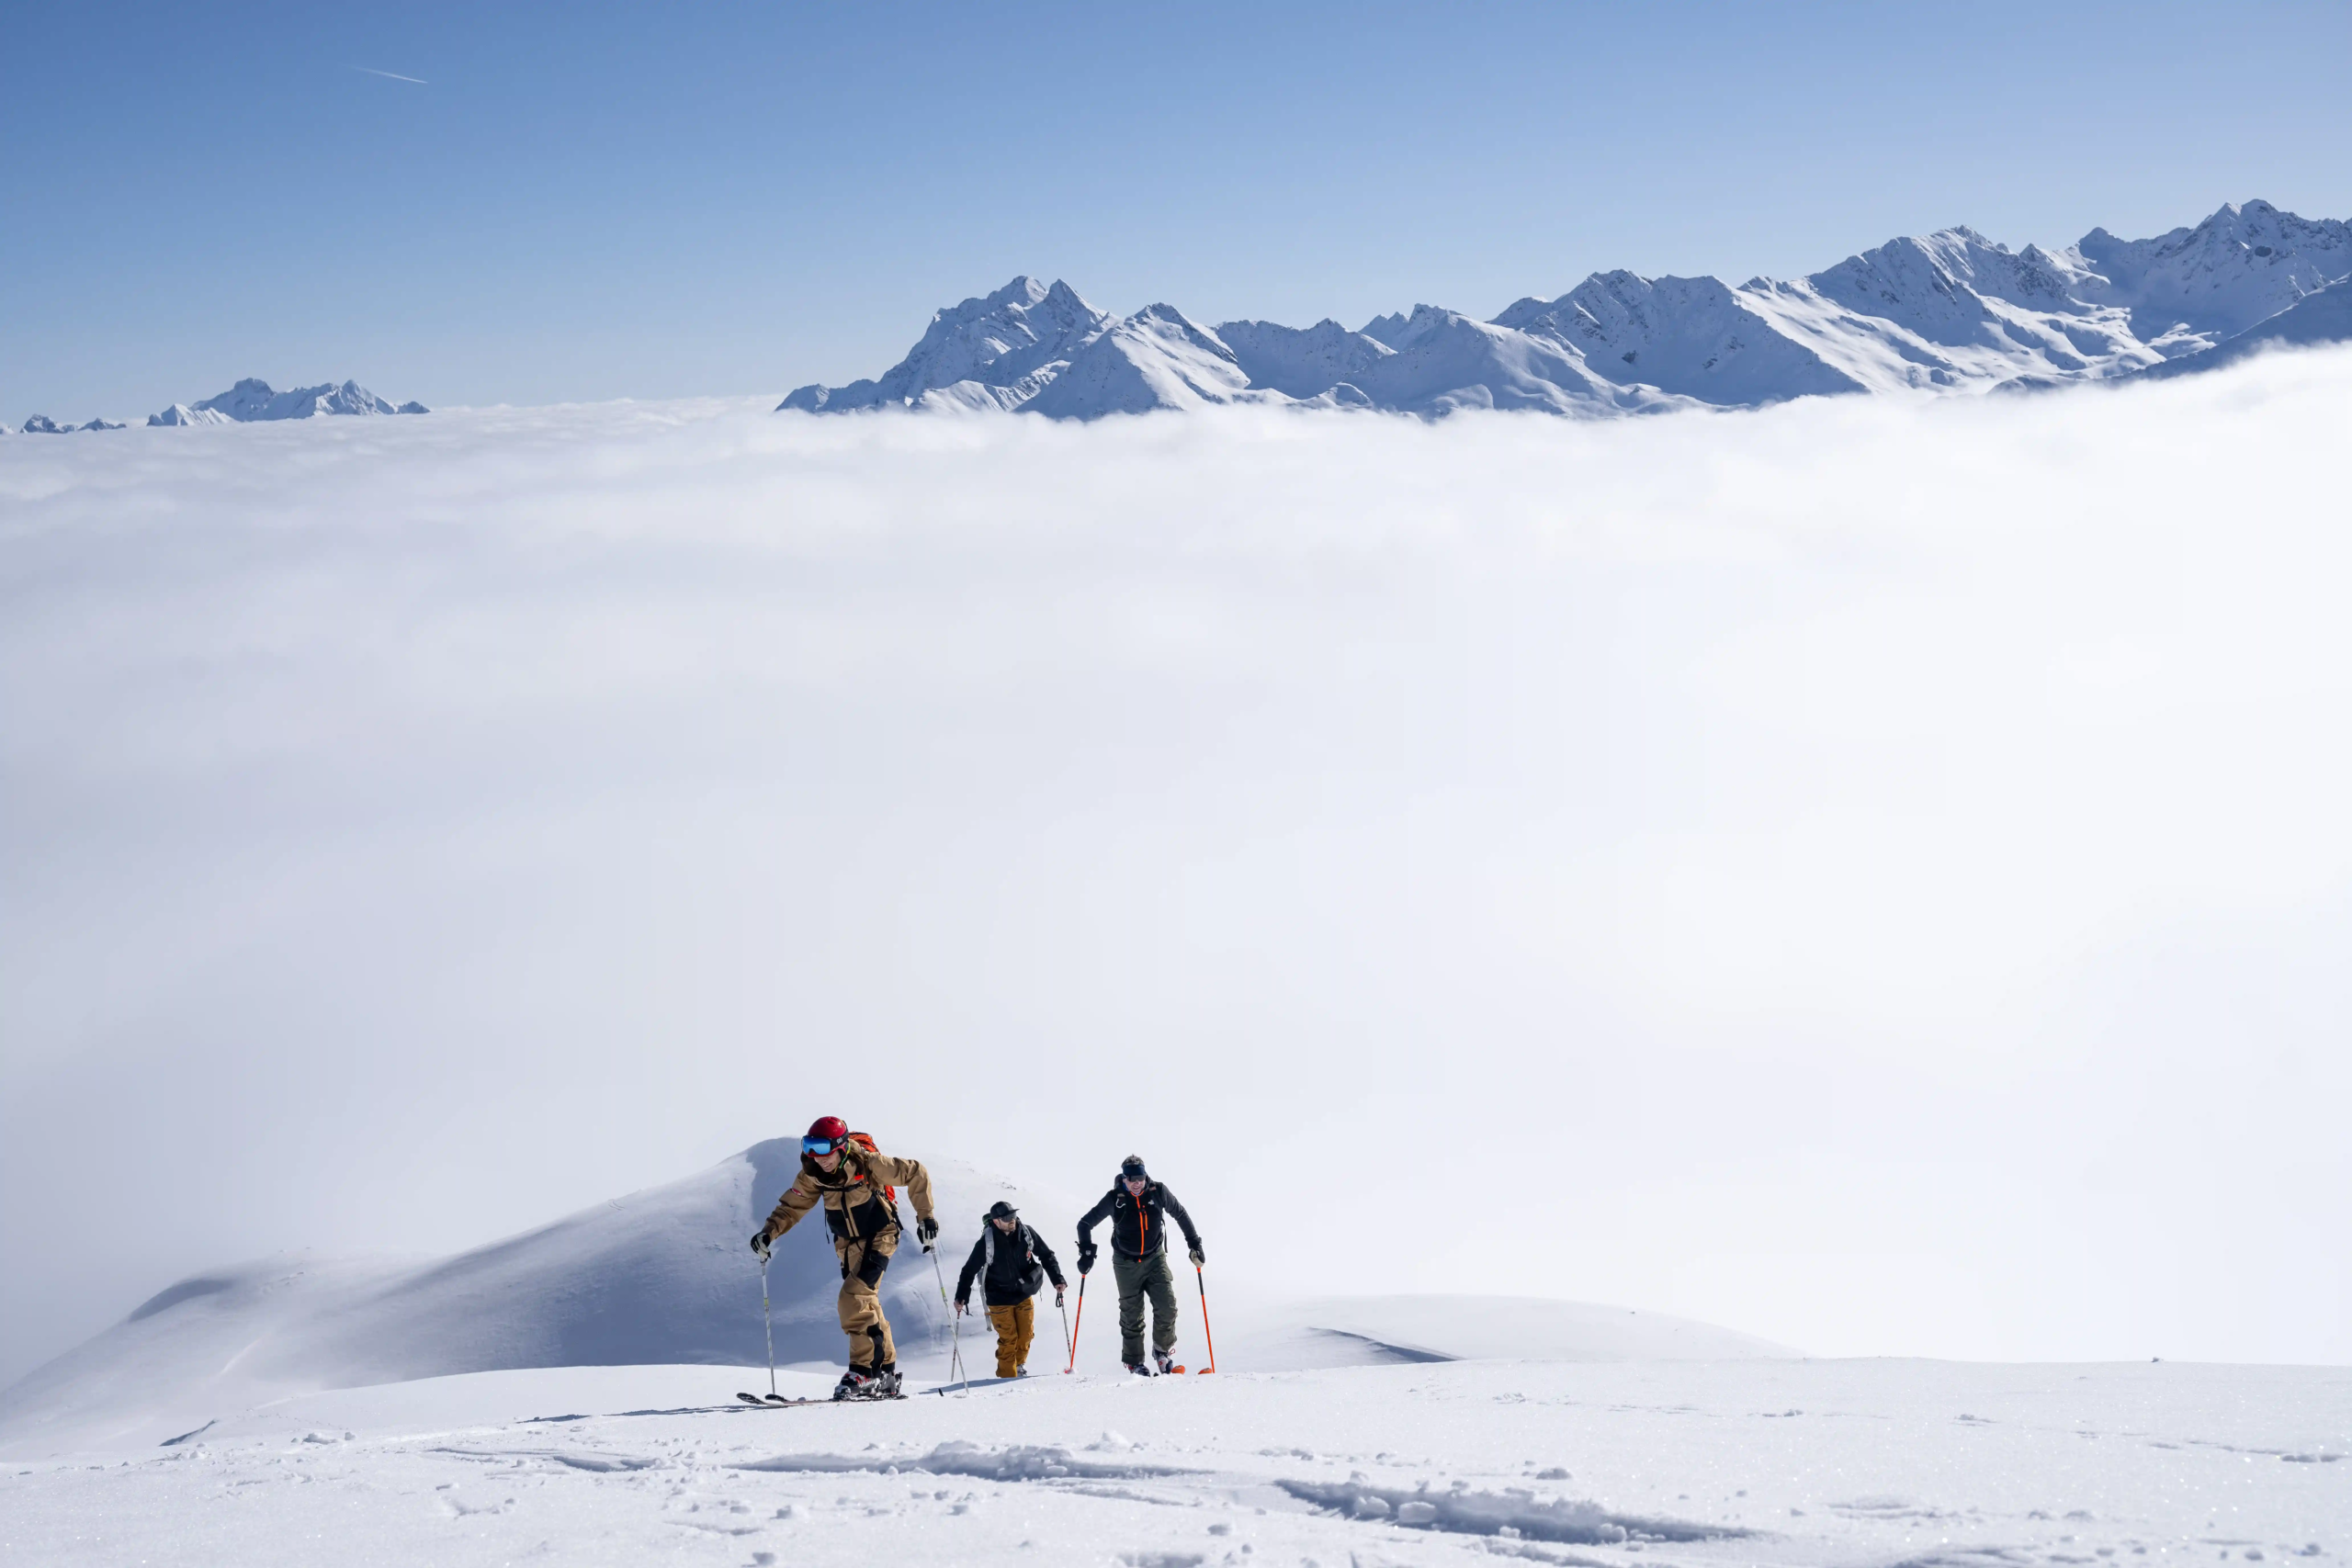
- Plan and Prepare: Research your route, understand the local regulations, and be prepared for changing weather conditions. Proper planning helps reduce the chances of needing emergency interventions and minimises your environmental impact.
- Travel: In winter, travelling in snow has less impact on plant life, but be mindful of sensitive areas.
- Dispose of Waste Properly: Take away everything you bring, including biodegradable waste like food scraps. If you’re skiing in a remote area away from facilities, follow the best practices for human waste disposal in the wild. That means digging a pit and steering clear of water sources when you need to do your business.
- Leave What You Find: Preserve nature’s beauty and history by leaving rocks, plants, and other natural objects as you find them. Avoid building structures or altering the environment in any way.
- Respect Wildlife: Observe wildlife from a distance and avoid disturbing them. Winter is challenging for many animals. Unnecessary stress can harm their survival. Do not feed wild animals, and secure your food.
- Be Considerate of Other Visitors: Keep noise levels down, be polite to others on the trail, and be mindful of the shared use of natural spaces. Practise good ski etiquette, such as giving uphill skiers the right of way, skiing one at a time and keeping your group size manageable to avoid crowding.
By incorporating these Leave No Trace principles into your ski touring practices, you contribute to conserving the stunning, wild places that make the ski touring experience unique.
Ski Touring Equipment
Ski Touring Bindings
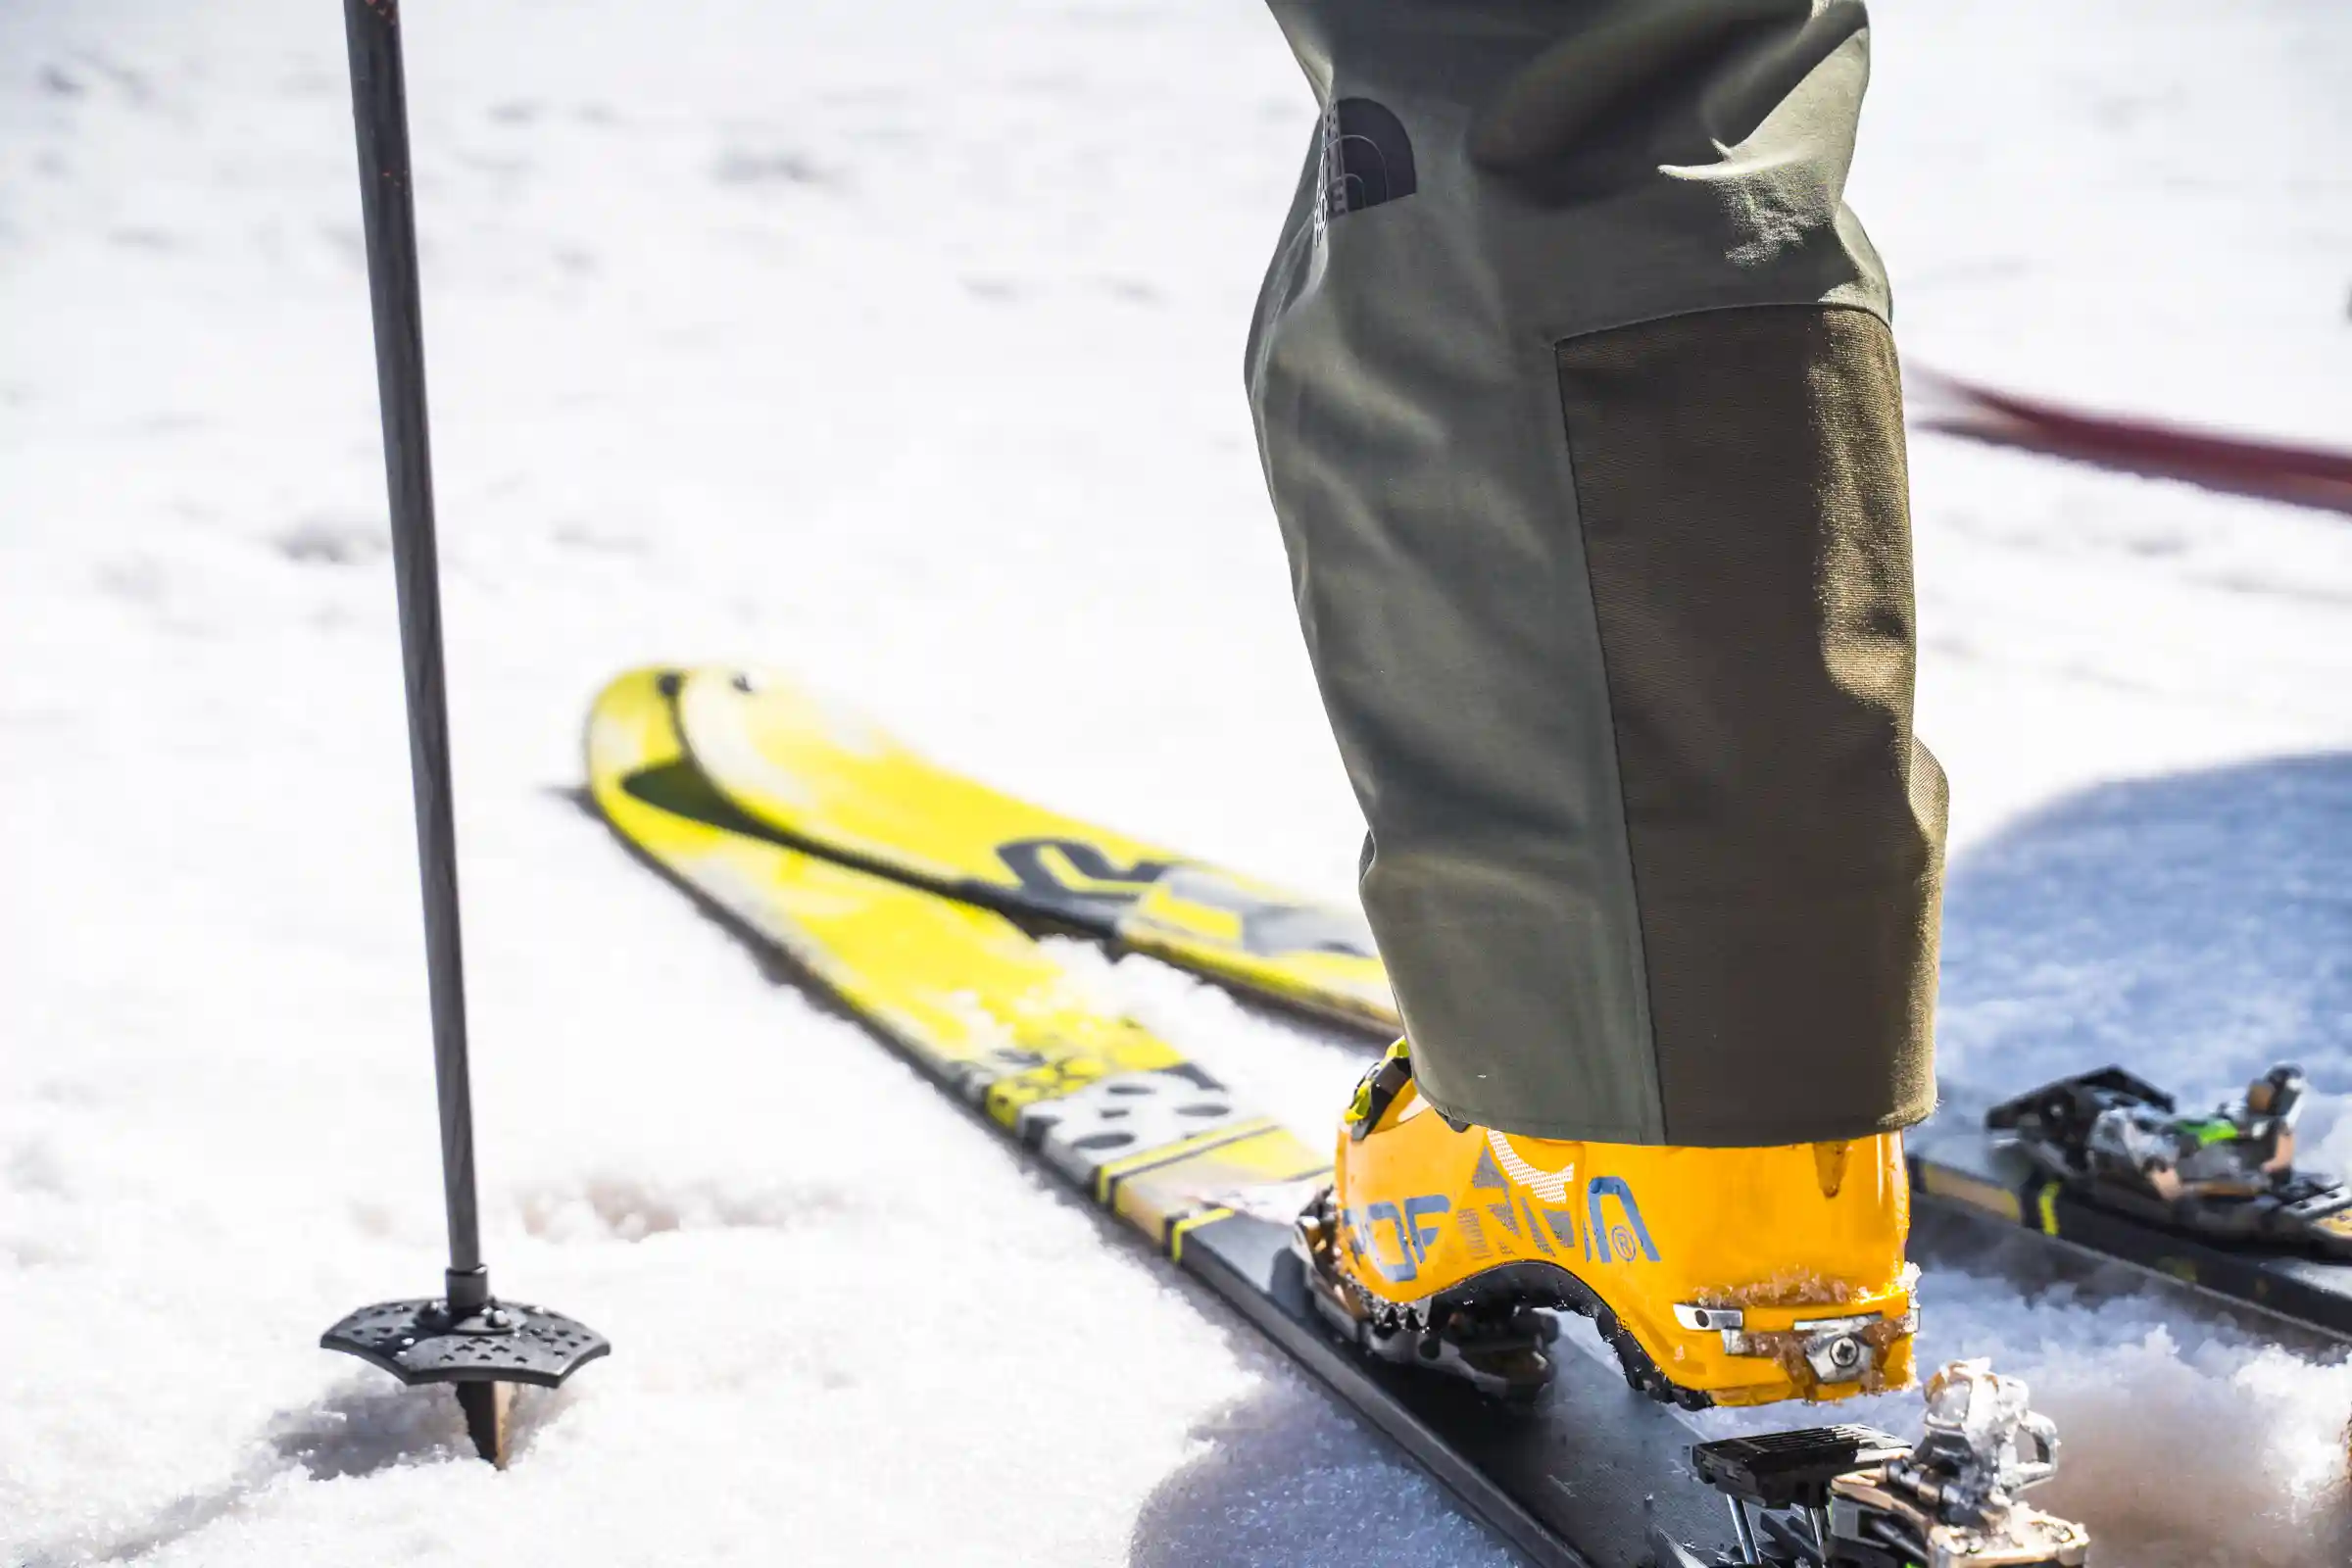
There are two main types of Ski Touring Binding: Frame Bindings and Pin Bindings. Which is right for you will depend on your ski boots, how far you want to travel and your budget.
Frame Bindings: Closely resemble Alpine Bindings and offer the same safety features. They can be used with any Alpine Ski Boot. The Heel and Toe section of the binding are connected via the frame, which gives them their name. In walk mode, most of the binding lifts off the ski.
Pros: Frame bindings are often cheaper, will work with a broader range of boots and will feel more like normal Alpine Bindings on the descents.
Cons: They are very heavy, and the pivot point for the frame is often a long way forward, making the walking motion less efficient.
Pin Bindings: Whereas with Normal Bindings, your boot goes into the binding, Pin bindings work the other way around, and the bindings go into your boot.
Pros: Pin bindings are incredibly light and allow for a natural walking motion.
Cons: You have to have compatible ski boots. Pin Bindings’ safety standards differ from Alpine Bindings and can vary dramatically depending on the binding’s age. The most recent pin bindings are almost comparable to Alpine Bindings, but using them correctly and understanding their features is vital.
The Salomon Shift: The Shift Binding is a newer style of Ski Touring Binding and combines the best of both worlds. It’s a great option if you know you’ll split your time evenly between lift access and backcountry skiing and aren’t worried about weight.
Ski Touring Skins
Skins stick to the bottom of your skis, letting you glide up hills without slipping back down. But did you know there are two main types of skins? Synthetic and Mohair skins.
Synthetic skins, also known as nylon skins, are your mountain-conquering workhorses. They offer outstanding durability and maximum grip. They’re mountain tractors, pulling you up the steepest slopes without a second thought. Perfect if you’re racking up many miles or facing icy and steep terrain. But, like driving a tractor, they can feel a little heavy and won’t glide as effortlessly as their Mohair counterparts.
Mohair Skins. Derived from Angora goats’ hair, Mohair skins are the agile mountain leopard of the skin world. They offer superb glide and are lighter than synthetic skins. Imagine effortlessly zipping across flat terrain or up gentle inclines. But remember, they might not provide the same steep incline grip or last as long as their synthetic pals.
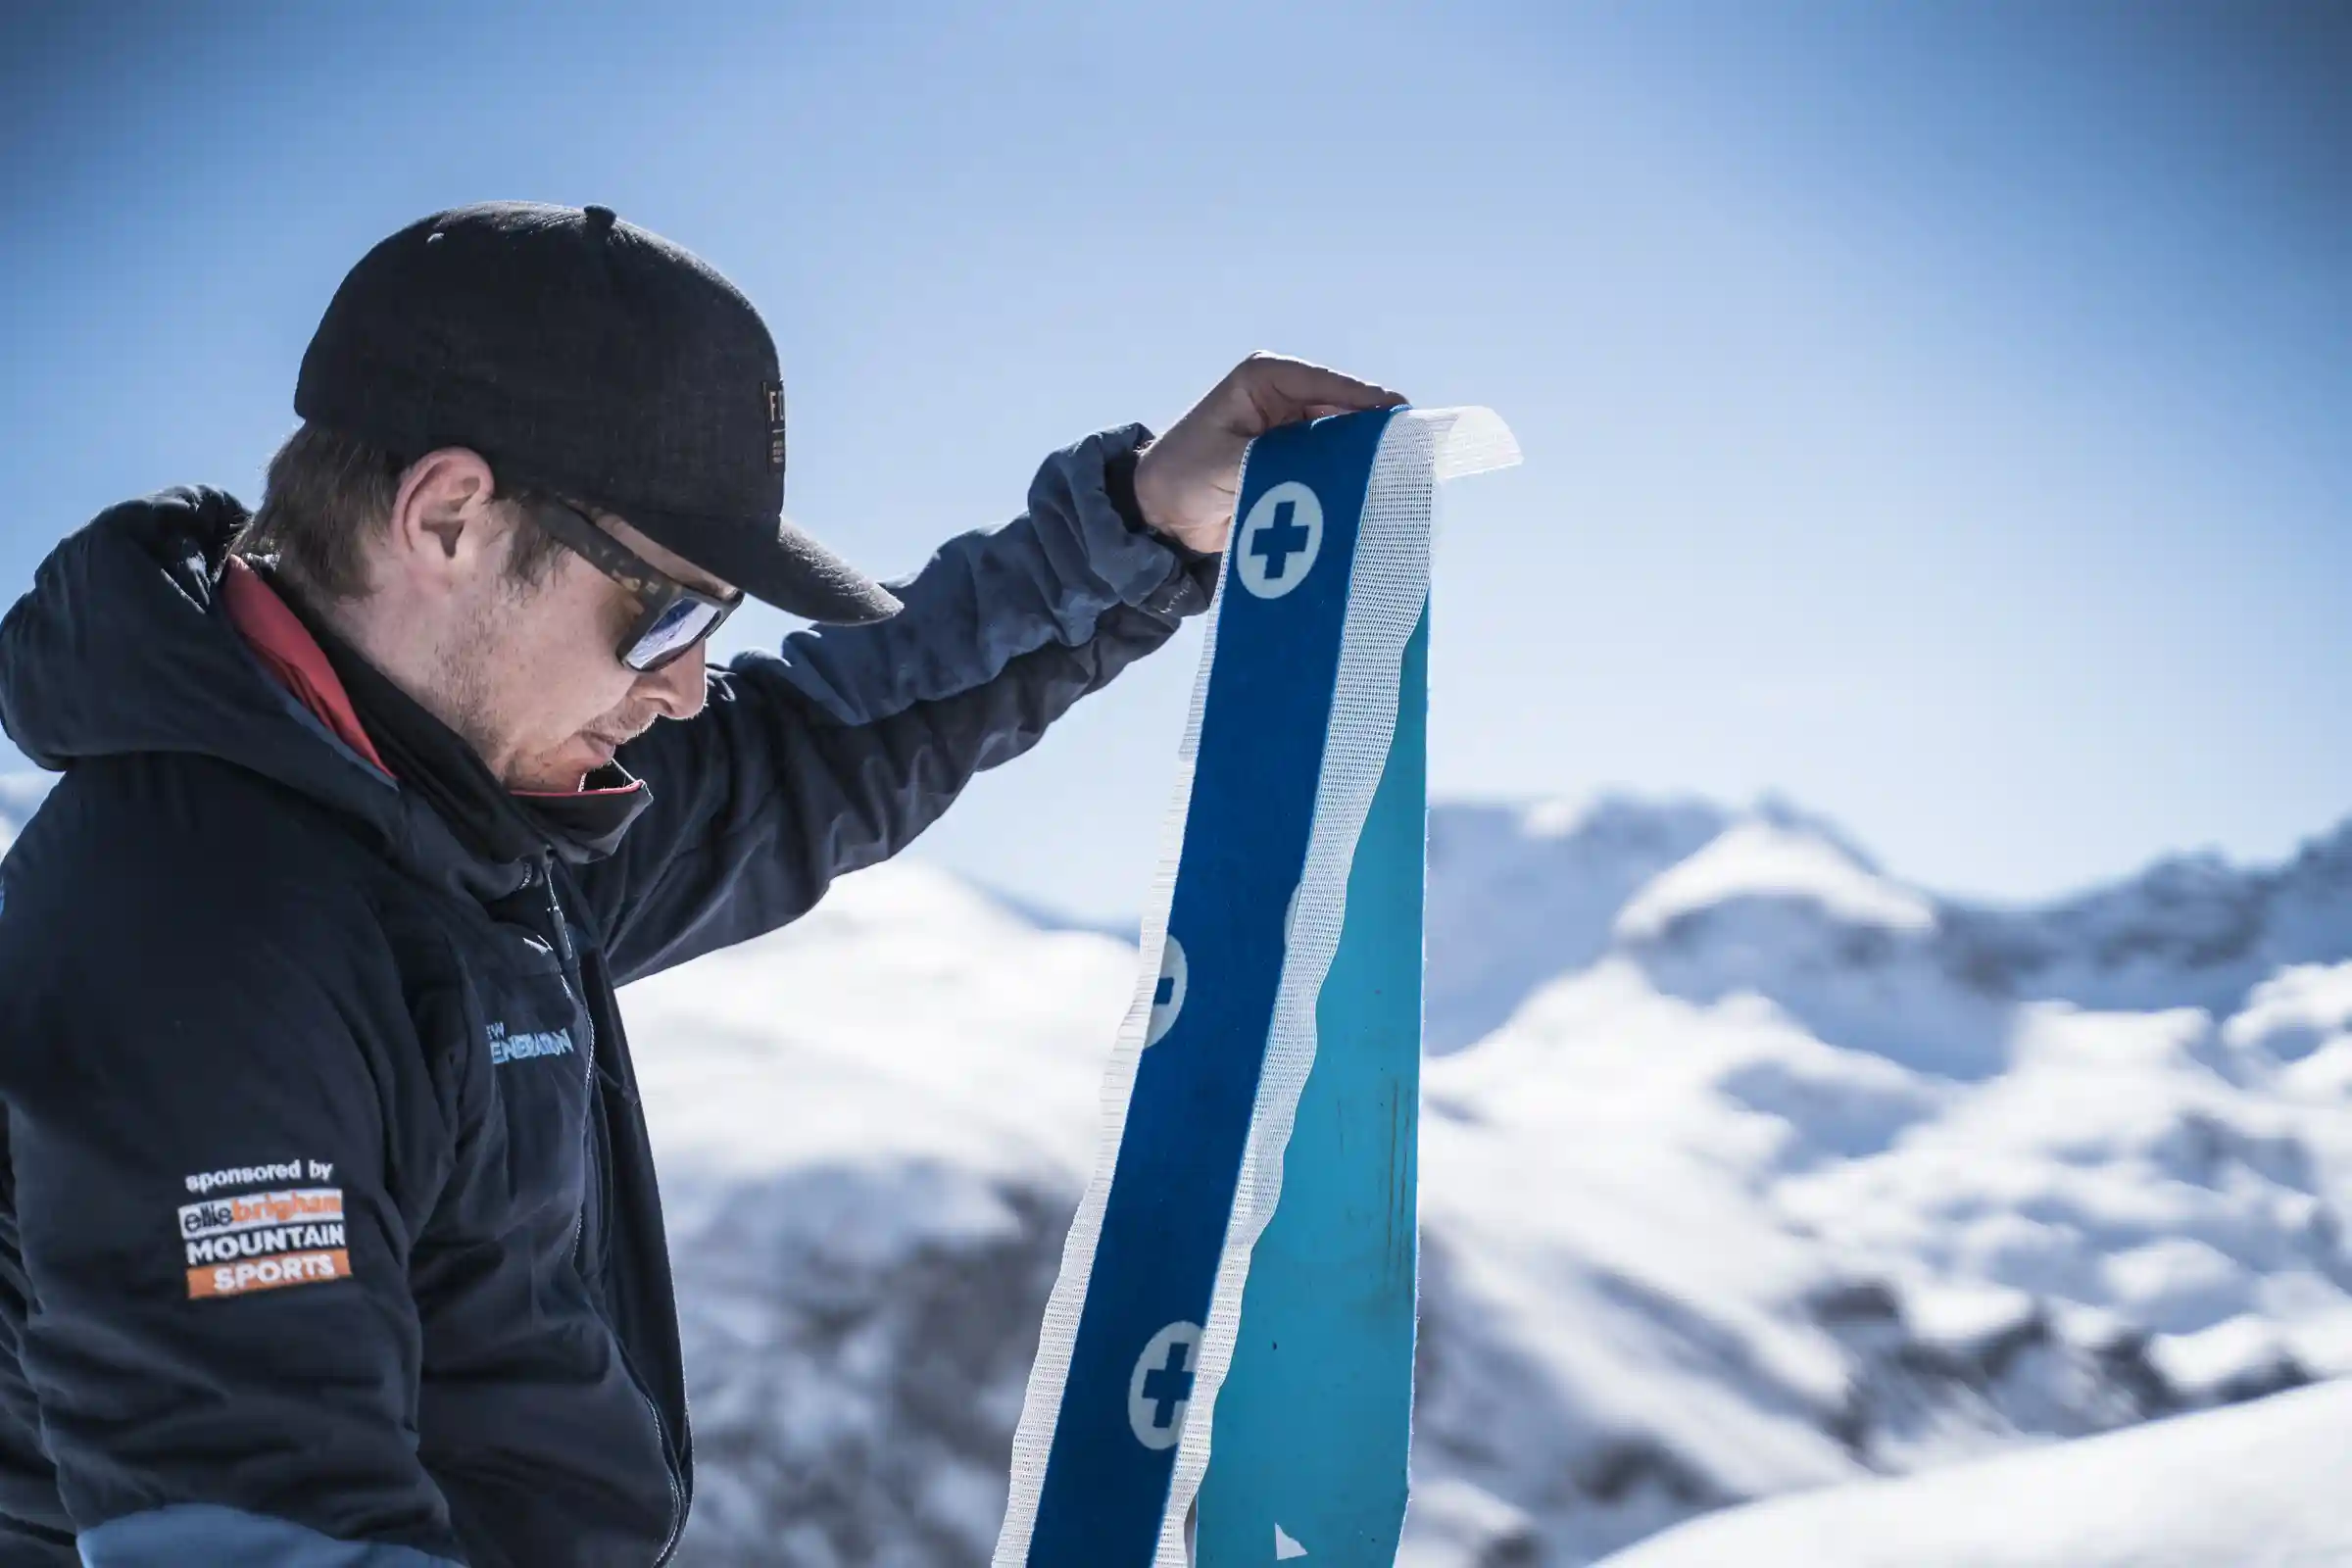
So, which one to choose? Both have their virtues, depending on your journey. If you’re an adventurous skier who loves steep, rugged terrains and values durability and value for money, synthetic might be your perfect match. But if you’re after a smoother, faster glide on gentler slopes and you don’t mind a little extra care, Mohair might be your ticket.
If that all sounds too much to consider, most brands offer Synthetic Mohair blends, which offer the best of both worlds.
Precut Skins or Cut to Fit?
While you can get skins cut perfectly to size and designed specifically for your skis, it’s important to remember you don’t have to, and you might be best off buying cut-to-fit skins.
Pre-cut skins are more expensive, and you’ll have fewer options.
Cut-to-fit skins come in multiple widths. As the name suggests, you trim them down to fit your skis. This gives you a huge range based on your preferences and budgets. Cutting Skins to size is incredibly easy.
When buying cut-to-fit skins, you want to ensure they’re at least as wide as the widest part of your ski. Ideally, a few mm larger.
Ski Touring boots
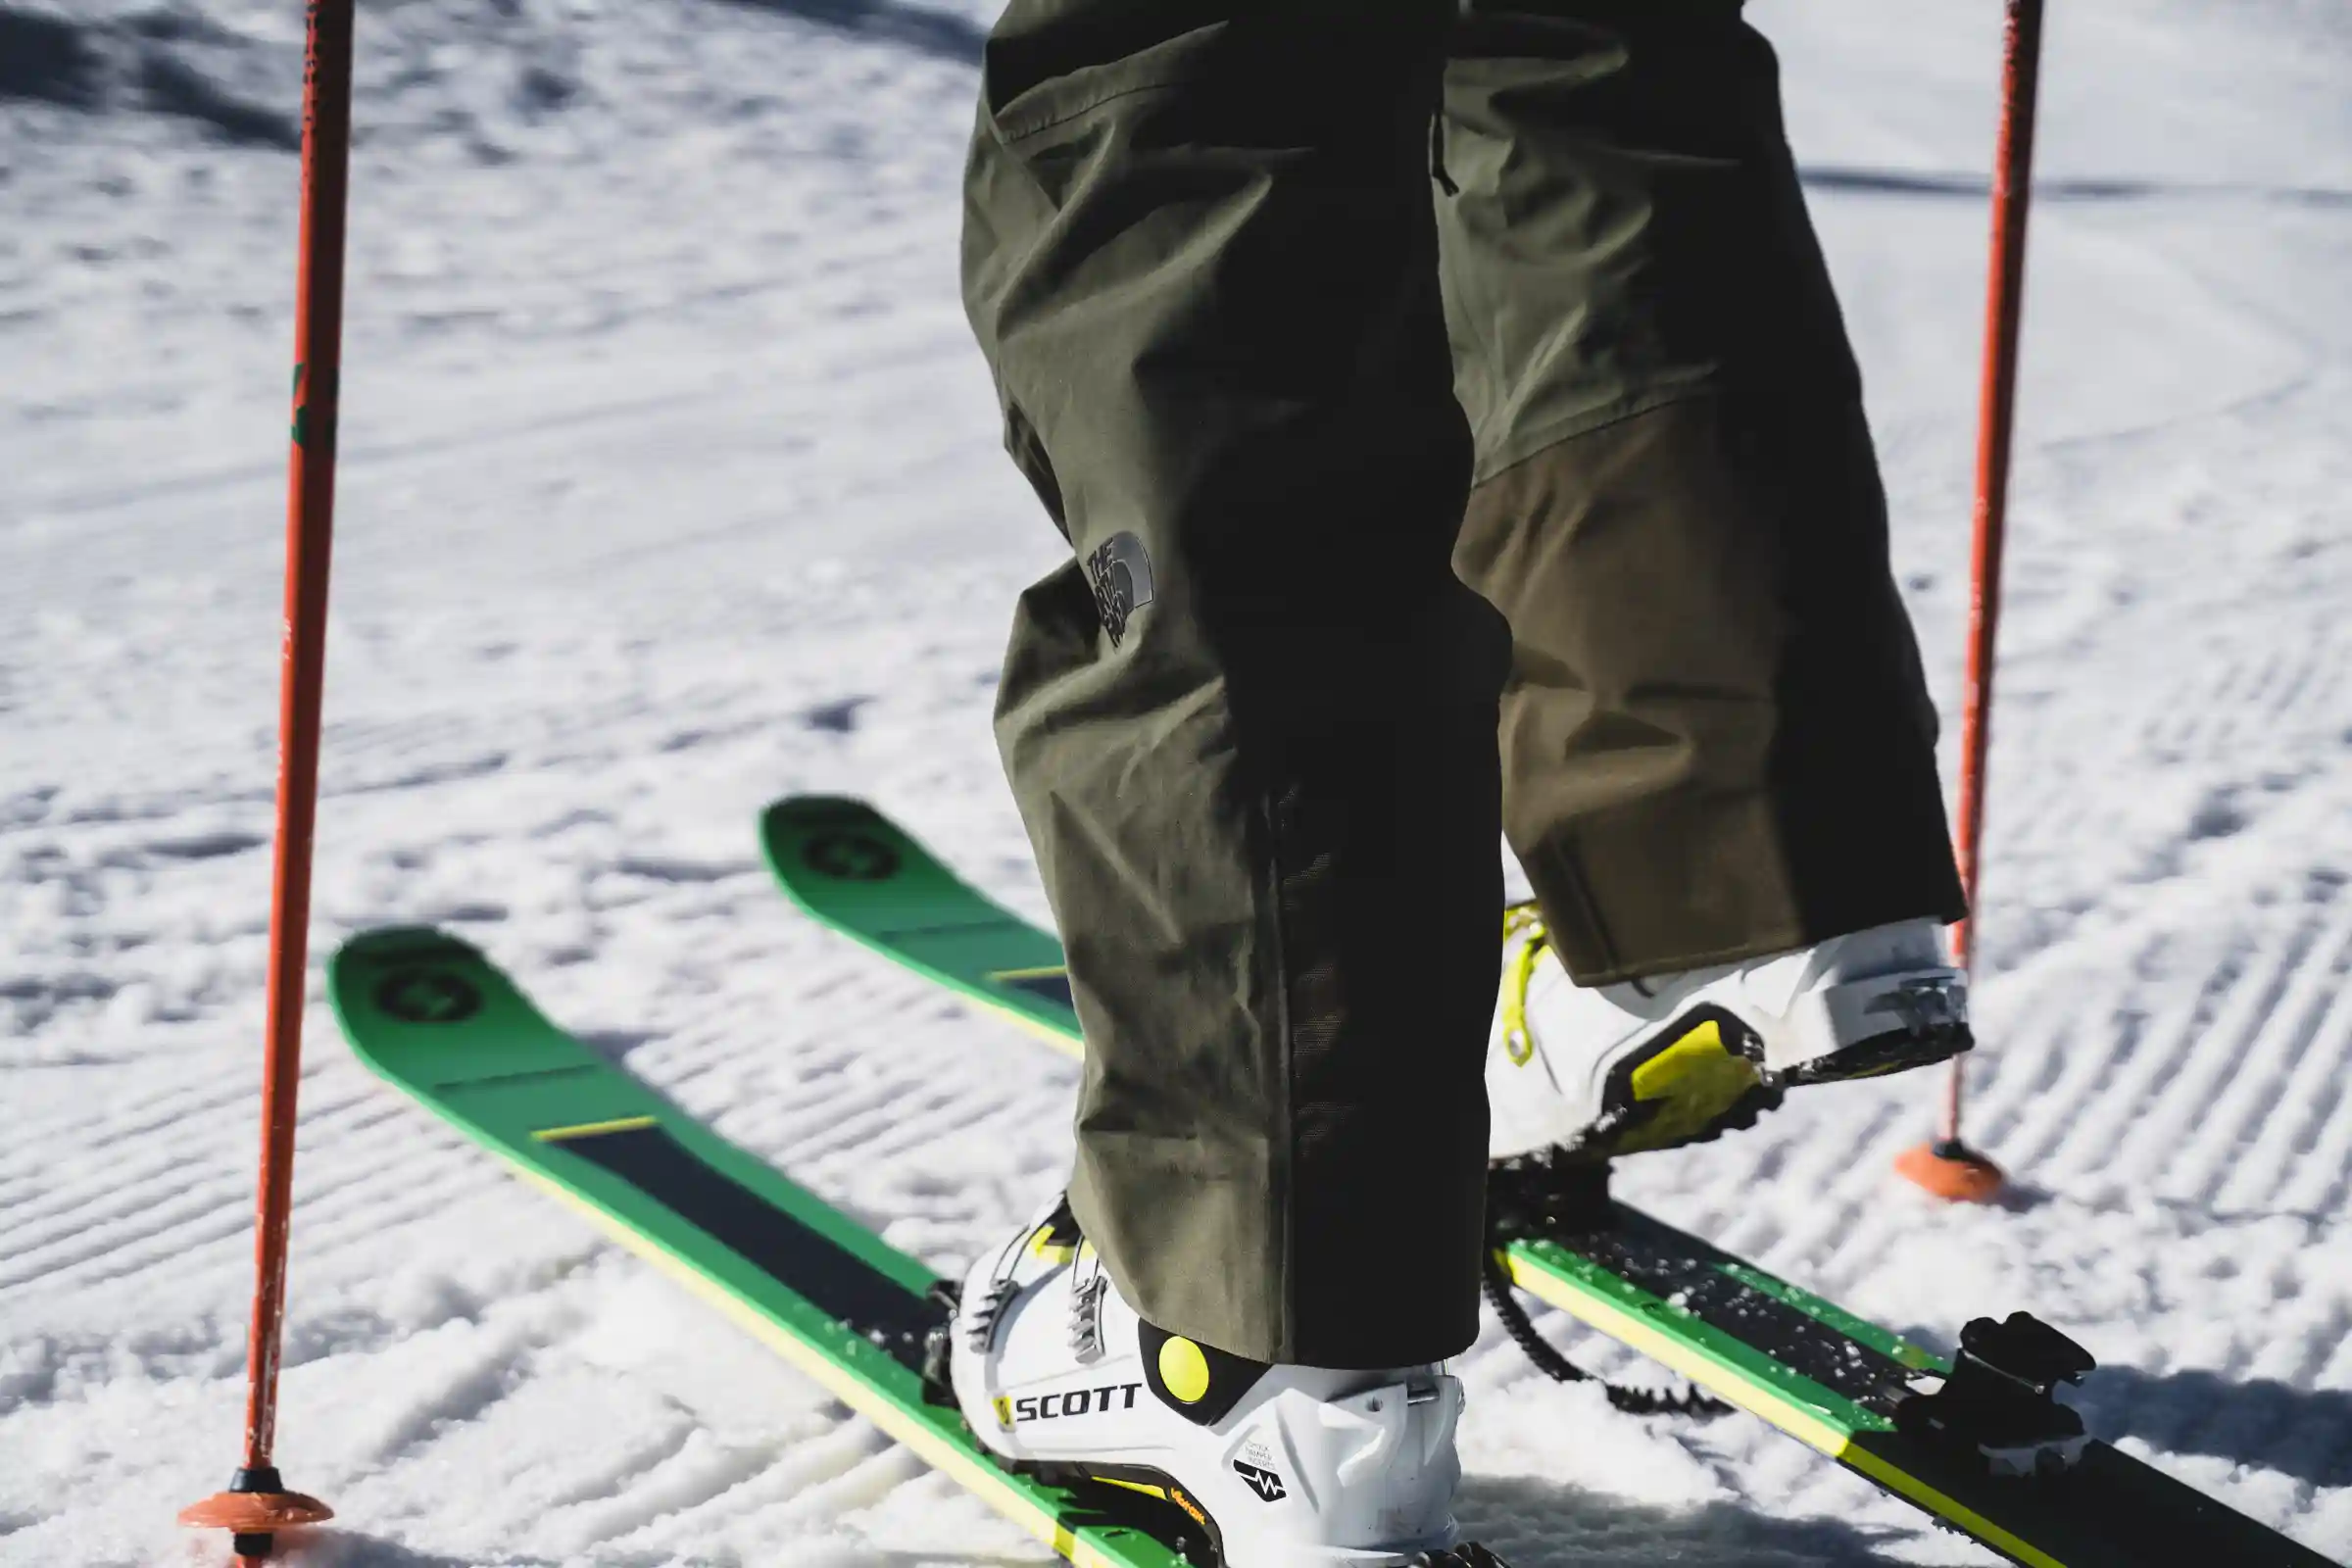
Ski touring boots are optional, especially if you have frame bindings. They will make your experience far more comfortable, though. They’re designed to provide comfort and support during the uphill climb and downhill descent. This means they’re always a compromise. The lighter and greater mobility you have on the way up. The more performance you lose on the way down.
Each boot offers different features and is designed for different types of skiing. For example, the Scarpa Maestrale RS is known for its excellent performance up and downhill. At the same time, the Dynafit TLT X focuses more on climbing, and the Dalbello Lupo focuses more on the descent.
Ski touring boots can be compatible with different types of bindings. The two main types of bindings are tech (or pin) bindings and frame bindings. Tech bindings are lightweight and offer a greater range of motion for uphill travel, making them a popular choice for ski touring. They require boots with tech inserts, small holes in the toe and heel of the boot that the binding pins slot into.
Comfort and Support
On the other hand, frame bindings are more similar to traditional alpine bindings and can be used with a broader range of boots.
If you plan on using your Ski Touring boots on more than one pair of skis it is important to make sure they’re compatible with all your bindings. Some modern Ski Touring boots have rockered soles and others have no toe piece. Making them incompatible with older bindings. Please chat to your boot fitter for more details.
Ski touring boots should fit well and be comfortable for long periods of use. Many boots come with heat-moldable liners for a custom fit. The boot’s flex, which refers to how much it bends or moves, is also an important consideration. A higher flex rating means a stiffer boot, which can offer more control but may be less comfortable for long uphill climbs.
Remember, the best ski-touring boot for you will depend on your preferences, skiing style, and the specific conditions in which you plan to go ski touring. We would go with the Dalbello Lupo if you’re buying a single set-up to ski everything. You don’t lose any downhill performance and it is compatible with almost all bindings.
Clothes for Ski Touring
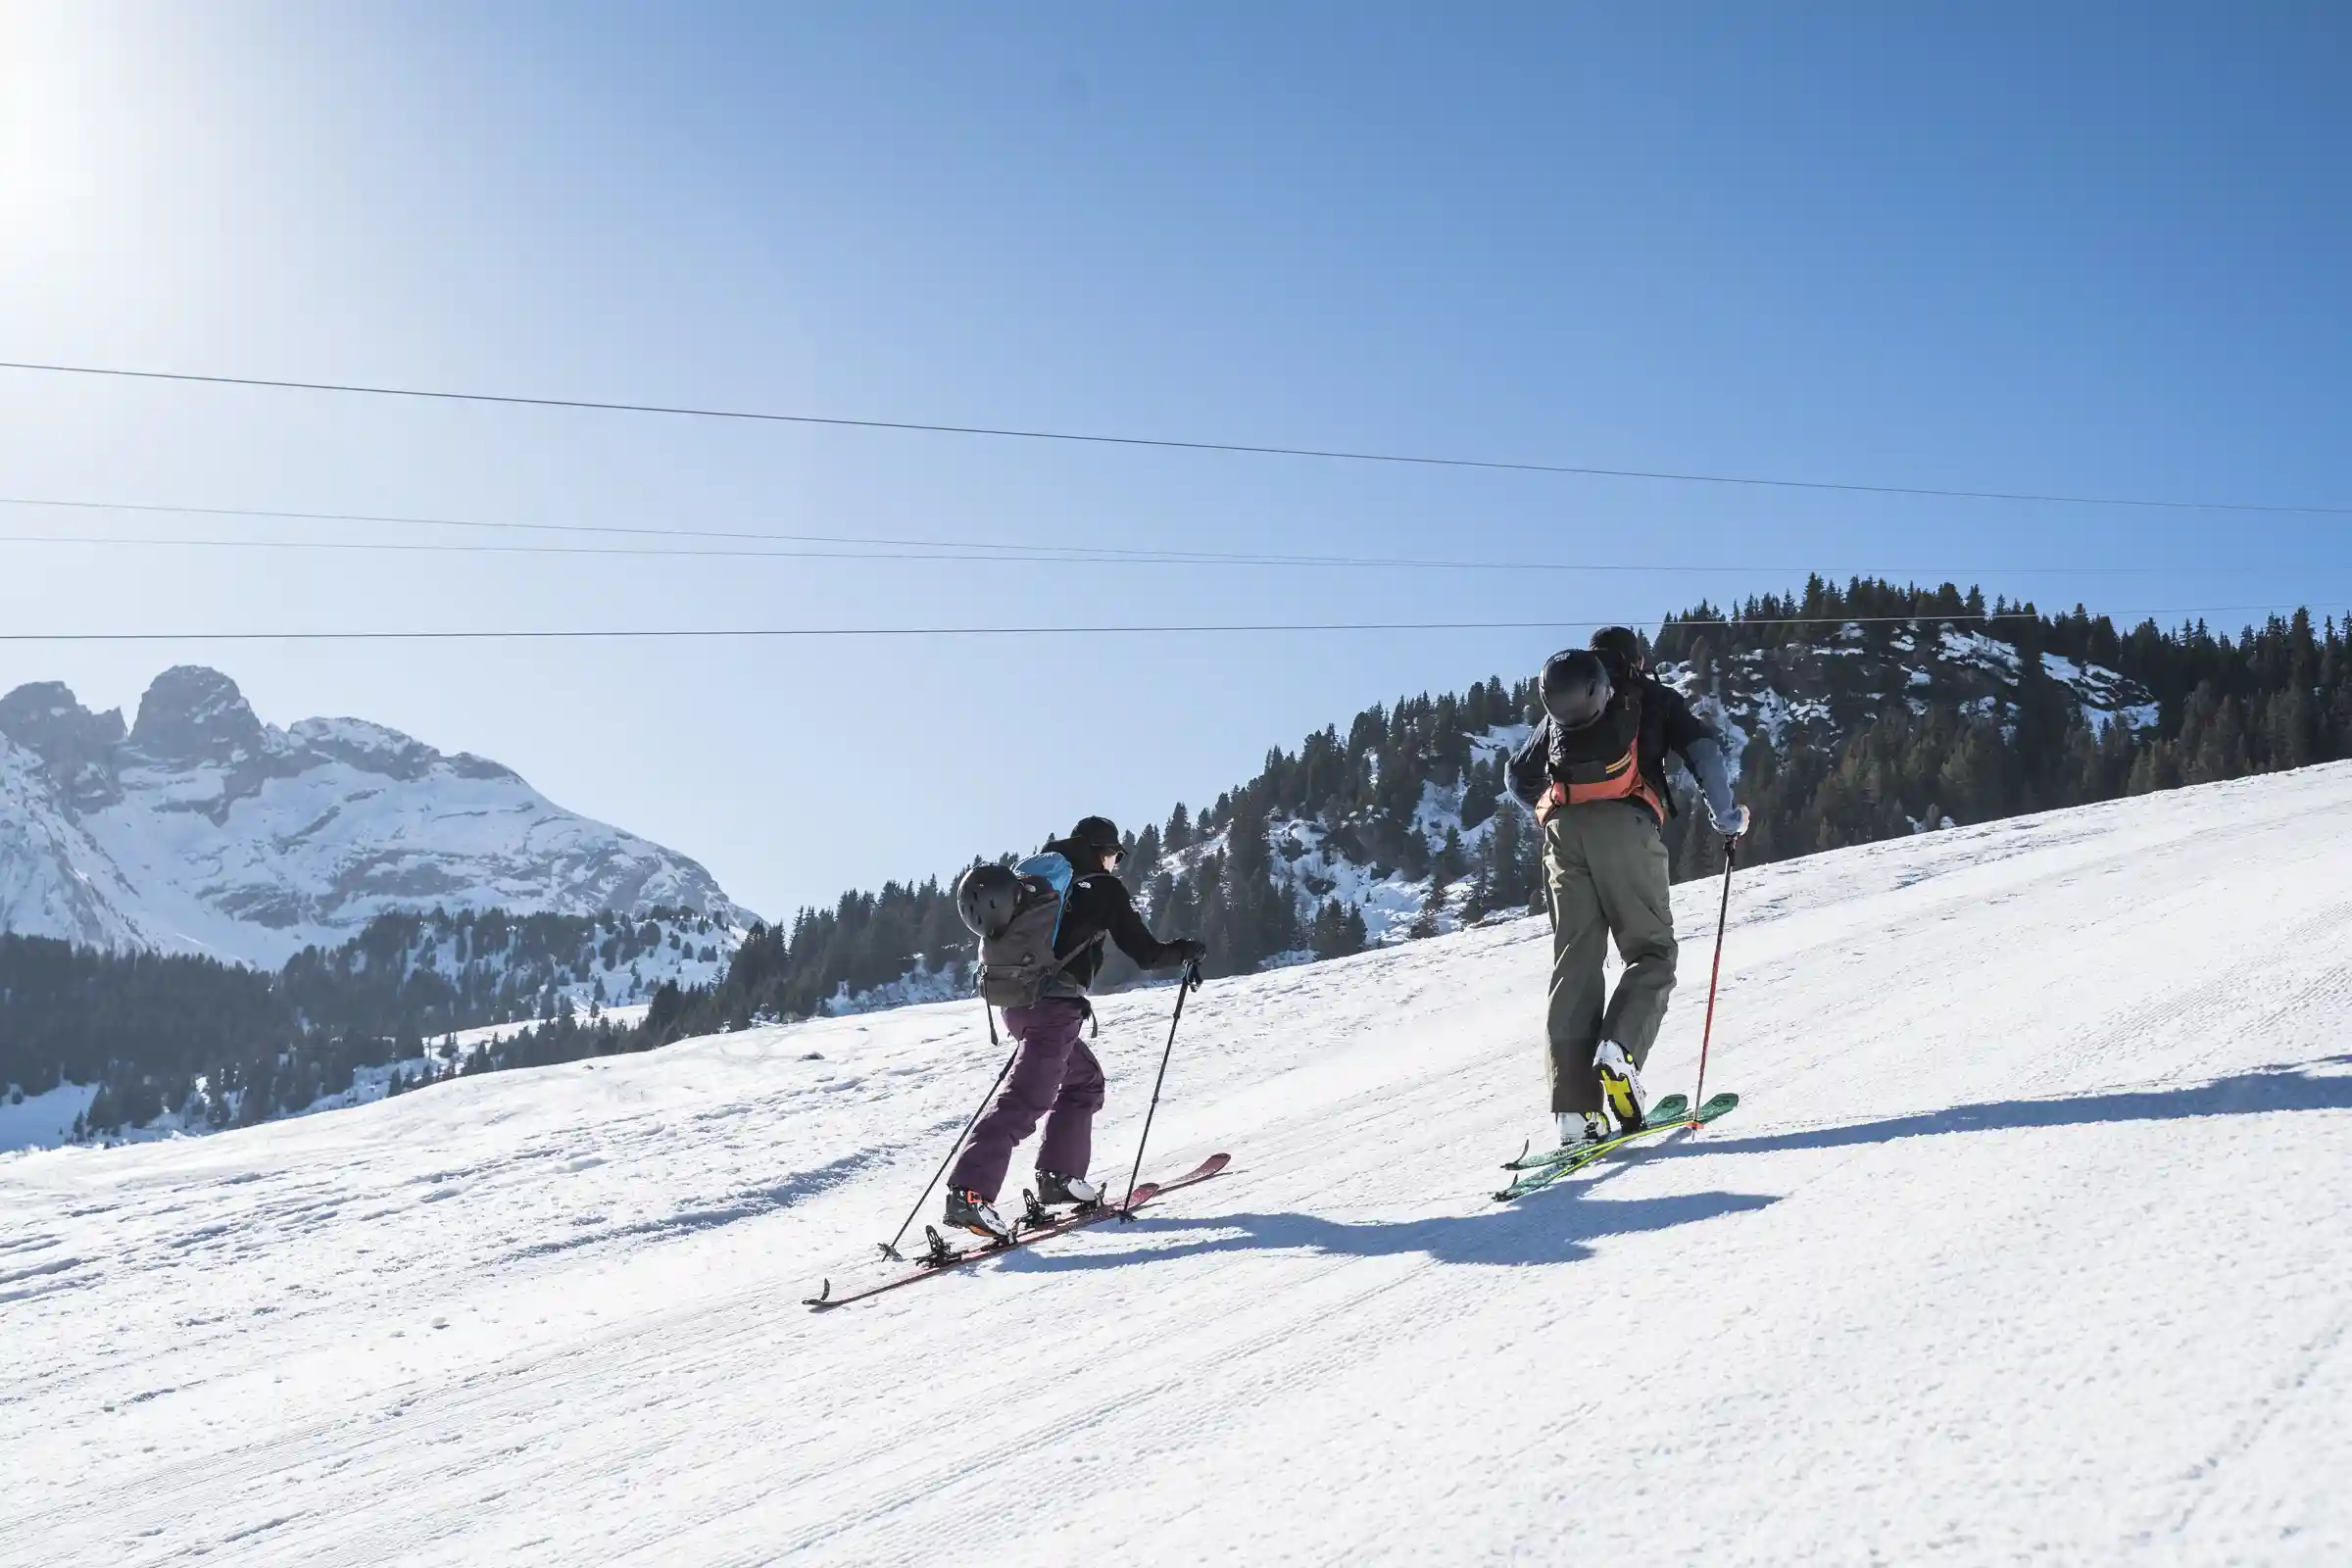
Ski touring is a sport of extreme temperatures. On even the coldest days, you’ll be amazed at how quickly you warm up while climbing.
Layering is the secret to staying warm and dry while working hard during the ascent, switching gears at the top, and then skiing back down. Here are some fundamental tips for layering during ski touring:
Avoid Cotton Clothing:
Cotton traps moisture, which pulls heat away from your skin. Wool and synthetic base layers, on the other hand, retain warmth even when wet.
Start Cold:
You will heat up as soon as you start skinning. It can be tough to stop soon enough to drop a layer before you break a sweat. Avoiding sweating as much as possible will help you manage your temperature at the top. The goal is to feel chilly when you start.
Make Micro-adjustments:
Hats, a neck gaiter, and gloves can all greatly impact your comfort without much faffing. Add or subtract these items to adjust your temperature without stopping.
Master Venting:
For ski touring jackets with full zippers, like the North Face Summit Series Verbier Jacket, and ski-touring pants with full-side zips are recommended. Opening and closing vents is another excellent way to make micro-adjustments on the go.
Keep it Breathable:
Airflow keeps you from sweating. Softshell fabrics and breathable layers, like a Primaloft vest, insulate without getting clammy or damp.
Bring a Puffy Layer:
Layering for backcountry skiing and split boarding means being prepared for sunny tours and cold transitions. When you stop, put on a big puffy jacket to keep warm while removing your skins and getting ready for the descent. Down insulation tends to be warmer and more packable than synthetic insulation. But, it doesn’t stay warm when wet.
Prepare for the Elements:
Soft Shell insulated layers only do so much if the snow is dumping or there’s a stiff wind blowing. Always bring goggles, hardshell layers, and waterproof gloves, just in case.
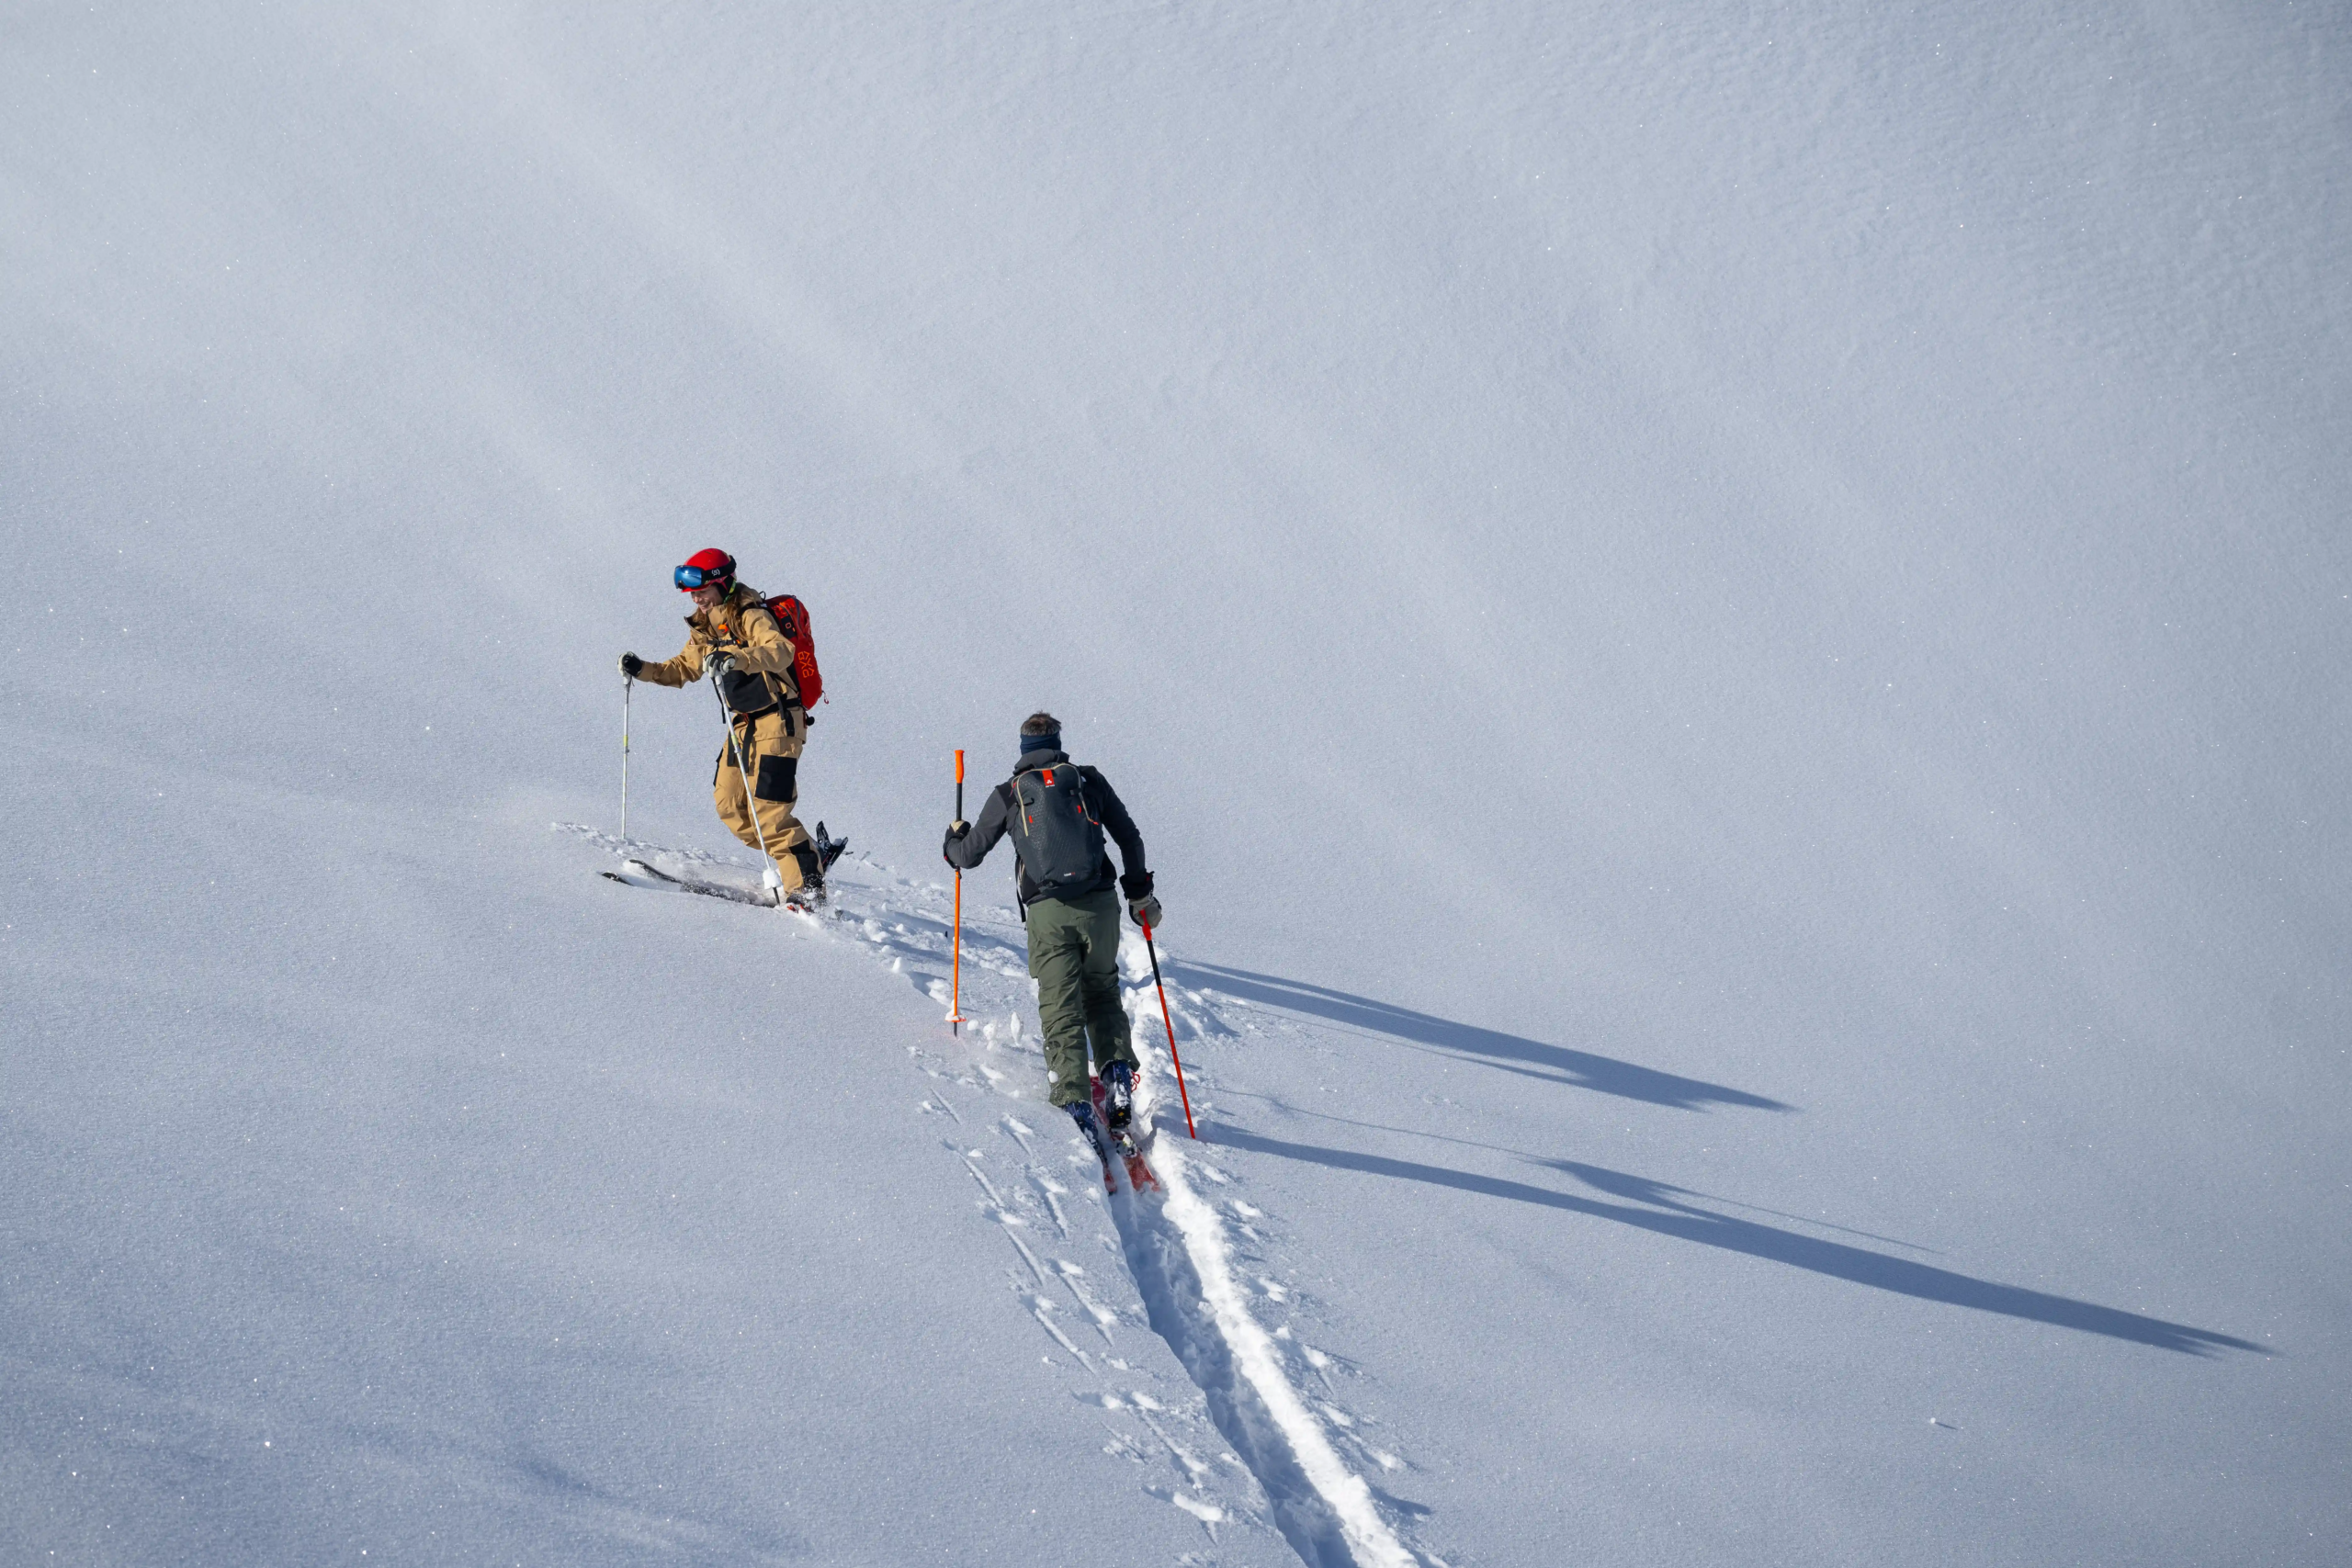
Here’s an overview of the kit we would choose:
- Base Layer: Merino Wool or Synthetic thermals and Socks to wick moisture away from your body.
- Mid Layer: A midweight Fleece or synthetic puffy Jacket. Look for a high neck and no hood.
- For Extra Cold Days: A thick puffy Jacket and, if you really feel the cold puffy shorts. Synthetic or Down are both fine, but each has it’s pros and cons.
- Out Layer: Hard Shell, Goretex Jacket or Pants with large vents.
- On your hands: Lightweight gloves for touring up, warm, waterproof gloves for going downhill.
- On your head: Sunglasses and sunhat for touring, helmet and goggles for skiing.
Remember, adjusting your layers as your activity level and the weather change throughout the day is key. Ellis Brigham have some excellent options from top brands and often have a sale on.
Other Essential Kit for Ski Touring
Avalanche Safety Gear:
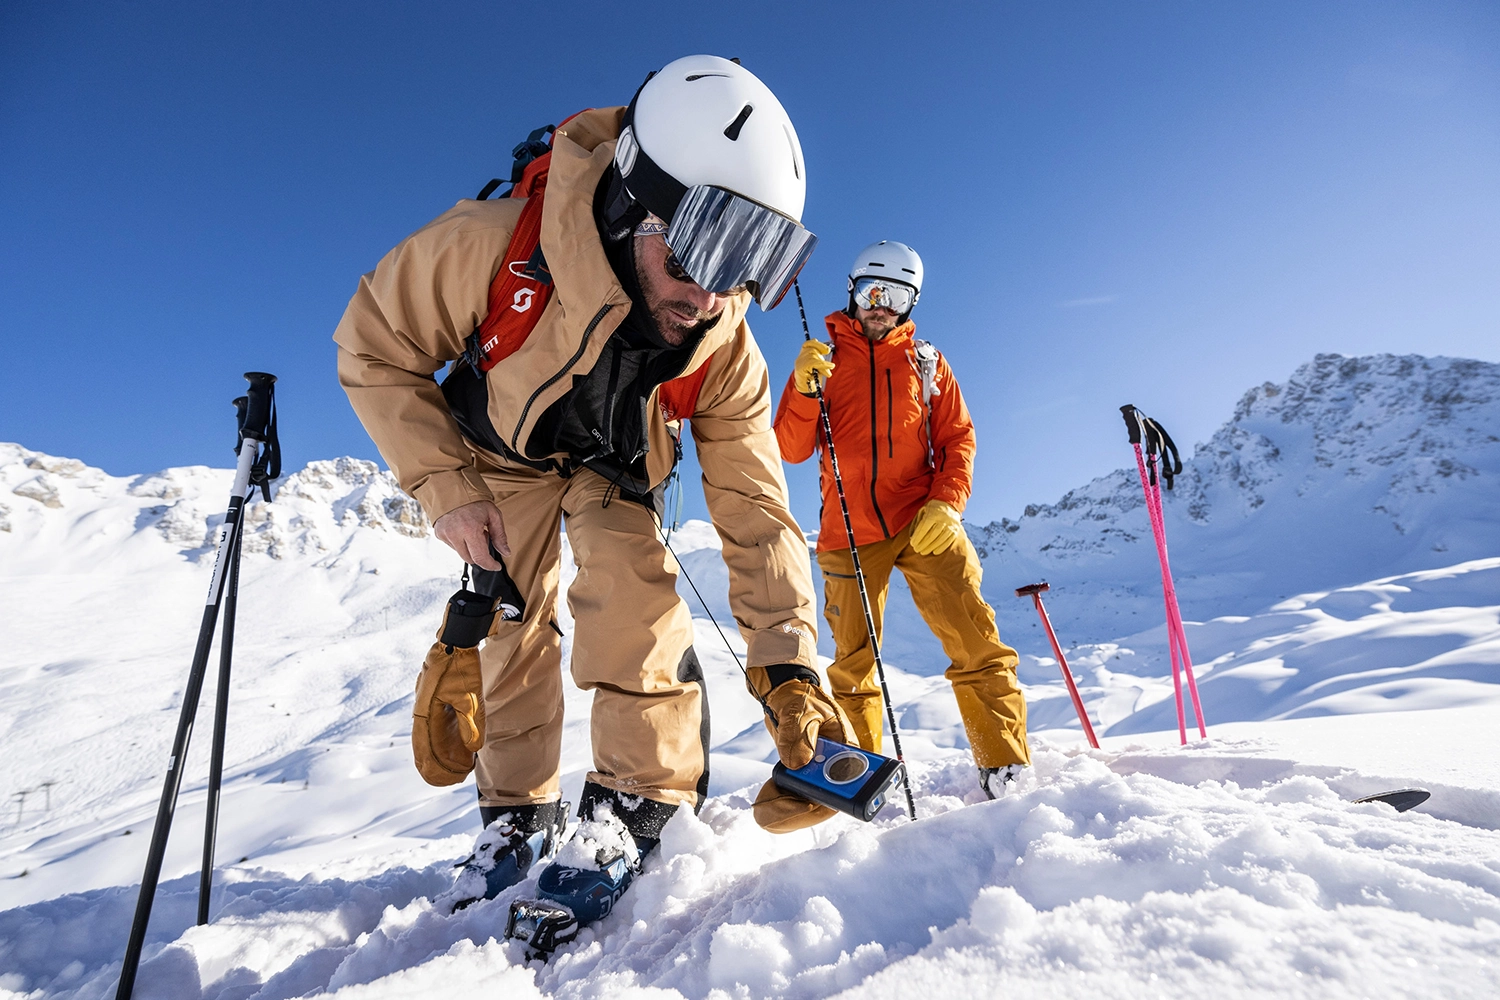
This includes an avalanche transceiver, shovel, and probe. These are essential safety items for any backcountry or off-piste skier. The beacon helps others locate you if you’re buried in an avalanche, while the shovel and probe are used for digging and pinpointing the exact location of a buried person.
Ski Touring Backpack:
A good backpack is essential for carrying all your gear. Look for one that’s specifically designed for ski touring, with features like ski carry straps and dedicated compartments for your avalanche safety gear.
Save money and avoid bags with Camelbacks or hydration systems. Even the insulated drinking tubes have a habit of freezing leaving you without water. Your far better off using an aluminium bottle.
Ski Crampons:
These are used in conjunction with skins to provide extra grip on icy or steep terrain.
Navigation Tools:
A map, compass, and GPS device are all useful for navigating in the backcountry. Some people also use smartphone apps, but these should be used in conjunction with, not as a replacement for, traditional navigation tools.
First Aid Kit:
This should include bandages, antiseptic wipes, tweezers, a blister kit, and any personal medication you may need.
Repair Kit:
This should include items like duct tape, zip ties, and a multi-tool with a screwdriver.
Food and Snacks:
High-energy snacks are important to keep you going on the trail.
Emergency Shelter or Bivy Sack:
This can be a lifesaver if you get stuck in the mountains overnight.
Head torch:
A headlamp can be helpful if you end up skiing in the dark, and is an essential part of any emergency kit.
Spare Layers:
It’s important to have a spare, dry layer in case you get wet or the weather conditions change.
Remember, safety should be your top priority when ski touring. Always check the avalanche forecast before you go, and make sure you’re properly trained in avalanche safety and first aid. Also, always let someone know your plans before you head out.
Common Concerns for Beginner Ski Tourers
Am I fit enough to go Ski Touring?
We regularly get asked this question, and if you can go Alpine Skiing for a week, the answer is almost certainly yes. As with all endurance sports, you won’t set any records immediately and might find that you need to limit the duration and distance while building more stamina.
Ski touring is a very low-impact sport, and if you work with an experienced ski instructor or guide, they can tailor a route to your ability and fitness level.
In most resorts, you’ll also find trails dedicated to ski touring. These are often graded like pistes, and you can find information about how far and high you have to travel and pick a route accordingly. Most of these trails link back into the main piste system, so you can often experience ski touring without having lots of experience or the knowledge of travelling safely off-piste.
Is Ski Touring more dangerous than Alpine Skiing?
If we compare ski touring and alpine skiing on the same terrain, then no there is absolutely no increased level of risk. The binding technology has come a long way in recent years, and you can get touring bindings that offer the same level of protection as standard alpine bindings. If anything, you’ll move slower, possibly lowering your risk of injury.
If you decide to Ski Tour Off-Piste, though, this does bring an increased level of risk, and it is essential that you either ski with a guide who can plan a safe route or learn how to do this yourself.
Is Ski Touring Expensive?
No, once you have the equipment, it can be done for free. As discussed earlier, you don’t need all the latest and greatest gear. Almost all Ski Hire shops will also offer rental equipment for ski touring.
How can I stay safe from avalanches?
Avalanche safety is crucial for ski tourers. Always carry a transceiver, shovel, and probe, and know how to use them. Take an avalanche safety course to understand the conditions that lead to avalanches and learn how to make informed decisions.
Is ski touring only for advanced skiers?
Not necessarily. While some experience in skiing is beneficial, beginners can start with more accessible routes to build their skills and confidence. Our Introduction to Ski Touring Course is ideal for those new to the sport.
Can I go ski touring alone?
It’s always safer and more enjoyable to ski tour with others. Join one of our Ski Touring Courses or find groups of similar abilities going out socially. If you plan to go alone, inform someone of your route and expected return time, and carry all necessary emergency equipment.
What should I do if I encounter wildlife?
Respect wildlife by observing from a distance. Winter is particularly vulnerable for many animals, so avoid disturbing them. Take a few photos from a distance. It’s a magical experience that will make your trip memorable.
Where can I practice ski touring safely?
Most resorts have dedicated ski touring tracks marked on piste maps. These areas are great for beginners as they offer a safer, more controlled environment. Practising in these zones helps you get accustomed to the gear and techniques before venturing into the backcountry.
How do I maintain my equipment?
Regular checks and maintenance of your gear are vital. Ensure your bindings are properly adjusted, your skins are clean and properly stored, and all avalanche safety equipment is in working order. Always pack spare batteries for your transceiver. If you need more clarification, consult our instructor team or another mountain professional for advice on gear maintenance.
We hope you found our Ski Touring Guide for Beginners useful. Now it’s time to get practising. The only way to get better is by doing more of it.
